Disclaimer: This post may contain affiliate links, meaning we get a small commission if you make a purchase through our links, at no cost to you. For more information, please visit our Disclaimer Page.
From time to time, you might find that sound, video or some other function just isn’t working as well as it used to. In these circumstances, you’ll likely need to check out the drivers and determine whether or not they may need updates. This can be tricky, but it certainly isn’t impossible.
Here, we’re going to guide you through updating drivers when you have access to Windows 10. Keep in mind that some of the methods and steps here can work for other versions of Windows, but some may not. It’s always a good idea to look for specific instructions for the Windows version you have!
Related Reading: How to Update Kodi
Table of Contents
Why is it Important to Keep Your Drivers Updated?
The good news is that most drivers don’t really need to be updated very often. It’s generally a good rule of thumb to leave them alone unless you notice that something is starting to cause problems. That means, you won’t need to worry about them too much. However, there can be some exceptions.
One main exception rests with video-related drivers. These are often more important to update regularly as the updates can result in large improvements to the looks of any games you play or movies you watch using your graphics and video resources.
With the Device Manager
For many, the Device Manager is the starting point for making sure that drivers are up to date. It’s an easy place to locate the updates you need, install them and check to make sure that the updates went through successfully. Because of that, it’s a good idea to make sure that you familiarize yourself with the Device Manager as much as possible.
With Microsoft
This is going to be the simpler option between the two.
Step One
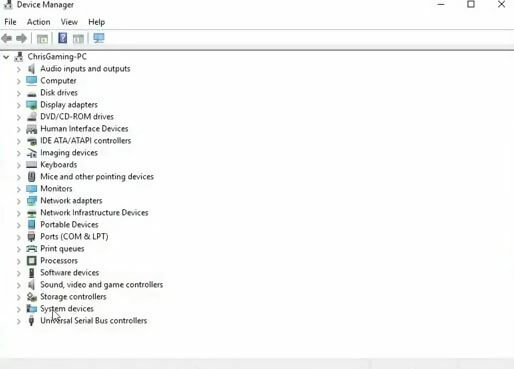
Press start and type “device manager” into the search.

Step Two
Find the device manager and open it up.
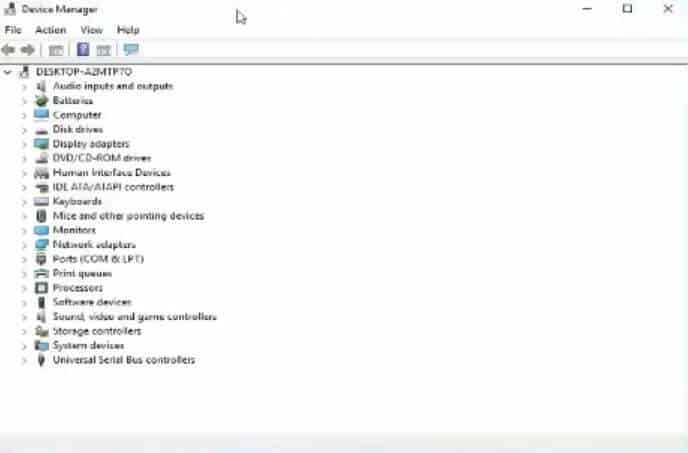
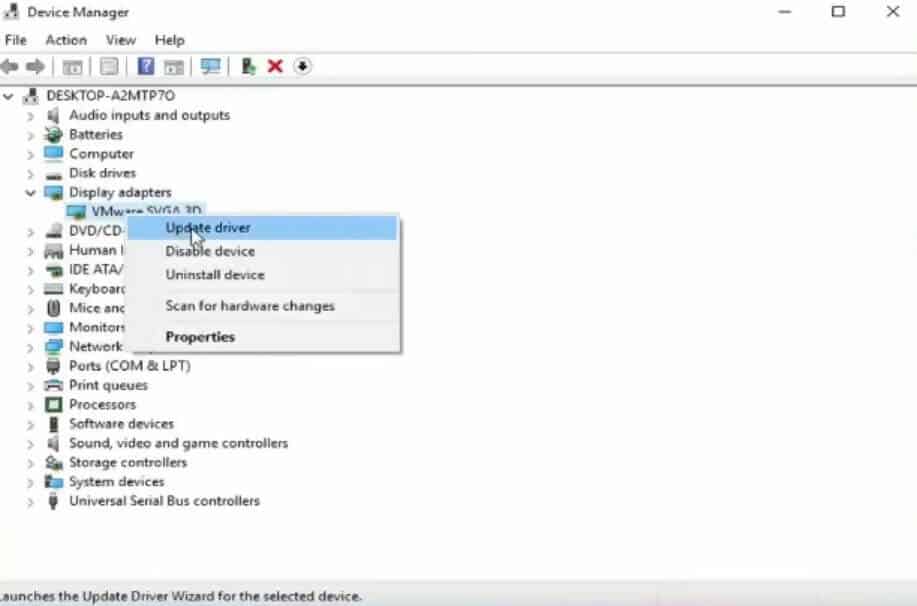
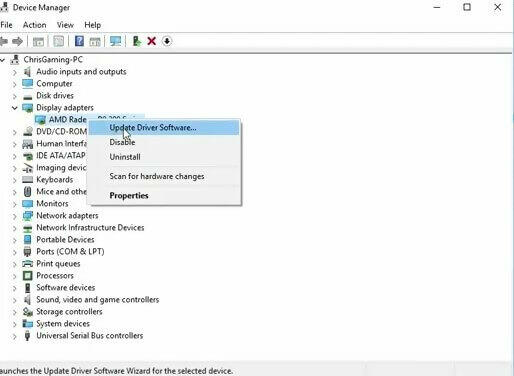
Step Three
Double-click on the type of device you want to check the updates on. When you find the exact device, right-click on it and choose “update driver.”
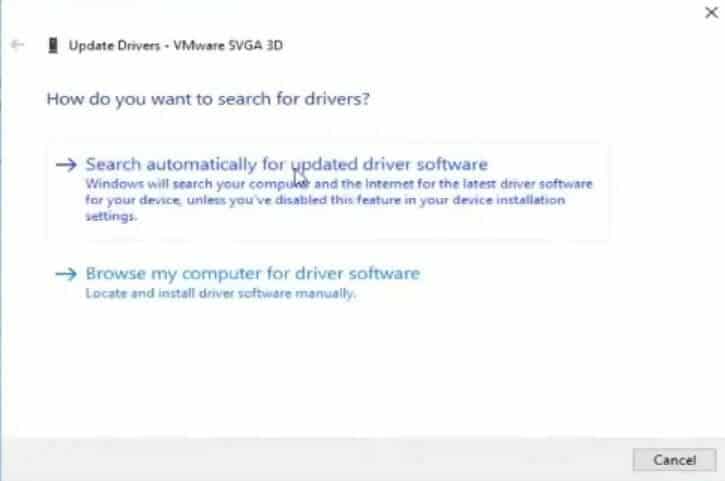
Step Four
Opt to allow the computer to search for the ideal drivers automatically.
Manufacturer Updates
This method can be a little more complicated, but it’s also one that is useful when the automatic searches aren’t yielding the ideal results.
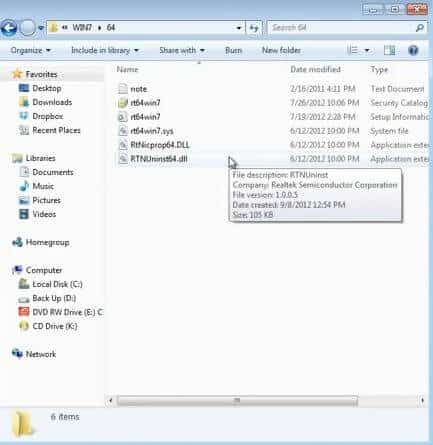
Keep in mind that before you start this process, you will need to download and extract the update files from the manufacturer website.
Step One
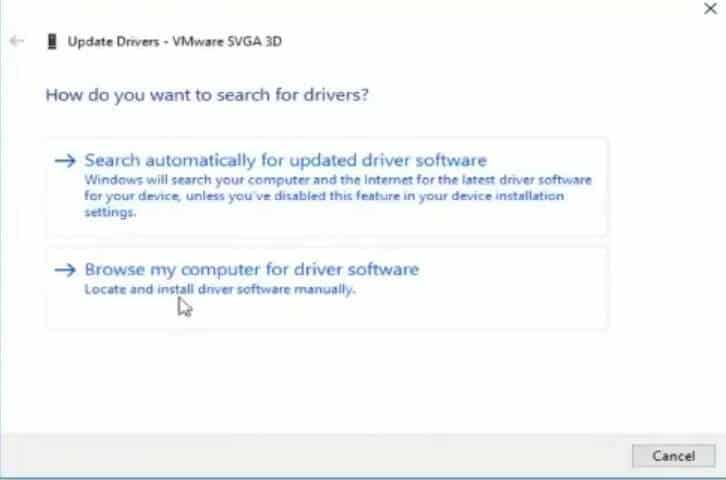
Follow steps one through three, listed above in the “With Microsoft” section.
Instead of allowing your computer to automatically search for updates, select the option to “browse computer for software.”
Step Two
Now you’ll need to choose “browse” and then find the folder that contains the files you just extracted. Then press “ok.”
Make sure to select the option to include the subfolders as well, so that the wizard can find the ideal files in order to update.
Press “next” and allow the update to install.
Using Windows Update
For those who want to keep it simple, this is likely to be the most convenient method you can use for updating your drivers. These instructions can help you to get those files updated!
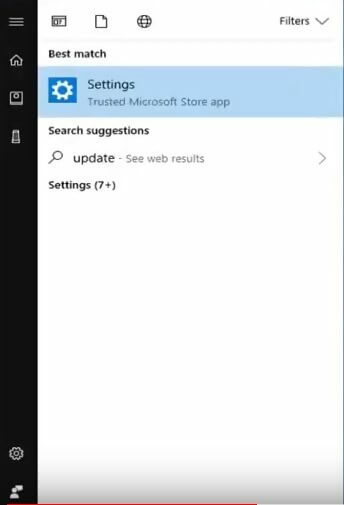
Step One
Open up your Windows settings.
Step Two
Look for the section titled “Update and Security” and select it.
Click on “Windows Update.”
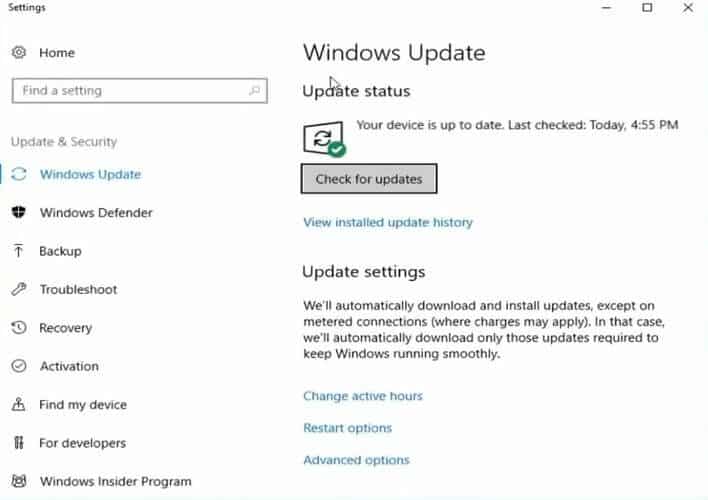
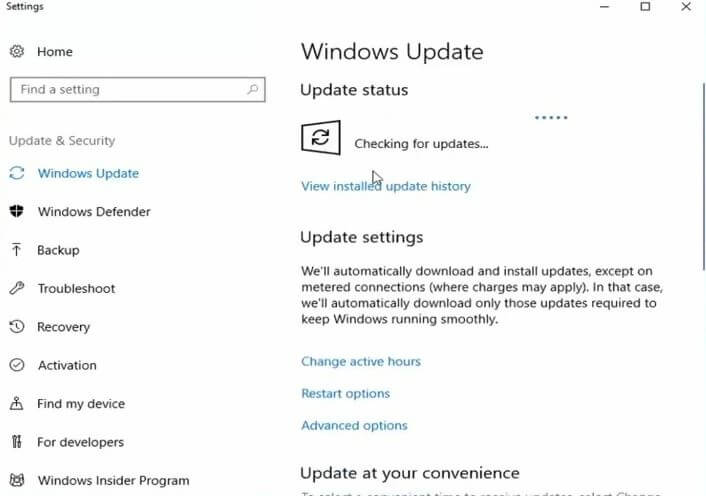
Step Three
Choose “Check for Updates” and allow the computer to find the ideal updates.
Updating Your Graphics Drivers
You have a couple of options when it comes to making sure your graphics drivers are updated. The one you choose is really going to be based on your preference as well as your proficiency with computers. Whichever option you choose, make sure to follow the instructions carefully and check to make sure that the drivers are correctly installed when you’re finished. Then, you’ll be set to go on about your computer business.
Updating Automatically
Updating your graphics drivers automatically is going to be the easiest way to get things handled. Typically what this means is locating software that is specific to the brand of your graphics card. The kind of software you want to look for will be able to analyze the updates needed for your card and install them accordingly.
Make sure to search carefully, as there may be some third party options that may try to install other programs or even viruses or Malware. Stick to official brand websites as much as possible and you should be good to go.
Updating Manually
Another option you have is to update your graphics card drivers manually. This generally includes going to the website for the manufacturer of your graphics card and locating the newest update files yourself. When doing this, you’ll want to make sure you get the files for the specific graphics card you own.
Once you have located them, download the files needed for your graphics card. Then, open up the files and follow the instructions to get the drivers updated. When you’re finished, you’ll need to check to make sure that the drivers have been installed correctly.
Checking Your Drivers
No matter what driver you were trying to update, it’s important to make sure that you check over the drivers to make sure that the updates you installed are successful. You never know when something might go wrong, even if you’ve followed all of the instructions in a correct manner.
Step One
Head to start, and then search for the Device Manager.
When you’ve located it, open up the Device Manager.
Step Two
Open up the type of device you want to check the updates for and right-click on the exact device or software.
In the pop-up box, select “properties.”
Step Three
In the properties section, click on the tab labeled “driver.”
Look at the version and date of the driver to make sure they are updated to the time you updated the driver, and the version you updated it to.

Sources