Disclaimer: This post may contain affiliate links, meaning we get a small commission if you make a purchase through our links, at no cost to you. For more information, please visit our Disclaimer Page.
You start up your Windows Updater to look for updates that may be needed. However, for some reason the updater cannot run a check for updates as it has in the past. This might seem like a concerning issue, but it’s often one that you can solve yourself through some simple measures.
These methods are useful in getting problems with your Updater resolved. Make sure to restart your computer after each one, as it can help to solidify any changes you make. Then, check the updater again and you may find that you only need to go through one or two methods. Otherwise, there are plenty more to help you.
Related Reading: What to Do When Your Windows Update is Stuck
Table of Contents
Try a Troubleshooter
One of the handy aspects of Windows is that it comes with a few built-in troubleshooters to help you with specific issues. One of these is the troubleshooter designed for use with the Windows Updater.
Here’s how to make use of that troubleshooter.
Step One
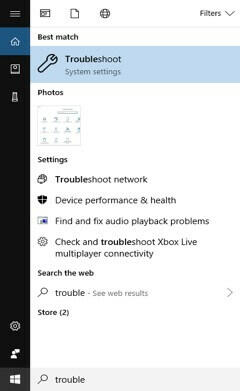
In the lower left, press “Start.” Next, enter “troubleshooter” into the Start menu search bar. Find the matching option in the results, and then select it to open the troubleshooter.
Step Two
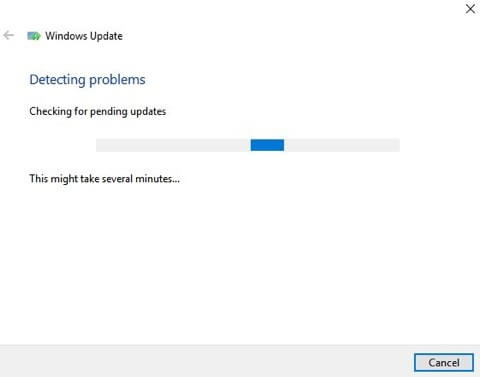
From the available options, choose the one that will allow you to “fix problems with Windows Update.” This will open up the troubleshooter specific to Windows Update.
Step Three
Once you have followed the troubleshooter instructions, you can try using the updater once again to see if the problem is solved.
Get the Update Service Registered
There are a number of files connected to the Updater service. If even one of these files isn’t registered correctly, it may result in the Windows Updater being unable to run. Luckily, it isn’t too hard to make sure that these files are registered correctly.
Step One
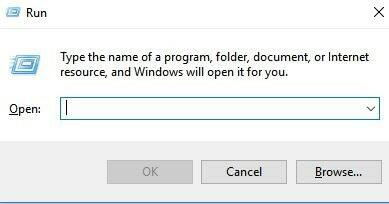
Start by pressing “R” and the Windows key at the same time.
Step Two
When the “Run” box pops up, type in “Services.msc”. Then, follow that up by pressing “Ok.”

Step Three
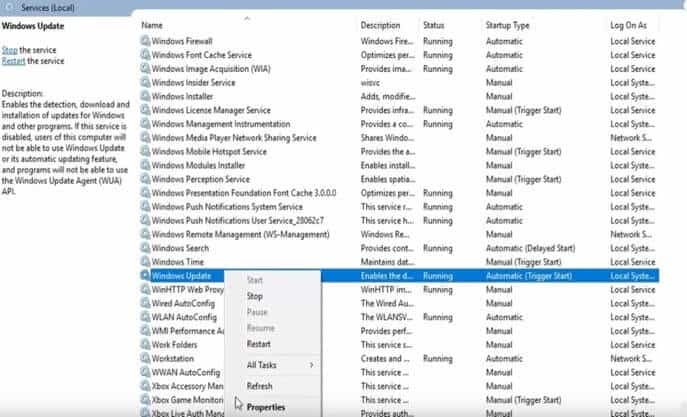
From the list of services, look for the one labeled “Windows Update.” Then right click on your chosen option and press “Stop.”
Step Four
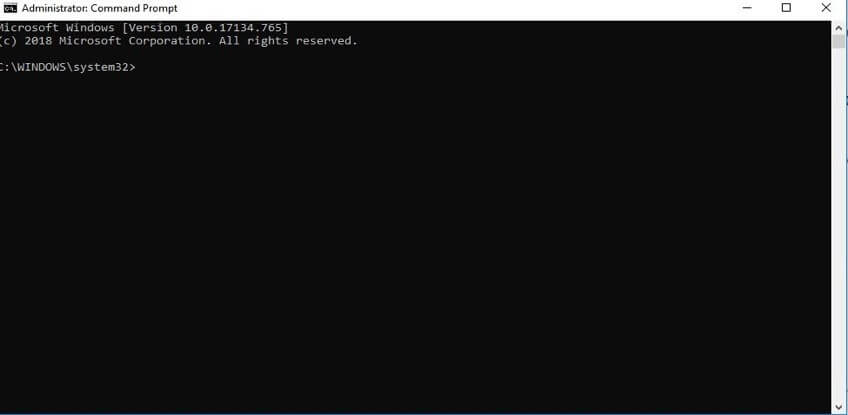
Now, go to your Start menu again and enter “Cmd” into the search bar. Locate the command prompt and right-click on it. Then, select “Run as administrator.” Next, click on “Yes.”
At this point, you’ll need to enter a series of commands. Make sure to type them exactly and press enter after each one.
The commands will all start with the same beginning aspect, which is “regsvr32”. After that, you’ll need to enter the following after a space.
wuapi.dll
wuaueng.dll
wups.dll
wups2.dll
wuwebv.dll
wucltux.dll
Once you’ve typed in all the commands, press “Ok.”
Step Five
Now you’ll need to get your Windows Update Service restarted. Press “R” and Windows and enter “Services.msc” once again. When you locate the Update Service from the list, right click it and select “Start.” Then, restart your computer and try the Updater once again.
Do an RST Driver Update
Like many other aspects of your PC, the Updater has a connection to some important drivers. These are the RST (or Rapid Storage Technology) drivers. If these drivers have become outdated, corrupted or are simply missing, it can result in problems running the updater.
Step One
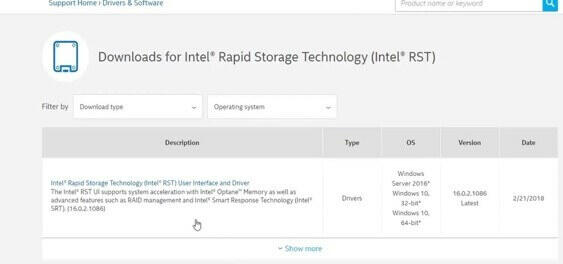
In order to manually install or update the driver yourself, you’ll need to go to the Intel website and locate the newest version of the RST driver. Then, go ahead and download it.
Step Two
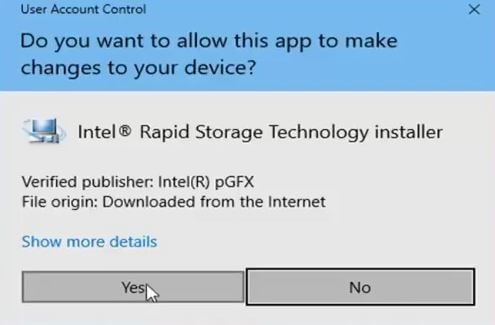
When the file is downloaded, you can open it up and follow the instructions to get the newest driver installed correctly. Once you’ve finished, you can try the updater again. Keep in mind that you may need to restart your computer beforehand.
Step Three
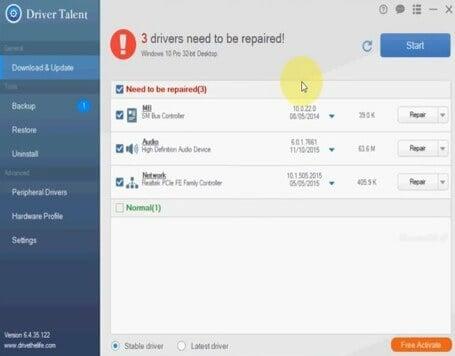
There are also some auto-updaters you can use if this process is too complicated for your tastes. However, keep in mind that many of these come with a price, and you’ll need to make sure you’re getting a reputable and reliable updater to handle your needs.
Before you do this, make sure that you stop the Windows Updater through the Services window, just like you did in previous methods.
Restart Your Windows Update
Just like your computer as a whole, sometimes the updater just needs to be turned off, and then back on again. In addition, it’s a good idea to clear out temporary files that might be corrupted so that the updater can work correctly.
Step One
Start by pressing “E” and the Windows key at the same time. This should open up your file explorer.
Step Two
Head to your “C:” folder, and then to the option labeled “Windows.” In this folder, you’ll be able to see another folder with the title of “Software Distribution.”
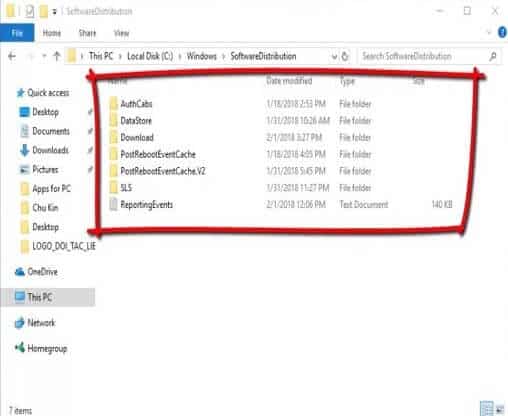
Step Three
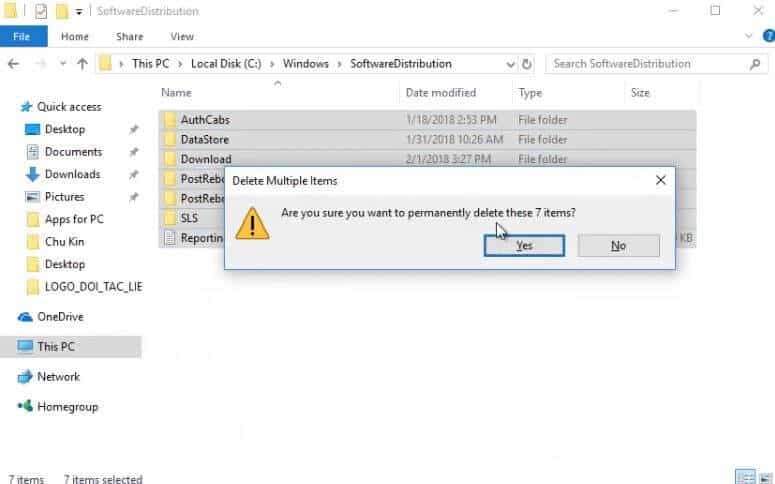
In this folder, you’ll need to delete all of the files already there. You can easily do this by pressing “A” and “CTRL” at the same time. Then right-click and “Delete.” The computer will now ask for your permission to delete all of the files. Just press “Yes” and allow the process to finish.
Step Four
Now, just restart your Windows Updater in the same manner we went through earlier.
What if These Methods Don’t Work?
If for some reason none of these methods are working, you may want to start by trying them again. It’s possible that there was a mistake in the process, or that you forgot to restart the computer after trying out one of them.
It’s understandable that situations like these can become frustrating. If you find that you’re getting frustrated, it may be worth shutting down the computer for a while and taking a break. You can always return to it later and see if the problem is resolved.
Should you find that problems persist, you can also contact Windows customer service to see what solutions they may have for you. Make sure to let them know what you have already tried in order to speed up the process.
Sources