Disclaimer: This post may contain affiliate links, meaning we get a small commission if you make a purchase through our links, at no cost to you. For more information, please visit our Disclaimer Page.
Mac OS X (or you can call it with its new name: macOS) already offers the ability to capture screenshots with several shortcuts. But if you want to do more than just take simple screenshots, you will have to use a third-party tool.
Many third-party tools out there that you can use to take screenshots and then resize, crop, rotate, flip, annotate, draw or even change the format.
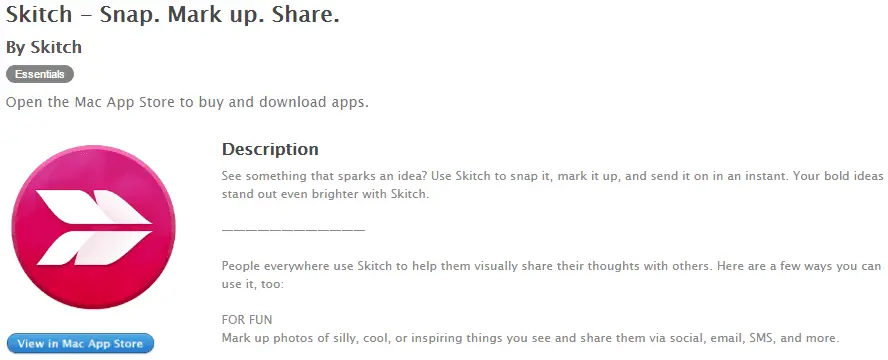
From many available apps, Skitch is my favorite tool to use when I need to do more with a screenshot. For example, take a screenshot, add an annotation and then automatically upload to Flickr.
If you are unfamiliar with screenshots, just read my previous article here.
Best Tools To Capture Screenshots In Mac OS X
In this article, I will show you five best tools to take screenshots and do more. There are four free apps and one premium app that costs you $50 per a license. So depending on what you need, choose an appropriate tool.
I take a lot of screenshots at UsefulPCGuide and Skitch is a pretty great tool to help me do that. With this free app, you can take a quick screenshot, and then annotate if necessary, or automatically upload it and return you a URL.
Features
- Take screenshots of the entire screen.
- Select specific areas and then take screenshots.
- Add an annotate to the screenshots.
- Draw on the screenshots.
- Resize, crop, rotate and flip the screenshots.
- Take pictures with the built-in webcam.
- Transform screenshots/images to other different formats.
- Quickly share screenshots to Facebook and Twitter.
- Automatically upload the screenshots to any locations your choose, such as Flickr, or an FTP server.
Captur isn’t actually a full-fledged screenshot app. It is a simple tool that comes with a menu bar interface for Mac OS X to capture screens. Instead of relying on the keyboard shortcuts, you can use this simple tool to take screenshots from the menu bar.
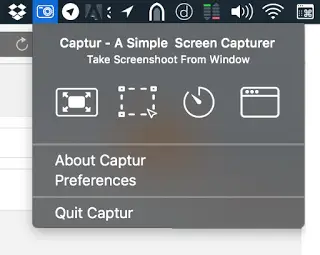
It also allows you to take screenshots in many ways, like entire screen, specific areas, specific windows, or widgets. You can change the screenshot format as well as customize screenshot file name.
Jing is a free tool from TechSmith and focuses on the social aspects by taking screenshots and share it over social networks. The big advantage of Jing is video capture. So if you want both images and video, but don’t want to purchase a license of any premium apps, you will want to give Jing a try.
[full-related slug1=”how-to-print-screen-mac-os-x” slug2=”how-to-take-a-screenshot-on-a-mac”]Grab – a built-in tool
Many Mac users don’t know that OS X has a built-in feature that you can use to take screenshots. Called as Grab and like Captur, it will appear in the menu bar. After launching the app, from the menu bar, you can click to choose how you want to take a screenshot and then take it. You can also use Grab to take a timed screen by selecting Capture > Timed Screen or press “Up Arrow key” + Command + Z.
SnagIt
SnagIt is a premium app that will cost you $50 per a license. This premium app is similar to Jing but comes with more advanced features. It has a lot of features that Skitch has. If you wonder why it costs $50, visit here to read features of SnagIt.