Disclaimer: This post may contain affiliate links, meaning we get a small commission if you make a purchase through our links, at no cost to you. For more information, please visit our Disclaimer Page.
Surround sound is all about the immersive experience. It makes watching TV, movies, gaming, and listening to music a far more impressive experience. Whether you are using a multi-speaker system or speakers designed to take advantage of your room’s acoustics, surround sound is a solid consumer favorite.
Surround sound systems are varied and numerous, with several set up possibilities. Bluetooth is usable with a strong signal to eliminate the lag, while professionals and audiophiles prefer wired set-ups.
Of course, none of that really matters if your system constantly cuts off. It’s especially irritating if you’re dealing with brand-new equipment that just doesn’t work.
The good news is, you’re not alone, and we’ve compiled some excellent troubleshooting tips to set your equipment straight again.
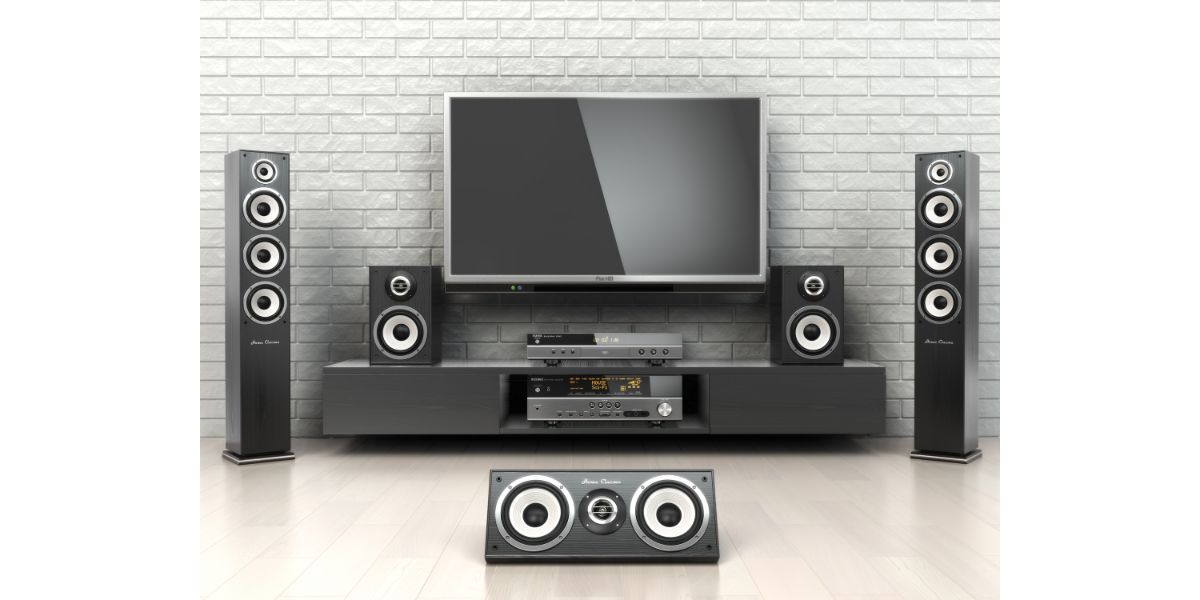
Table of Contents
6 Fixes To Constant Surround Sound Interruptions
1. Process of Elimination
First and foremost, there may not be anything wrong with your speakers or set up at all. Before you start pulling wires, resetting devices, starting over, make sure that it’s not the device you have everything running to first. For instance, if you set up a surround sound system on a TV, make sure it’s not the TV that’s causing the problem.
The best way to check this is to set your surround sound system up on another TV, game console, Blu-ray player, etc. If the problem repeats itself on another device, you know it’s the surround sound system you’re dealing with. If the problem goes away, its the TV after all.
As always, check your wires and cables to ensure everything is hooked up correctly. It wouldn’t do much good if you got the setup correct on the second device without realizing it wasn’t correct on the first device. You’ll be stuck thinking it doesn’t work on the TV when, in reality, it probably works just fine.
Once you’ve eliminated the audio source device from the equation, it’s safe to move on to some other troubleshooting tips.
2. Make Sure Your TV Settings Match Your Setup
Since we’re talking about surround sound systems from a generic standpoint, there’s no telling, from the writer’s point of view, what you’re using and what ports you’re plugging into. However, there is a degree of direction we can give you here.
External speakers hook up to a TV or other devices in a number of ways. While Bluetooth is growing more popular, it’s the lowest of the low when it comes to audio setup perfection, thanks to the lag and potential interference.
Wired setups are the best and there are multiple ways to set them up. Optical digital ports, HDMI, coax digital, and RCA are the most common on a TV, Blu-ray player, or game console (USB as well). In other physical formats, 3.5 mm AUX, 6.3 mm AUX, and various USB types are also sometimes used for audio.
As it stands today, HDMI is probably the best option for rapid data transfer to and from. Regardless of your choice, you have to make sure that your TV’s output audio is set to the right port. With all the different TVs out there, it’s hard to direct you how to do this. Suffice it to say, most of the advanced audio settings menus on TVs are fairly simple to find in the menu.
If you’re hooked into the optical port, you need to make sure your TV setting’s audio reflects that.
3. Bluetooth
This is for the Bluetooth folks out there that prefer a wireless alternative. It makes sense to go with Bluetooth if you hate dealing with cables and don’t want to run wires all the way across the house. The only issue with Bluetooth is interference.
First, it needs to be the latest Bluetooth and blazing fast to keep up with audio in movies and especially in video games. Lag is always a possibility with all but the simplest of setups. You’ll notice lag when you see someone on TV speak and the words no longer match the movements of their lips.
None of that really matter if all you’re getting is a straightforward audio, with no surround sound. This means your Bluetooth is not working at all or there is a good deal of interference going on. Bluetooth, like Wi-Fi, is highly susceptible to interference.
Interference comes in many forms, including distance, microwaves, other radio signals from Bluetooth or Wi-Fi devices, glass, metal, walls, and masonry. If you’re using Bluetooth, direct line of sight between each communicating device is ideal, along with as little distance between them as possible.
Make sure potentially disruptive devices are removed from the room or their Bluetooth features are turned off while you’re using your surround sound system. Reset the Bluetooth or unpair and pair whatever system you are using, once you have arranged the room properly to minimize Bluetooth interference.
4. HDMI Ports
Most people who want to set up a surround sound system will opt for the fastest available setup, which includes HDMI. First, you want to make sure you are using an HDMI cable that matches or exceeds the speed of the HDMI port. HDMI versions include the following, with the higher numbers equating to faster speeds:
- HDMI 1
- HDMI 1.1
- HDMI 1.2 and 1.2a
- HDMI 1.3 and 1.3a
- HDMI 1.4 and 1.4b
- HDMI 2.0 and 2.0b
- HDMI 2.1
Avoid using a standard HDMI cable when your HDMI port says “HDMI 2.1.” To get the most out of the audio portion of HDMI, you want a premium HDMI cable to match your HDMI supported spec.
Also, be sure there is nothing wrong with the HDMI cable itself, such as visual damage, abrasions, or a crimp in the cable. Check both the male end of the HDMI cable and the female port on the TV or device you’re using. Make sure there is no dirt or debris or anything that might disrupt the connection of the HDMI cable with the device.
5. Reset Your TV
This is a simple troubleshooting tip that works surprisingly often. A glitch in the TV’s software is more than capable of disrupting peripherals, including a surround sound system, regardless of the type or brand.
Of course, every TV is different, so the method for going through and doing a soft reset is entirely based on the TV you’re using. Reset options are usually found in the Settings, within the menu, occasionally under “Advanced Settings,” “General,” or even “About.”
6. Use Your Surround Sound Device to Run a Sound Test
Not all surround sound systems feature a digital display, so you may have to choose your options on the TV screen. Either way, you should run a test of your surround sound system and see if you are getting volume on each speaker. If it’s limited to a single speaker out of a larger set, you may be able to isolate a physical problem, such as wiring.
Again, all TVs and surround systems are different, so how you run a sound test is entirely up to the brand of surround sound you’re using and how it interacts with your TV. Typically, you will have to go into the Settings menu, look for “sound” and “Test Sound” or “Sound Test.”
It’s also likely that you can reset your sound system from within this menu as well, which should be an option for you if you can’t locate a physical problem or isolate the issue to a single speaker. Resetting the surround sound system is similar to resetting the TV, and it will get rid of common glitches and bugs that are causing the problem.
Final Thoughts
These are some of the best and most immediately doable solutions when it comes to surround sound issues. This is regardless of your set-up. Surround sound is an excellent addition to any entertainment room, so you want it to work for you when you finish setting it up.
Unfortunately, it doesn’t always turn out that way. But, with some trial and error, the process of elimination, some soft resets, and quality hardware, you should have it up and running in no time, providing endless entertainment to you and your family.