Disclaimer: This post may contain affiliate links, meaning we get a small commission if you make a purchase through our links, at no cost to you. For more information, please visit our Disclaimer Page.
If you’ve got a graphics card that’s been collecting dust for a while, it might be time to give it a spring cleaning. Cleaning a graphics card isn’t difficult at all, but it’s important that you do it correctly to avoid damaging the card.
To revive the GPU, you need compressed air, screwdrivers, isopropyl alcohol, a dusting cloth, and some patience. First, you need to unmount the graphics card from the motherboard. Make use of compressed air and other cleaning tools in a manner that restores the video card’s functionality.
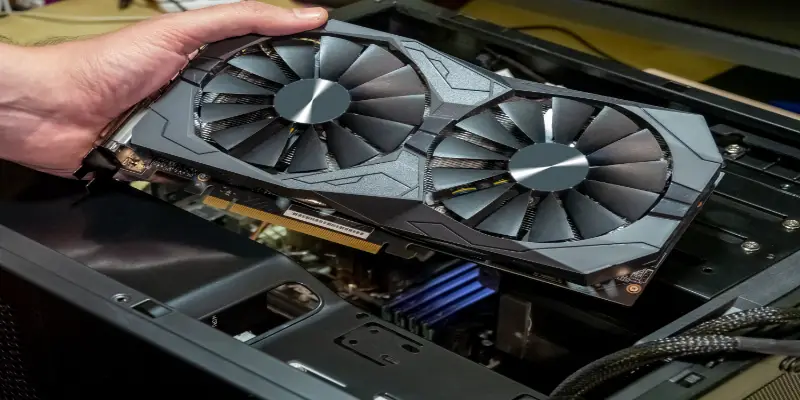
Table of Contents
Is It Safe to Touch a Graphics Card?
There is no harm in touching your computer’s video card as long as the hands are free of oil and dirt. If you unscrew the plugs gently and professionally, you should not fear any possible damage to the card. However, if the card is too hot, you should avoid touching it, or you may damage your hands.
There are two possible methods of cleaning the graphics card in your machine. One way includes unplugging the graphics card from the motherboard, while the other one involves cleaning it without taking it off. Both methods are suitable for different conditions. You will undoubtedly avoid unmounting the card if the dirt is light and easy to remove.
However, removing the graphics card from its socket becomes indispensable when the card is full of dirt and difficult to clean.
The latter method certainly involves taking out the graphics card to get rid of greasy dirt that affects the functionality of the video card. That is why it becomes pertinent to take out the card and get the job done in a single go.
What Can Damage a Graphics Card?
Graphics cards are the primary components of any gaming device that determines its efficiency and gaming reliability. These cards boast several innovative features that enhance their capacity and operational efficiency. Despite this, things aren’t as straightforward as they seem.
Regardless of the efficiency of cooling systems installed on the graphics card, I frequently see people posting about GPU damage. It is a bit challenging to point out the exact causes of video card damage. However, below are the primary causes of damage to any GPU that can cause video card failure.
Dirt and Greasy Dust
Dirt and greasy dust are one of the primary causes of video card damage. The layers of these unwanted substances affect the overall performance of the GPU in many ways. These layers prevent the cooling mechanism of the GPU from working efficiently. As a result, the GPU gets excessive heat shocks and stops functioning ultimately.
Overheating
Heating is the primary cause of GPU failures, and sometimes it fries the entire system within seconds. That is why the provision of a cooling mechanism, metallic backplate, and heat sinks matters a lot when it comes to the reliability of the card.
As a result, those users complain about the damaged video cards frequently. Had they not abused the card’s capacity, they could have avoided the damage in the first place.
Video Card Incompatibility
Graphics card incompatibility is another major cause of GPU damage. You can see this incompatibility issue from two different angles. You can quickly damage the installed graphics card if the card is not compatible with the rest of the components in the system.
For instance, if you install a low-end GPU on an 11th Generation beast, it will undoubtedly destroy the card in a few minutes. Similarly, users can also damage the video card by playing games that are incompatible with their existing cards. As a result, they can blow up their GPUs within minutes of installing those high-end games.
Faulty Manufacturing
Inefficient manufacturing is another major cause of damaged video cards. Never trust companies that have a bad reputation for cheating their customers with faulty products. That is why I always prefer companies that value customer well-being and the problem-solving ability of their products.
How to Clean a Graphics Card?
Cleaning is one of the most effective ways of restoring a damaged video card. You can find various methods online to clean your GPU. However, I believe in thorough cleaning of the video card to restore its efficiency and top-notch functionality. That is why I prefer the method that involves unmounting the graphics card from its socket.
It is pertinent to mention that you should not wait to form a thick layer of dust to think about the physical cleaning of the device. Instead, make a habit of regularly cleaning the PC to avoid any possible discrepancy or system failure.
Here we go!
What Are the Tools That You Require in the Process?
You can do nothing if you do not have the right combination of helping tools. The following are the essential tools when it comes to graphics card cleaning:
- Compressed Air
- Screwdrivers
- Cleaning Alcohol (Isopropyl)
- Q-tips
- Cleaning Cloth
As soon as you have obtained the tools mentioned earlier, you can begin cleaning.
Don’t forget to unplug the graphics card from the main supply before you start the process.
Step 1
The first step involves dismantling different components of the video card. Cleaning many smaller parts will be easier than cleaning a whole unit, which can be challenging.
You can begin by removing the screws from the metallic backplates. Unplug the screws that hold the heat sinks and remove their connection with the cooling fan. While doing so, you need to take care of the following things:
- Take care of adhesives that combine different parts of GPU together. Try to use professional ways of getting rid of thermal adhesive to prevent any potential damage to the components of the card. In other words, be gentle when dismantling the parts of the graphics card; otherwise, you may damage them.
- Using a tool, carefully separate the fan from the PCB connector.
Step 2
Step 2 is the most crucial part of the process as it involves significant operations. After you have successfully dismantled different graphics card components, it is time to thoroughly clean them with the help of the tools mentioned above.
You can start by using the compressed air you got for the process. Try to adjust the air pressure as per the size of the components. Careful use of compressed air will help you eliminate all unwanted materials and layers of dust from each element.
You can use Q-tips on parts that are difficult to reach. Isopropyl alcohol should be used after compressed air has been applied thoroughly. You can utilize the cleaning cloth to further enhance the finish of each component in the video card.
Step 3
Step 3 involves reversing the actions you performed in the first step. After a thorough cleaning of multiple components of the GPU, it’s time to combine them again. Put everything together with the help of thermal paste that acts as an adhesive. Install heat sinks and cooling fans in the same manner as they were before disassembly.
After installing the heat sinks correctly, it’s time to screw the rear metallic plates of the GPU. After screwing the metallic plates, you have completed the most challenging part of the process.
Step 4
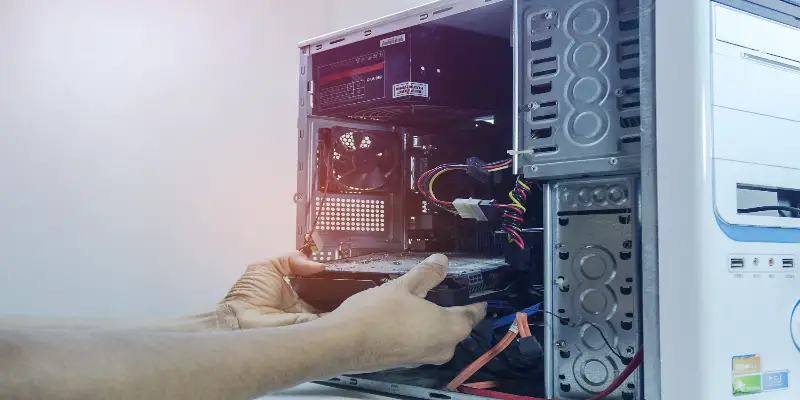
In the last step, you install your graphics card back into the motherboard of your PC. Test the system after installation to make sure everything is working correctly. Pay attention to the picture quality and graphics of the gameplay to see what difference the cleaning process has made.
How Often Should You Clean Your Graphics Card?
It depends on the usage and the build quality of the graphics card. In general, you should
perform regular cleaning of your video card every six months if you are a typical gamer that does not compromise the performance and reliability of the video card.
Conclusion
Graphic cards are much easier to clean than they appear. You only need to employ an appropriate technique besides having essential cleaning tools to get the job done for you. This video card cleaning will enhance the useful life of your card besides boosting its operational efficiency.