Disclaimer: This post may contain affiliate links, meaning we get a small commission if you make a purchase through our links, at no cost to you. For more information, please visit our Disclaimer Page.
JLab creates impressive, great-sounding headphones for affordable prices- but their quality control sometimes is lacking. Many JLab users have had one or both earbuds refuse to charge.
In this article, we’ll walk you through the top 3 reasons your left or right earbud is not charging and how you can solve the issue.
Table of Contents
Why Are My JLab Go Air Earbuds Not Charging?
There are many reasons why either one or both of the earbuds stop charging, including the following three most common issues:
- Issues with the charging case
- Worn out batteries
- Damaged charging cable
Charging Case Issues
When only one of your earbuds refuses to charge, the most common reason is the charging case.
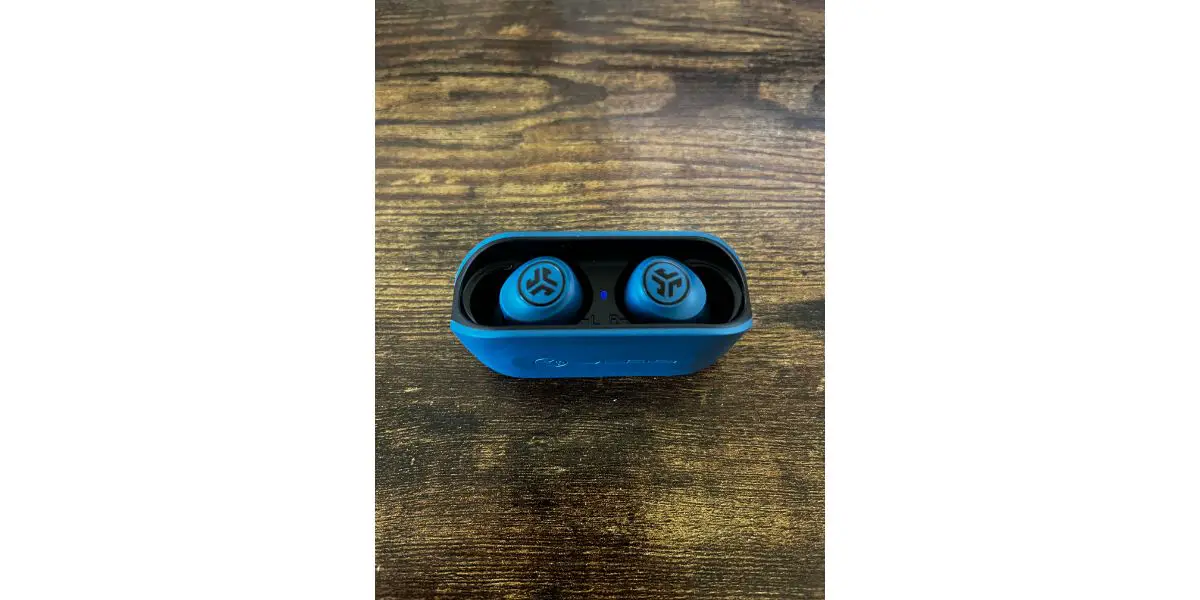
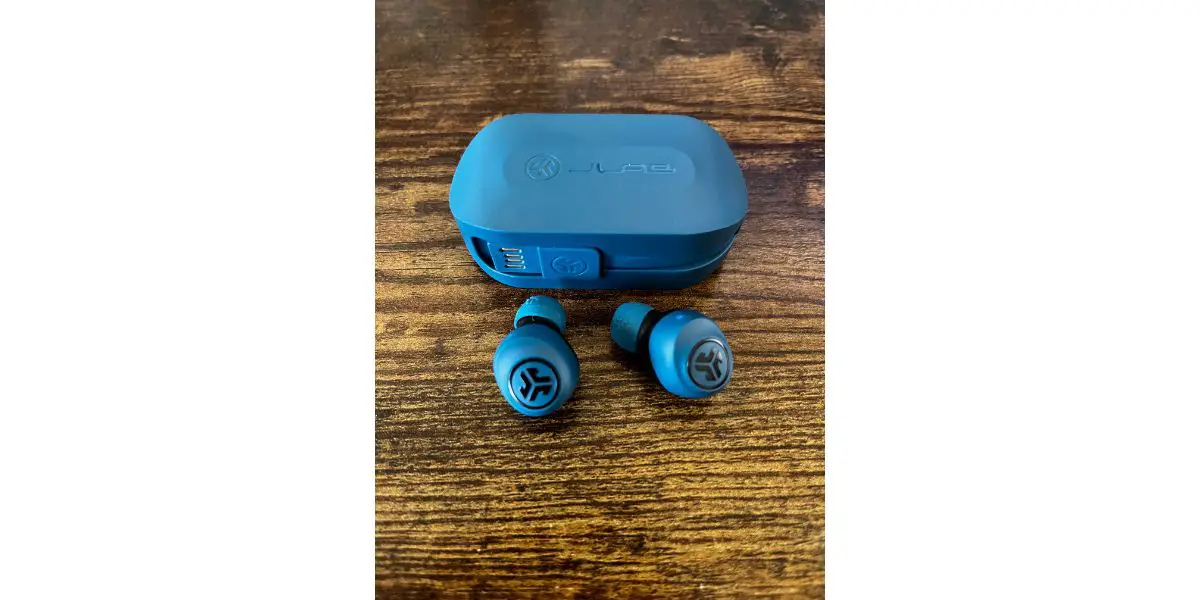
We suggest always using the charging case that originally came with the earbuds. The JLab Go Air have a design that specifically connects with their charging case only. You might get a little charge from an off-brand model, but it will not work as well and could cause your device to overheat.
A dirty charging case is another common problem. Excess crumbs, dust, or dirt will clog the charging capabilities, and your JLab earbuds will not charge.
Check the charging connections and USB-C port for dust or dirt. You should also check the charging points on the actual earbuds to see if anything is clogging their ports.
Moisture is another common cause of charging issues for your buds and case. If moisture gets inside any electrical components of your JLab earbuds, never try to charge them until you have let them dry overnight.
Battery Issues
JLab Go Air wireless earbuds claim to have roughly 32 hours of playtime. The product specs state that each earbud has 8 hours of battery life.
However, true wireless earbuds have relatively unstable batteries that eventually render the buds useless. Your JLab Go Air earbuds are tiny- meaning the battery inside is also incredibly small. Extensive usage further damages the already relatively weak battery.
The smaller the battery, the more problems you will likely face. The battery will drain quickly– despite the promised 32 hours of airplay.
To prevent any further battery damage, you should avoid overcharging or overusing your JLabs. The more your device remains at full charge, the more charge cycles the battery will experience, thus causing it to degrade faster.
Instead, leave your earbuds idle or unused when they have roughly 50% battery. The product claims that the JLab Go Air earbuds have over 60 hours of standby time- almost double the capable airplay the battery supports.
Damage to Charging Cable
Wires break and fray easily during everyday wear and tear.
The charging cable is integrated inside the case, meaning it is conveniently near you at all times and is difficult to lose. However, it also means that your cord will get twisted and bunched up inside the case- which could bend the wires out of shape, resulting in frays and snaps.
8 Ways to Fix Charging Issues with JLab Go Air Earbuds
1. Readjust the Position of the Earbuds
The most common issue with charging JLab wireless earbuds is that the ports are not connecting. Your earbuds must settle flat against the case’s connection points.
Take the earbuds out of the case and try to readjust their positions.
You will know that the earbuds are charging when a solid red light appears. It’ll change to blue when they are fully powered up.
2. Use a Wall Power Outlet
A USB hub cannot power up your JLab Go Air wireless earbuds. Your earbuds will only receive a partial amount of the power they need to charge fully.
Instead, it would be best to plug your charging case directly into a stronger power source– such as a wall outlet.
3. Reset the JLab Earbuds
A factory reset will clear data and give your earbuds a fresh start, solving multiple issues, including charging malfunctions.
To reset your JLab Go Air wireless earbuds, follow these steps:
- Place the earbuds in their charging case.
- Open your paired device- whether your phone or laptop- and forget “JLab Go Air” under the Bluetooth settings.
- Still, inside the charging case, use your finger to quickly tap one of the earbuds into the case seven times. The earbud will blink blue four times.
- Repeat the previous step to tap the other earbud.
- Remove the earbuds from the case. One of the buds should be solid white, while the other blinks blue and white to signify that it’s ready to pair.
After resetting your earbuds, try reconnecting to your Bluetooth device to see if the problem still occurs.
4. Clean Your JLab Earbuds
Earbuds can get nasty easily- between sweat, earwax, dirt, and more! It’s home to multiple levels of debris, and all this mess can block the charging signal to your left or right earbud.
To clean your JLab wireless earbuds, you’ll want the following items accessible:
- Isopropyl alcohol
- A cotton swab
- A lint-free wiping cloth
- Warm water
- Toothpick
Follow these steps to clean your JLab earbuds:
- Remove the rubber ear tips from the buds. You can soak them in a bowl of warm water or run them under the faucet, but you should never run or submerge the earbuds in water.
- Lightly dab a cotton swab into the isopropyl alcohol. Wipe the swap around the JLab charging contacts.
- Using a toothpick, you can scrape out excess gunk from the grates of the earbud. It may be gross- but this step will prevent extensive damage from built-up debris.
- Set the earbuds aside to let them dry.
5. Clean the Charging Case
Keeping up with charging case hygiene will help prolong your earbuds’ battery life.
Follow these steps to clean a wireless earbud charging case:
- Unplug the charging case from any power source and remove the earbuds.
- Lightly dab a cotton swab in isopropyl alcohol.
- Gently wipe the cotton swab inside the charging case, especially around the connection ports. It’s best to do this step right after cleaning your earbuds so that the cotton swab is not too wet– only redip if it is completely dry.
- Wipe the case with the lint-free wiping cloth.
- Let the case sit and dry for a few minutes before using it again.
6. Purchase New Charging Case
If you believe your charging case to be the source of your problems and cleaning it did not help, it may be time for a new one.
Like the batteries inside the buds, charging cases can wear out with extensive use.
You’ll want to get the right charging case for your earbuds- preferably the same one that came with your JLab Go Airs. If you try to use an off-brand charging case, your issues may not get solved.
You can purchase a new charging case directly from JLab on their website.
7. Drop the Case or Earbuds on the Ground
This idea sounds crazy- but it has a proven track record. Many users have struggled to get only one of their earbuds to charge and then either purposefully or accidentally drop them. Later they notice that both earbuds are working perfectly.
This solution means there are some internal components not quite in sync.
Either drop your earbuds on the ground or drop them while they are charging in the case. Complete this step at your own risk.
8. Contact Support
If all else fails, contact JLab support. They can help you troubleshoot further issues or give you a replacement.
If your earbuds are fairly old, it may be time for a replacement. JLab may have inconsistent quality control, but they have great warranties for all their Bluetooth devices. Any Bluetooth JLab product you bought after July 1, 2018, has a two-year limited warranty.
Conclusion
It’s frustrating when one of your wireless earbuds refuses to charge- but it is a relatively common problem due to the small batteries.
To prevent further battery drain issues or charge connection problems, avoid overusing your JLab Go Air earbuds, keep them safe from excessive heat, and clean them regularly.


