Disclaimer: This post may contain affiliate links, meaning we get a small commission if you make a purchase through our links, at no cost to you. For more information, please visit our Disclaimer Page.
Are you getting an error message that says the M.2 drive isn’t detected or it doesn’t show up in the BIOS boot order?
Sometimes when you install M.2 on your PC, it does not show up in BIOS boot priority; hence cannot boot from it. This may be because of issues such as being in UEFI format or reinstalling Windows already installed in a connected drive and more.
In this article, I discuss problems that you will probably encounter with M.2 in BIOS booting and possible solutions to these issues. Read on to learn.
Table of Contents
M.2 Not Showing Up In BIOS Boot Priority
Many times, people encounter problems while trying to install OS or Windows on their machines. Take, for example, you have your Windows installed on the M.2 SSD, but the SSD does not show up in BIOS, so you cannot boot from it.
There are many reasons as to why this is the case. For instance, it’s probably because it’s in UEFI format. Either switch from UEFI to BIOS or get your installations for Windows for UEFI.
To continue with UEFI in booting and installation, check your boot options and disable secure boot, then look for UEFI settings and follow prompts.
Also, if you reinstalled Windows, with Windows already installed on another connected drive, it may have reused the UEFI partition on that drive instead of writing it to your M.2. Thus, I would recommend reinstalling Windows with the other Windows drive disconnected.
Another instance where this problem comes up is, while installing Windows on M.2 SSD, you physically removed all other storage devices from the motherboard (SATA SSD and SATA HDD).
When you try to restart your PC, you get a blue screen error.
And on trying to configure boot options from BIOS options, you will only see SATA SSD and HDD. You won’t find M.2 as your primary boot device.
If you encounter these issues, try to change your settings into the one I list below to solve your problem.
- Advanced\PCH Storage Configuration\SATA Mode Selection- AHCI
- Advanced \Onboard Devices Configuration\PCIe Express Slot and M.2 Bandwidth- M.2 Mode
- Boot\Fast\Boot- Disabled
- Boot\CSM\Launch\CSM- Enabled
- Boot\CSM\Boot Devices Control- UEFI and Legacy
- Boot\CSM\Boot from storage devices- Legacy Oprom First
- Boot\CSM\Boot from PCIe Devices- Legacy Oprom First
- Boot\CSM\Secure Boot- Other OS
- Hard Drive BBS- Option 1= M.2 SSD
- Hard Drive BBS- Option 2 and 3= Disabled
How Do I Get My Computer To Recognize A New M.2?
M.2 NVMe SSD is a new faster solid-state drive that will help improve your computer speed. Hence, if your computer doesn’t recognize it, you better stay here with me to help you get it to recognize your new M.2 device.
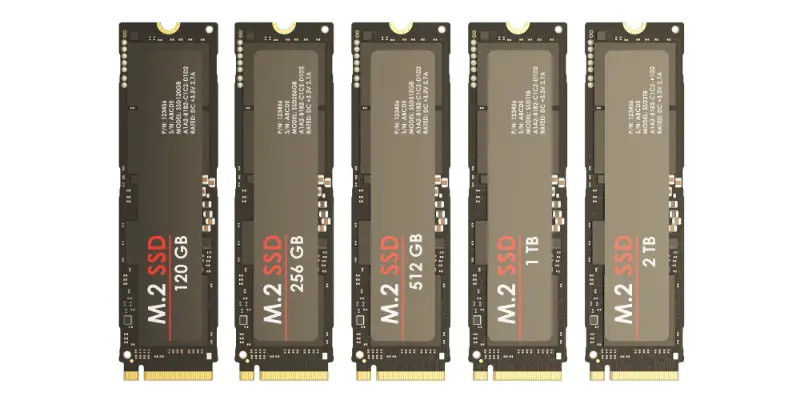
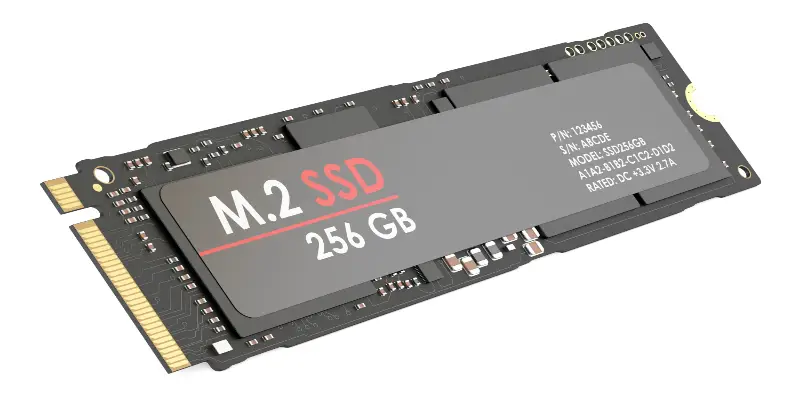
The M.2 SSD is much smaller and faster compared to traditional solid-state drives. It is typically 22mm in width, and its length varies from 30 – 110mm. It connects to your PC via a PCIe slot instead of a SATA cable and can be 50 – 650% faster than the standard SATA drive.
Therefore, to benefit from the above merit of using M.2, follow the directions below to get your PC to recognize it. Below are 4 issues why your M.2 SSD may not be showing up and some steps to fix each issue.
Issue1: Driver Letter Missing Or Conflicting
Because the letter of the SSD is missing or in conflict with another disk, Windows OS may fail to identify M.2.
Follow the instructions below to assign a new drive letter to the M.2.
- Right-click on This PC, select Manage under the storage section, and then click on Disk Management.
- Right-click on the SSD partition and select “Change Drive Letter and Paths….”
- Click the Change button, select a drive letter from the list, and then click the Ok button to confirm changes.
Issue 2: Not Initialized
If the new SSD does not appear in Windows Explorer, it is most likely “Uninitialized.” It must be initialized before the Logical Disk Manager may access it.
To initialize an SSD, follow the steps below.
- Open the Disk Management on your PC.
- Identify and right-click on the disk you want to initialize, then click on Initialize Disk.
- In the Initialize Disk dialogue box, select the disk to initialize. You can choose the style to use from the GUID Partition Table (GPT) or the Master Boot Record (MBR) partition style.
Issue 3: File System Is Not Supported
If the first two techniques fail, you must consider other options. One assumption is that Windows does not support the present file system or that it has become corrupted.
The file system issues are usually displayed as “Unallocated Space,” “Raw,” or “Free Space.” To fix the file system issues, you only need to do reformatting.
Note that Disk reformatting will erase all your data on it. Make sure to back up data to recover data from the formatted SSD.
Issue 4: Disk Driver Issues
Another possibility is that the SSD is not shown in My Computer. This is due to the disk being inserted improperly. As a result, you can reinstall the disk to see if it helps to address the problem.
Follow the steps below.
- Right-click on This PC, and select Manage. Then click on the Device Manager under the System Tools Section.
- Navigate to disk drives. Where you will see the list of storage devices you have connected to your PC.
- Right-click the SSD and select Uninstall Device.
- Remove the SSD and restart your PC. Then reconnect the SSD to check if Windows detects it as normal.
How Do I Change My Boot Priority To M.2?
Sometimes, the default boot order for your PC prioritizes hard drives before removable devices. But it’s not always that you want to keep this setting. Here, I’ll teach you how to change your boot priority to M.2 using the Basic Input/Output Subsystem (BIOS).
Follow the steps below.
- Restart your PC. Press the Windows key, then click the power icon, and press restart. Make sure all the open programs are closed so the PC can shut down.
- Press the startup key on seeing the startup screen. You’ll have to hit the F1 or F2 key on most occasions, but it may vary depending on your PC’s manufacturer.
- Select Enter Setup if prompted. These systems sometimes don’t use mouse input; hence you’ll have to use keyboard keys and Enter key to navigate through the menus.
- Navigate to the Boot tab using your arrow keys. You’ll see a legend display at the bottom of the screen that guides you on which keys to use for a specific action.
- Press + or – to move items on the boot menu screen. You’ll see a list of what is given priority when booting. You can now move M.2 to the top of the list. Use the F9 key to set it back to default settings.
- Press F10. This will save and exit the BIOS menu. You’ll then select Yes before this process ends.
Can See M.2 In BIOS But Not In Windows?
When you install M.2, and it shows up in BIOS and not in Windows File Explorer, it’s because it’s not formatted. Open your disk management tool and format the drive.
If you are using Windows 10, follow the steps below to format.
- Right-click the Start menu and select disk management.
- You’ll then see a disk in the bottom section that is all black. Right-click and select Format.
- Once you finish this process, you will have a usable drive.
Conclusion
Many people are now buying M.2 SSD to use in booting and also for storage purposes. In addition to that, it helps to improve the computer speed. Therefore, if the drive fails to be recognized by Windows or not showing up in BIOS boot priority, it defeats the whole purpose of purchasing it.
After reading this article, I hope you can now quickly optimize M.2 in its usage on your computer. Also, make sure to buy a drive that is compatible with your PC.