Disclaimer: This post may contain affiliate links, meaning we get a small commission if you make a purchase through our links, at no cost to you. For more information, please visit our Disclaimer Page.
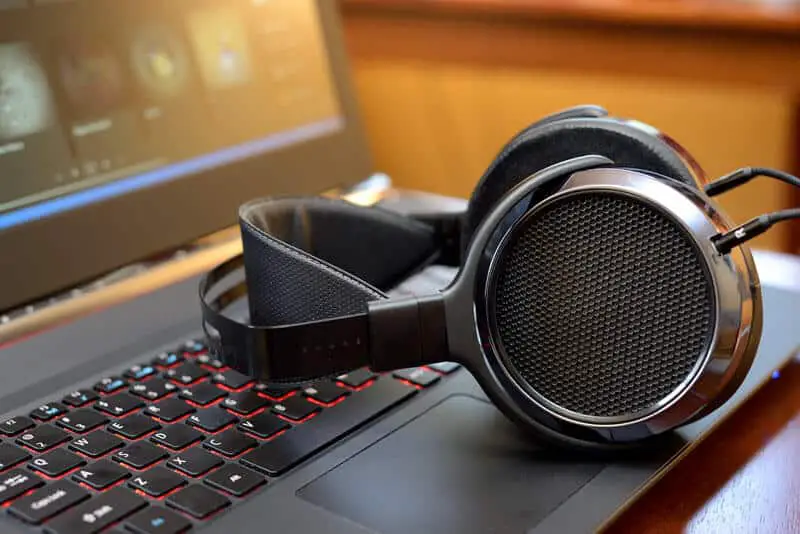
You’ve just downloaded some test tones that you would like to use to test your new speakers or headphones. Suddenly your computer can’t play them. It can be really frustrating to keep receiving the “failed to play test tone” error. So, what can you do about it?
We are going to offer quick fixes that you can do even if you are not a tech pro. But before that, let’s have a look at the causes.
Related Reading: Audio Services Not Responding
Table of Contents
What causes “failed to play test tone” errors?

Errors related to testing tone on your PC can show that there could be an underlying problem between your software and hardware that you need to sort. The following are possible causes of such an error.
- Outdated/corrupted drivers
- Invalid sound configurations
- Audio configuration glitches
One of the common solutions to this is updating your operating system, whether it be Windows or Mac. However, if the problem persists, there are other solutions.
Solution 1: Switch to Default drivers
- You can switch to default drivers by following the steps below.
- Find the audio driver by going to the “Device Manager”.
- Right-click the audio driver, then select “Uninstall”.
- Complete the process by checking the “Delete the driver software for this device” then click “Uninstall”.
- Press “Search for new hardware button” which will install the audio driver that has defaulted.
Solution 2: Change the speaker settings
Sometimes when you upgrade Windows 10 configurations, the settings of the speaker can change to Quadraphonic. If your speaker is a 5.1 speaker system, go to the settings of your speaker and modify them from Quadraphonic to 5.1.
Solution 3: Change the sound format
The problem with the test tone may also lie with your sound format. Consider changing the audio format, and you won’t experience this issue. The following steps should sort it out.
- Go to the sysbar on your pc and right-click the volume icon and select “Playback devices” on the menu.
- The Sound Window will open. Set the headphones and speakers as the default devices. You can set them as default devices from the list by right-clicking the tool then select “Set as the default device”.
- The properties window will open up to the advanced tab. Go to the “Default Format” section and choose a different audio format.
- Save the changes by clicking Apply and OK.
Confirm that your sound is working well after the above steps. This solution has worked for many users and can work for you too.
However, you might need to try various formats. In case it doesn’t work for you can restore your original settings by clicking Restore Default.
Solution 4: Disable all audio enhancements
Are you using some audio enhancements? You may not be able to play test tone in case you are using some audio enhancements.
This happens sometimes, but not always. While most sound cards support enhancements, they can obstruct windows and result in this issue.
Disabling audio enhancements can solve the problem. Below are steps to help you disable all audio enhancements.
- Click speaker properties
- Go to the “Enhancements” tab and click Disable all enhancements.
- To save changes, click Apply then OK.
Solution 5: Use a Sound Trouble Shooter
Did you know that you can be able to solve the failed to play sound test tone by running a troubleshooter? Glitches with audio configuration can result in this issue.
Fix this issue automatically using the steps below.
- Open the Settings app by pressing Windows Key + I
- Go to Update & Security segment after opening up the Settings app.
- Check the menu on the left side and choose Troubleshoot. You should also select Playing Audio then click on Run the Trouble Shooter.
- The computer will now start the troubleshooting process. Let it complete fixing the issue.
Below is another alternative way of running the Sound Trouble Shooter.
You can as well follow the steps below to achieve the same results:
- Click Window Key + S and key in Control Panel. From the list, select Control panel
- Click Trouble Shooting
- From the left menu, select View all
- Click Playing Audio
- The troubleshooter of Playing Audio will open
- Start it by clicking on Next
- Wait for the troubleshooter to finish, and the problem will stop. Your audio should start working by then.
Solution 6: Do an SFC Scan
As mentioned earlier, your system files corruption can cause the failure to play the test tone issue. An SFC scan is the best solution to this.
Follow the steps outlined below.
- Open the Win +X menu by pressing Windows Keys +X
- From the list, select Command Prompt (Admin).
- Sometimes the Command Prompt might not be available, and you can use PowerShell (Admin) as well.
- Enter SFC/scan now then click Enter to run it after Command Prompt opens
By now the SFC scan should start and can take 10-15 minutes. Avoid interrupting it.
While most users found this method useful, at times, you may not be able to solve the issue using the SFC scan. In this case, you can run the DISM scan which Works too.
Steps of running a DISM scan:
- Initiate Command Prompt as the admin
- Key in dism/cleanup-image/online/restore health and click Enter to run the DISM
- Scanning will start immediately and can take 15-20 minutes. Don’t interrupt the process.
- After the DISM scan is done, confirm if the error is still there. The SFC and DISM scan are excellent in eliminating this error.
Solution 7: Disable Exclusive mode
Errors with failing to play test tone might arise due to sound settings such as the Exclusive mode. You must disable Exclusive mode to fix this problem. Follow the steps below:
- Go and open the Speaker properties of your PC.
- Find a way to the “Advanced” tab then disable “Allow applications to take exclusive control of this device” in Exclusive Mode section
- Save the changes by clicking Apply then OK.
The error of “failed to play test tone” should not trouble you anymore. The solution to it depends on the possible causes of the issue. With the solutions above, you can now fix it in minutes and enjoy playing the test tone.