Disclaimer: This post may contain affiliate links, meaning we get a small commission if you make a purchase through our links, at no cost to you. For more information, please visit our Disclaimer Page.
If you’re noticing that the Modern Setup Host on your computer isn’t quite working correctly, then you’ll need to look into your options for resolving the problem. Not to worry! We’re here to provide you a number of methods you can use to get your computer working as you need it to without too much of a hassle.
Just follow the steps carefully and your problems will be solved in no time.
Table of Contents
What is the Modern Setup Host?
Typically, the Modern Setup Host is a program that hangs out in the background of your computer. It helps with installing and archiving files, just helping things to run a little more smoothly. However, there can be instances when it needs to be fixed or disabled. This can really depend on your situation, but make sure that you’re okay with the results of any method you use to fix it. In some cases, computers may have a beta version, known as “Windows Technical Preview.”
Related Reading: What is Superfetch?
Solving Problems With This Program
In some cases, the modern host program can either stop working or start using too much CPU. When this happens, there are a number of methods you can employ in order to get things working correctly again. Within the following methods, you’re likely to find something that will get your computer back on track.
Using The DISM
Many issues that connect to the modern setup host are related to corruption. One of the tools you can use to stop corruption is the “Deployment Image Servicing and Management” tool. This is a program that is able to get Windows images repaired.
Follow these steps for this method.
Step One
Start by pressing the Windows key, or selecting “Start.”
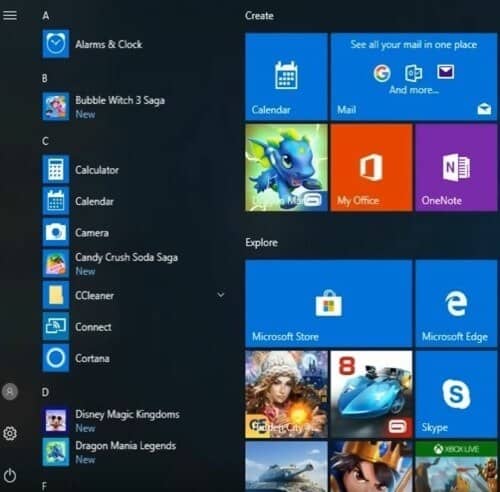
Step Two
Type “Cmd” into the search box. Then, find the matching result and right-click on it. Select “Run as administrator.”
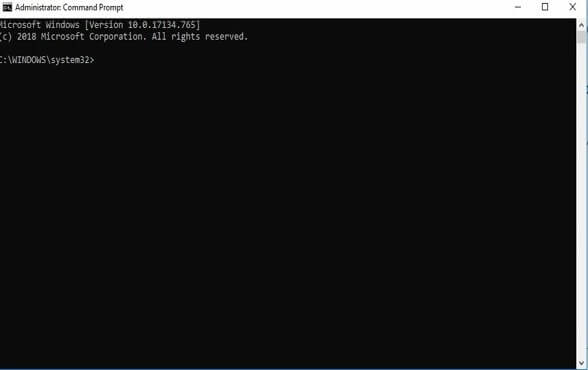
You’re now going to need to type in three different commands. Make sure to enter them carefully and correctly.
Each command will start with DISM.exe /online /cleanup-image
After the first row of commands, add /scanhealth to the end of the command and hit enter.
In the second row, replace /scanhealth with /checkhealth. Press enter.
Finally, the third row should end with /restorehealth. Hit enter once again.
Step Three
Now, check to see if the modern host issue has been resolved.
Check Your System Language
The language your computer is set to should by the same as the UI System Language that functions as your default. Otherwise, issues can occur.
Here’s how to check and change the language as needed.
Step One
Press the Windows key and “I” at the same time.
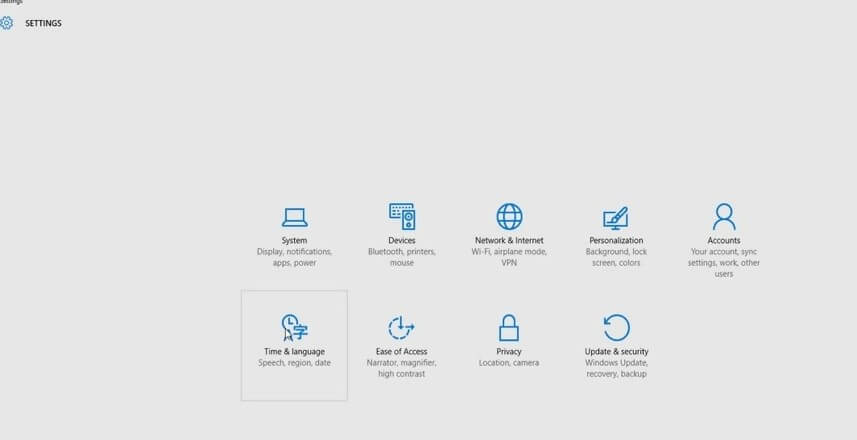
Step Two
Find “Time and Language” and click on it. Follow this up by selecting “Region and Language”.

Step Three
If you find that the language does not match your default system language, then you’ll need to change it so that it does match.
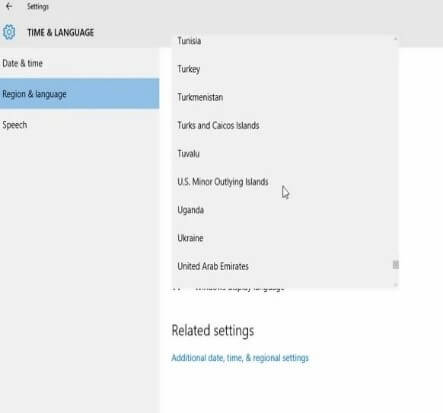
Step Four
If the languages match, you can move on to another method.
Try Disabling Windows Update
Another option you have to clear away modern host problems is to simply disable the Windows Update program. Keep in mind that if you do this, you won’t be able to engage in updates so make sure you’re okay with that before you continue.
Step One
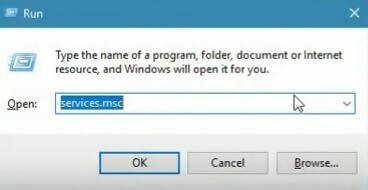
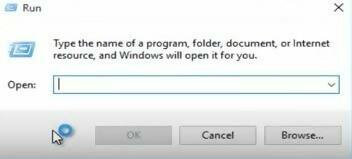
Press the Windows key and “R” simultaneously. Enter “Services.msc” into the box.
Step Two
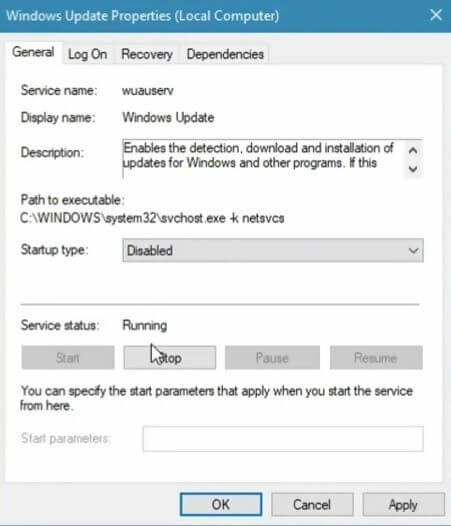
Find “Windows Update” and right-click on it and select “properties.”

Step Three
In the tab labeled “General,” make sure that the “startup type” is set to “disabled.” Then, you’ll want to click on the “stop” button.
Step Four
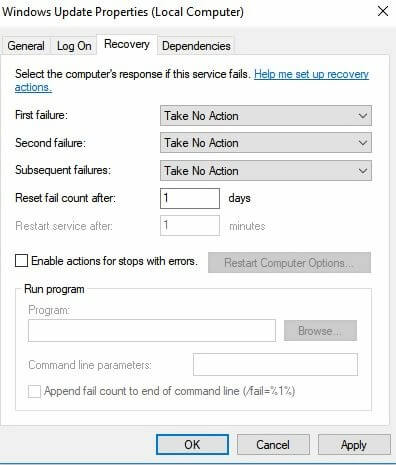
Next, move over to the tab labeled “Recovery.” Then find “First Failure” and get it set to “Take no action.” Then, press the “apply” button, followed by a final confirmation.
Run the Troubleshooter
For many, the first step in addressing a modern host issue is in making use of the built-in Windows troubleshooter.
Here’s how you complete that process.
Step One
Click on “Start” or press the Windows key. Enter “troubleshooter” and select the matching result.

Step Two
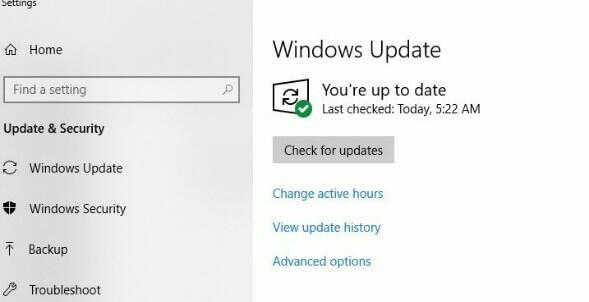
Now, find “Windows Update” and then opt to get the troubleshooter running.
The troubleshooter will ask questions and provide instructions for you to follow. Make sure to complete the whole troubleshooting process, then check to see if the problem is solved.
Try a Clean Boot
Sometimes, you may have programs that are running in the background which may be causing problems. Luckily, a clean boot can resolve problems like this.
Follow these steps to perform a clean boot.
Step One
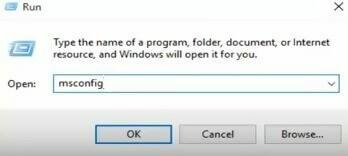
Press “R” and the Windows key at the same time.

Step Two
Type in “msconfig” and then follow that up by pressing enter.
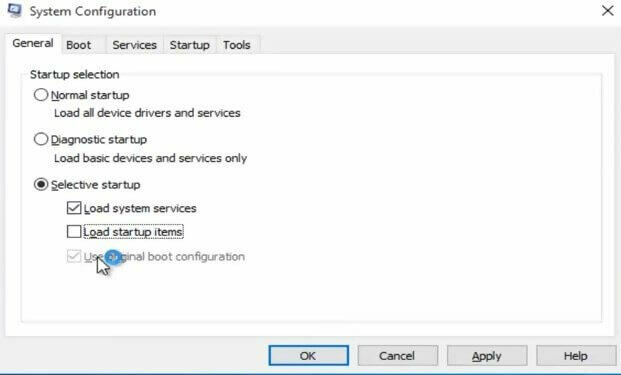
Step Three
Get onto the “General” tab, and then make sure that “load startup items” is unchecked.
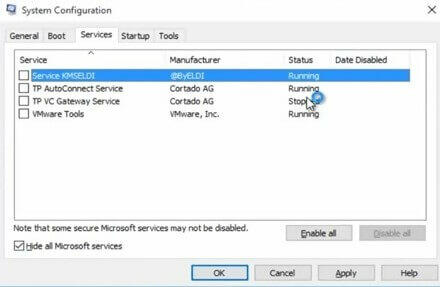
Step Four
Next, head over to the “Services” tab and then find “Hide all Microsoft Services” and make sure the box next to it is selected. Next, opt to “Disable all.”
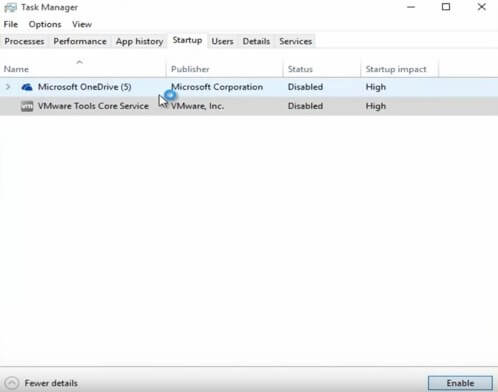
Step Five
Now you’ll want to go to the “Startup” tab and select “open task manager.”
Look for all of the startup items that are set to “enabled” and disable them.
Step Six
Next, you’ll return to the “Startup” tab and then select “Ok.” Restart your computer and check to see if the issue has resolved.
Empty Software Distribution Folder
There can be instances in which the Software Distribution Folder needs to be emptied in order to resolve corruptions within the software. The good news is that these are usually just temporary files, so you won’t need to worry about deleting anything important.
Step One
Press “R” and the Windows key simultaneously.
Step Two
Open up your file explorer and head to the “C:” folder, followed by “Windows,” “Software Distribution.”
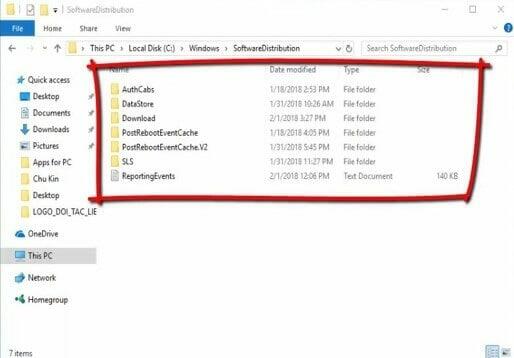
Step Three
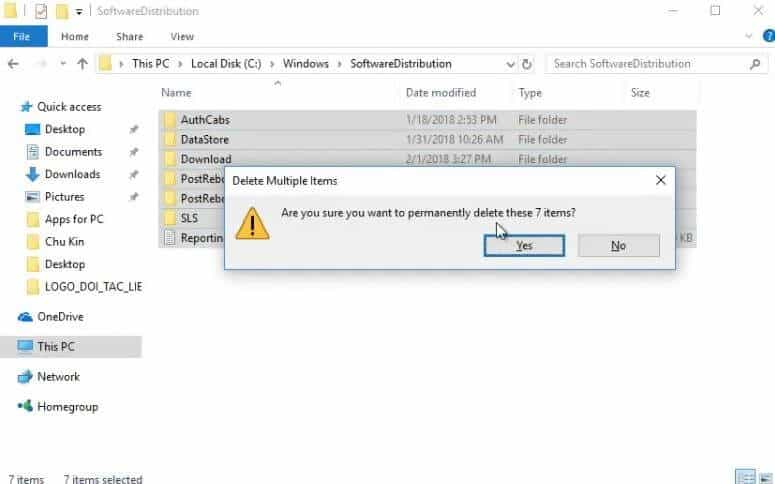
Delete all of the files and folders within that section.
You may need to provide administrator permission to delete these items. Go ahead and do that.
Step Four
Restart the computer and check for continuing problems.
Sources
https://www.youtube.com/watch?v=kKUQMje4–Q