Disclaimer: This post may contain affiliate links, meaning we get a small commission if you make a purchase through our links, at no cost to you. For more information, please visit our Disclaimer Page.
Computer viruses evolve with time and are getting increasingly more challenging to counter. MacBooks have been viewed as impenetrable against viruses for so long due to their excellent security mechanisms. However, some are starting to doubt whether this will hold up as viruses evolve.

Table of Contents
How To Know if Your MacBook Has a Virus
You cannot get a virus on your MacBook by simply visiting a website. However, you may get infected with other malware and security threats. Viruses can enter through other methods, such as Word files and infected programs, but websites are typically safe.
Here’s how to determine if your MacBook has been infected with a virus:
Your MacBook’s Performance Is Slower
One of the telltale signs of an infected MacBook is slower and sluggish performance. This is because viruses take up your computer’s resources and control your systems.
A virus may cause you not to be able to control your cursor and other hardware as seamlessly as before because it has interrupted the command pathways.
Depending on the virus, it may delete files and programs or even control your system completely.
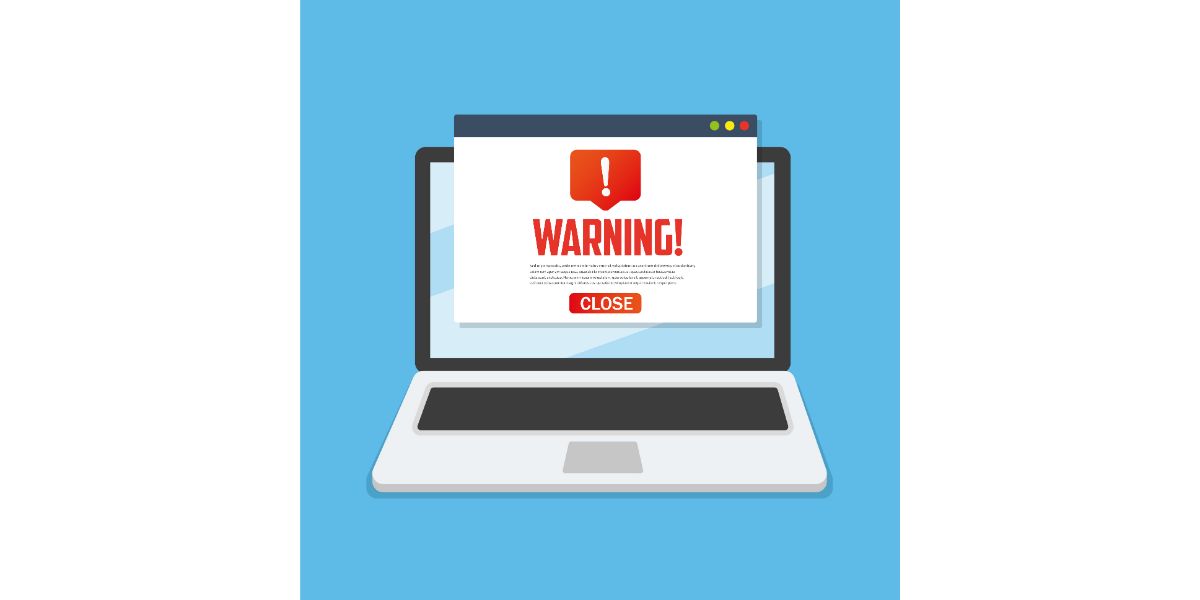
You Have Applications You Didn’t Download
Sometimes, you may see icons on your computer that you didn’t even download. This could be a sign that the virus is making copies of itself. Viruses often play with your curiosity and lure you into clicking the program, which speeds up the replication process.
The same goes for unexpected pop-up windows with poorly worded commands that don’t make sense. As a general rule of thumb, you should never click on an app or pop-up window that seems suspicious or that you didn’t download.
Your MacBook Heats Up Quickly
If your device is heating up much faster than before, it could also be due to one or more viruses. In satisfying the user’s commands, the motherboard and circuit systems work together to produce the expected output.
When it senses that the output isn’t churned out, it will keep on trying until it is. The repetitive transfer of electrons through the wires throughout this process will heat up the highly conductive system.
The Terminal CLI Confirms You Have a Virus
The Terminal CLI was designed by Apple for experienced programmers to execute actions not supported by Apple’s Graphic User Interface.
The Terminal has a black logo with some codes written on it and allows you to check for viruses.
Here’s how you properly use Terminal to check for viruses:
- Open Terminal and paste the code: “defaults read /Applications/Safari.app/Contents/Info LS Environment” without the parenthesis.
- If your MacBook is virus-free, it should say the following: “The domain/default pair of (/Applications/Safari/app/Contents/Info, LS Environment) does not exist.”
- If it says otherwise, you may have to perform some anti-virus mechanisms, which I’ll discuss later.
- If it does show the message on number 2, paste the code: “defaults read ~/.MacOSX/environment DYLD_INSERT_LIBRARIES” below the code on Number 1 s/Safari.app/Contents/Info LS Environment” . If it once again says that the domain does not exist, your MacBook is virus-free. If it says otherwise, read on and follow the anti-virus mechanisms below.
How To Prevent Viruses on a MacBook
One of the reasons why the “Apple products can’t get viruses” myth has become popular is because Apple has always prioritized the internet security of its users.
Still, you can use many supplementary mechanisms to ensure that your files are protected and your user experience is seamless.
Always Update Your Software
As you may know, viruses continue to evolve and become more powerful and updates are Apple’s way of responding. They keep the anti-virus mechanisms running quietly in the background, unlike Windows, where the Defender Antivirus always pops out alerts.
This is one of the reasons even the newest updates continue to be compatible with models as old as 10 years. Apple wants to continue providing its users with security even if they have obsolete models.
Additionally, any time you change security settings on your MacBook, you’re always required to enter your password. This is because viruses will most likely modify these settings to operate more seamlessly, and they’re unlikely to know your password.
Furthermore, the latest MacBook models’ drives are encrypted, securing the data you have on them.
Apple’s tight security measures are a primary reason the malware count for the Mac pales in comparison to Windows. No matter how elaborately designed a malware code is for the MacBook, the tight security measures are bound to block them anyways.
However, there has been a recent spike over the past few years in MacBook malware, and Apple trying to get ahead of them with new anti-malware measures. This is why it’s important always to download the latest updates, as this protects your Mac against even the most elaborately designed malware codes.
Change Your Security Settings
Here’s how you can change your security settings for added protection against viruses:
- Open System Preferences. Under Security & Privacy, click on the General tab.
- Below, you may see the “Allow apps downloaded from:” portion with the “App Store and identified downloaders” already clicked. It would be a better idea to click on the “App Store” button alone, as this ensures added protection against fake apps from untrustworthy developers.
- If you only recently purchased your Mac, you can turn on FileVault, which you can find next to the General tab. This encrypts your data and prevents it from being stolen. However, be warned FileVault takes a while to encrypt all the data, so if you have your Macbook for a while, you can skip this part.
- Navigate back to System Preferences, and then go to Sharing. You will see File Sharing automatically turned on. Un-tick this box. Anyone on the same network can know your device’s name and the things you share. This is particularly dangerous if your files have no passwords.
How To Remove a Virus From Your MacBook
If Terminal CLI shows you have a virus, here’s how you remove it from your MacBook’s system:
- Under “Go,” go to Utilities.
- Click on Disk Utility. Click on First Aid and then click Run when the pop-up window appears.
- Go to System Preferences, click on User And Groups, and then click on Login Items.
- Highlight all the apps you see and remove them one by one through the minus button below.
- Check your browser for any harmful extensions. Update your browser first, and then go to your extensions. Check to see if there are any extensions you didn’t download. Delete the unfamiliar ones.
- Change your default search engine to Google, Bing, or any reliable search engine you prefer.
- By now, your disk and search engines are cleared of any viruses. Check your Applications folder and go through all the application names. If there are any unfamiliar ones, drag them and move them to Trash. Do not open them, as this may cause the spread of the virus.
- Afterward, use Terminal CLI to check if there are still viruses. If it says “does not exist,” you should be good to go. Finally, you can use the Terminal CLI to check for Hidden Files in your device. we’ve written an article about that here.
Conclusion
Despite Apple being the undisputed leader in anti-virus mechanisms, viruses can still enter your device. Luckily, through supplementary antivirus mechanisms and security settings, you can make sure your MacBook is virus-free.