Disclaimer: This post may contain affiliate links, meaning we get a small commission if you make a purchase through our links, at no cost to you. For more information, please visit our Disclaimer Page.
Have you ever noticed that after a while, your controller’s buttons have become less responsive?
Over time, your PS4 controller functions may wear out or stop working as they should. The wear and malfunction may be because of high frequency use, careless handling, dirt, spills, and power issues.
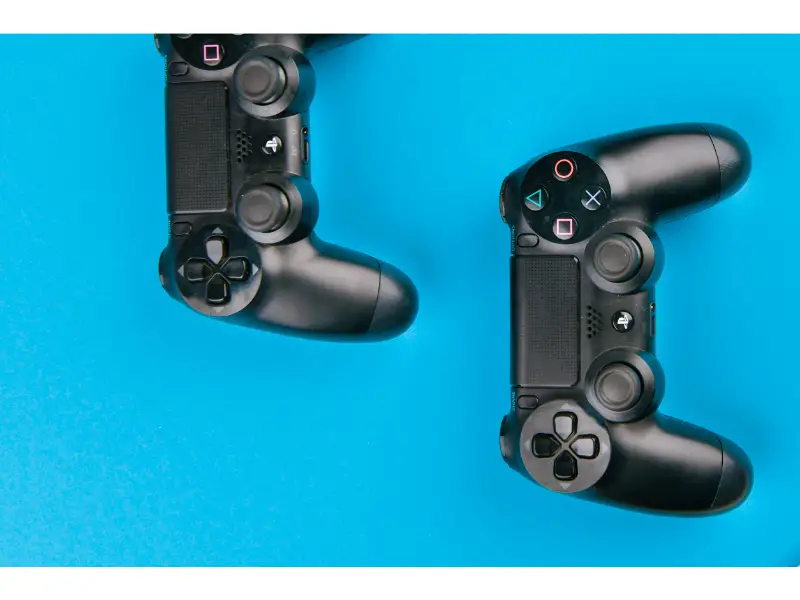
(Attribution: ©kay4yk/123RF.COM)
Table of Contents
How Long Do PS4 Buttons Last?
Despite their regular use, PS4 buttons can last for as long as a decade before showing signs of wear or malfunction. With prolonged use, you may notice some buttons don’t respond quite as smoothly as before.
Additionally, the joysticks may become less sensitive or develop a stick drift. Replacing and repairing PS4 buttons can be quite a task and involve some expense. You’re better off taking good care of your equipment rather than working on repairs. To help your PS4 controllers last longer, you can:
- Avoid rough play. When gaming, don’t push other players around or swipe at their controller.
- Store the controller away from reach and in an upright position after each game. When left lying around, people might sit or step on the controller and damage the buttons. Additionally, the joy stick may start veering to one side and not set in properly to the resting position, resulting in stick drift.
- Clean the controller. Food, drinks, grime, and debris tend to get in between the layers. With time, if not regularly cleaned, the dirt will accumulate inside the cracks and cause functional difficulties.
- Don’t eat or drink while you play. This is a difficult rule to maintain, especially with kids. Nonetheless, you can enforce a rule of no playing during meals and snacks.
If playing games is one of your favorite pastimes, then getting grime and food particles all over your console is a normal occurrence.
Additionally, the skin of our hands is a major source of contamination. You end up transferring skin, respiratory viruses, and even fecal matter each time you handle a PS4 controller.
Also, we talk, laugh, cough, and even shed a few tears when playing our favorite games. All this means your controllers should be regularly cleaned for maintenance and to protect our health.
To extend the lifetime of your PS4 game controller and protect yourself from infectious diseases, clean the controller including the buttons after each gaming session. To do that, you can:
- Use diluted alcohol to wipe down the buttons, handles, and grips.
- Wipe the whole exterior using cotton swabs.
- Use a clean soft toothbrush for grime and dust in between the cracks and seals.
- Use a microfiber cloth for the electric circuits if you have to open the controller. Only open the controller for major cleanup or after a serious spill. Otherwise, it’s enough to only clean the outside of the controller.
Why Do PS4 Controller Buttons Wear Out?
Over time, you may notice your gaming buttons sticking down in place even after you have released the button. You may also notice some physical wearing out around the buttons and handles. Some of these button malfunctions may be caused by:
Dirt
Like all parts of the house, your gaming area can collect dirt and residue over time. Cleaning up your gaming area and your equipment should be part of your regular cleaning routine.
You can use wet wipes to clean the surfaces of your PS4 controller, including the buttons, joysticks, and handles. You can also use a blast of compressed air to dislodge any debris which may be stuck in the cracks and crevices.
Spills
It’s normal to want to enjoy a drink as you play your video games. In the excitement of the game, it is possible to occasionally spill some of your drink onto your gaming equipment, accessories, and peripherals.
Spills can mean a huge risk to your gaming equipment, moving parts, and the electric circuits. Sugary drinks can leave dried sugar which may corrode some parts and make other parts too sticky to move normally.
This causes it to malfunction and you may have controller issues such as vibrating problems.
Any time you notice a spill, switch off the controller and wipe away the spill. Once dray, repeat the cleaning process with compressed air and wet wipes.
Charge
Your buttons may not work properly if you’re playing with a controller with low charge. This is especially so for the vibration motors connected to the button movements.
Always try to ensure your controller is fully charged before you start playing. If that isn’t possible, at least only play when you have over 50% charge and stop when the controller starts running low. Don’t play to full battery discharge.
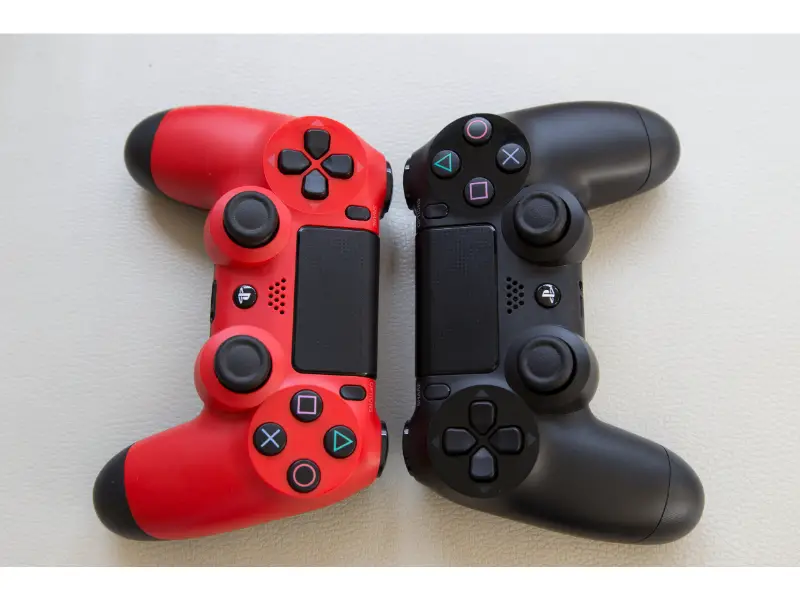
(Attribution: ©aircoolsa/123RF.COM)
How Do I Fix My PS4 Controller Buttons?
With a few simple tools, you can fix minor issues with your PS4 controller buttons. Most times, all you need is a small screwdriver and a pair of tweezers. The following steps should help guide you in checking for faults, cleaning the inside of the controller, conducting minor repairs, and even replacing some buttons.
- Clear out a flat workspace so you have a clean working area and you don’t lose any screws or parts which may drop out. Using your phone camera, take a photo of your game controller. The photo will help you reconnect everything in its right place.
- Start by using a #00 Phillips screwdriver to remove the four 6mm screws at the bottom of the controller. Avoid forcing the two sides apart as you may damage the screw threads and result in permanent damage.
- Pinch the left handle of your controller to create an opening. Using a flathead screwdriver or a pair of tweezers, wedge it into the opening to gently pry open the two parts. Gently pull it forward until you have removed the left handle.
- Repeat the process to remove the right handle.
- From the front of the controller, use the flathead screwdriver or tweezers to wedge open the top from the bottom. Pry through the case splitting running from the Share button to the Options button. Do this motion carefully and slowly as some of the parts will be connected to the circuit wires and ribbons.
- When you pry these two parts open, three things will come loose. These are the two trigger springs and the grey reset button extension. Carefully store them aside.
- With the two sides lying side by side, detach the motherboard ribbon. Simply pull it straight using your fingers. Be careful not to tear the ribbon from the port connector. You can use a marker pen to note the orientation of the ribbon to avoid confusion when reconnecting the pieces.
- With the tweezers (or small forceps), loosen the battery plug to remove it. Once you’ve removed the battery plug you can remove the battery off from the motherboard.
- Using the #00 Phillips screwdriver, remove the one screw at the bottom of the battery retainer.
- With extreme care and slow movement, detach the touchpad ribbon. You will find it connected to the motherboard. Note the orientation though the flip locks make it easy to know which end matches which end.
- Separate the motherboard and the front cover. Watch out for the vibration motors. As you dislodge the motherboard, watch out not to tilt the front cover as the buttons may fall out.
- With the front cover upside down, remove the rubber covers of the buttons. Don’t tilt as the buttons and covers may fall out and get lost.
- Use the tweezers to remove the buttons from their slots one by one. If you took a photo at the beginning, it will later be easier to find out which button goes where during reassembly.
- Remove the arrow keys, the PS button, the share button, and the option buttons too.
- Clean out all dirt and debris using wet wipes. Leave for a minute to dry before reassembling the parts.
- If you have an old controller you can switch out some of the worn-out buttons.
Now that you fixed your controller buttons, make sure to test it out!
Bottom Line
Due to the several factors mentioned, the controller buttons may wear out over time. Avoiding these problems may extend the life of the buttons.