Disclaimer: This post may contain affiliate links, meaning we get a small commission if you make a purchase through our links, at no cost to you. For more information, please visit our Disclaimer Page.
Can you tell if your PlayStation 4 controller is performing well? If so, how?
To test your PS4 controller, connect it to a computer and go to “Devices and Printers” from the control panel. Select the option for your PS4 controller and go to “Properties”. Here, you can examine all of the buttons individually to examine whether or not they are working.
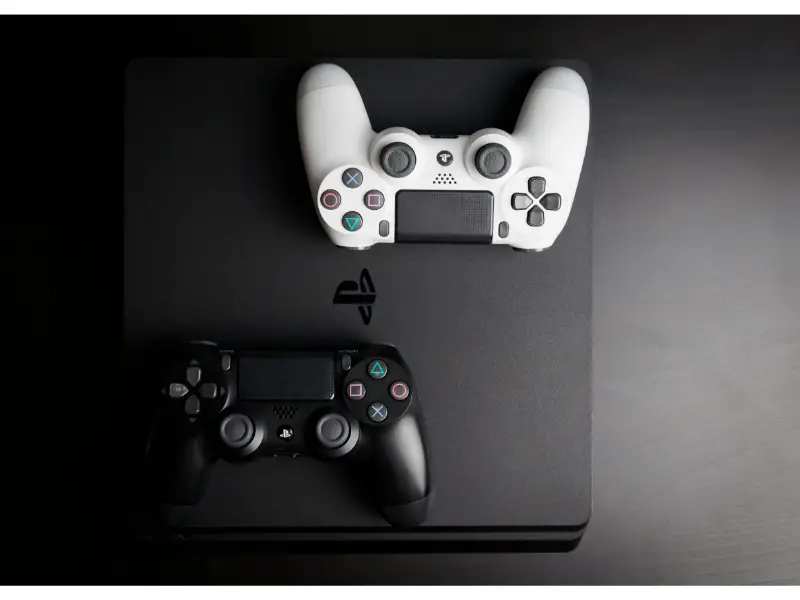
(Attribution: “© [gargantiopa]/123RF.COM“)
Table of Contents
How to Test PS4 Controller Buttons on PS4?
The DualShock 4 is the official controller for the PS4. It is a versatile gaming controller that you can use wirelessly for a dynamic gaming experience. Different PS4 games will require you to operate with different buttons on the device.
And even if one button falters, it may greatly hamper your overall enjoyment.
If you are having trouble playing a game, it can be due to multiple reasons. Sometimes the problem lies with the controller or specific parts of the controller, while other times the console itself may be the source of the issue. Knowing where the problem is located is essential in trying to fix it.
Fortunately, there is a way for you to check if all the buttons are working normally or not. All you need for this is access to a computer, the controller, and a USB to Micro-USB cable.
So, here is how you test the buttons on your PlayStation.
- Connect your PS4 controller to the computer with a micro USB cable.
- Open the computer’s control panel. Here, you will see a variety of different settings.
- Click on the “Devices and Printers” option below the headline “Hardware and Sound”. Here, you will get a list of all the peripheral devices connected to your computer.
- If your PS4 controller is successfully connected to the computer, you should see an icon resembling it. Right-click on that icon.
- From the resulting menu, click on “Game Controller Settings”.
- A new window will pop up. You will see the name of your device highlighted. If it is not, then highlight it by selecting it.
- Click on the “properties” option located in the bottom right corner.
- Another window will show up. In this window, you will see all of the buttons of your PS4 controller displayed as well as the touchpad.
- Now, press each of the buttons individually to see how they react on the screen. A bar will slide to show you how hard you are pressing the buttons on the controller.
If the display on the screen is reacting to all your actions, then you will know that the controller is functioning just fine. You will be able to play with this controller on your PS4 console without any issue.
If any of the buttons are not working properly, then there will be no response on the screen. This will easily indicate that the controller is not at full capacity.
You may face problems with one or more buttons and/or the touchpad. In that situation, you may need to get the controller fixed or get a replacement.
How Do I Calibrate My PS4 Controller?
Now sometimes, the buttons will respond to your command but not show the desired effect. This is often the case with the touchpad especially, as this part requires a more delicate grip.
If the pad is not calibrated properly, your commands will be wayward and the effect on your game will be frustrating.
This is where calibrating your PS4 controller can be a fine solution. Fortunately, for windows 10 users, there is software built-in to their PCs that can perform this task.
By doing this option, you save yourself from buying a brand-new controller. Instead, you can keep your current controller and make sure that it works to the tune of your preference.
So, let’s discuss how you can manually calibrate your PS4 game controller with Windows 10:
- Open your PC’s control panel.
- Under the headline “Hardware and Sound”, select “Devices and Printers”.
- Right-click on the icon that resembles your PS4 controller.
- Now, select “Game Controller Settings” from the resulting menu.
- In the following window, make sure that your designated devices are highlighted. If so, then click on properties on the bottom right corner of the window.
- From the next window, click on the “settings” tab.
- You will see two options under the text. Click on the option that says “Calibrate”. This will initiate the Calibration wizard.
- A new window should pop up. Click on “next”.
- Keep the left thumbstick of your DualShock centered and press any button on the controller. Then click on next.
- Move the left thumbstick of your DualShock to all four corners and then press any button on the controller. Click on “next”.
- Move the triggers up and down. Then click on any button.
- Do the same for the right thumbstick.
- When you are done, click on “finish” and the process will be complete.
Once you are done, you can open up the same window where you tested all of the buttons. The tab for “test” is right next to the “settings” tab. If you are happy with the result, you simply click on “apply” and then “ok”.
If you are unsatisfied with the results, you can return to the calibration window and adjust it again.
How To Reset PS4 Controller?
Now, you should not consider replacing your PS4 controller the moment it starts to act abnormally. It is not always a case of a malfunctioning controller that is beyond repair.
Sometimes, a simple reset can restore your controller to all its former glories.
Similar to many devices, the controller also has a memory cache of its own. By resetting the device, you clear all the cached data as well as clear any software that is stuck in a misbehaving pattern.
Things You Need to Check Before You Reset
But before you decide to reset your misbehaving controller, you should take some preparatory actions. Otherwise, the entire process may turn out to be for naught.
- Turn the PS4 off and unplug the controller for a few minutes.
- Try a different port for connecting your controller. Or you can try a different USB cable with the controller.
- Try replacing the battery of the PS4 controller.
- Follow the steps for checking a PS4 controller on your computer.
After you have done these steps and you are still facing issues with the controller, you can perform a “soft” or a “hard” reset, depending on how much you are willing to go.
Soft Resetting your PS4 Controller
Note that you need an additional controller for this task or use a keyboard and mouse setup. Because the faulty controller is going to be inspected and so you will not be able to use it to navigate the console.
- Open up the dashboard on your PS4 by pressing the PS button.
- From the dashboard, go to “settings”.
- Now go to “devices” and then to “Bluetooth devices”. Here, you should see a list of all the devices connected to your console currently, including your PS4 controller.
- Select “disconnect”.
- Press the options button on your active controller and select “forget device”. Then confirm.
Hard Resetting Your PS4 Controller
- Take a paperclip.
- There should be a small hole at the back of your controller, near the L2 button. Use the paperclip to press it.
- Press and hold it for a few seconds.
The hard reset should be complete. In both hard and soft resets, you need to reconnect your controller the same way you connected the first time. Afterward, you can test to see if the controller is functioning properly or not.
If the problem persists, then you may need to consider acquiring a new one.
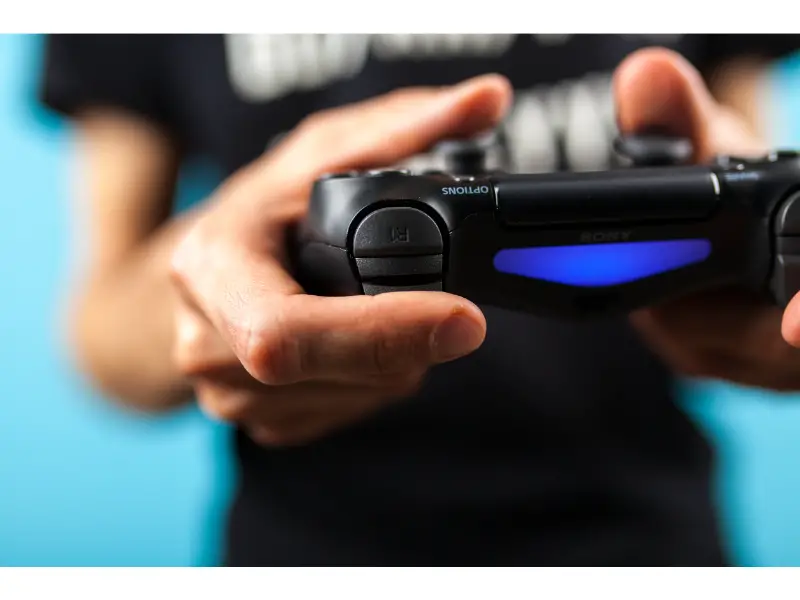
(Attribution: “© [gdolgikh]/123RF.COM“)
Conclusion
You should always try to test the controller before you decide to buy a replacement. This can save you both the money and the headache.