Disclaimer: This post may contain affiliate links, meaning we get a small commission if you make a purchase through our links, at no cost to you. For more information, please visit our Disclaimer Page.
Have you noticed each program that’s located on a desktop always has its own icon? It’s a small picture that represents a program or a file. When you click on it, the program will be opened or started to run a function. It often uses to identify a program or a type of file.
For example, if you double-click on Google Chrome, then the Chrome browser will open. Or if you double-click on a .doc or .docx document, it will be opened in the associated program, such as Microsoft Word.
The purpose of icons is to help us quickly determine an application or a type of file. Those icons are often stored in the icon cache so that they can almost immediately be displayed instead of loading them every time.
In case you’re getting issues with Windows icons or icon cache, such as icons don’t load/show correctly, use the method below to rebuild the icon cache. It may help you to resolve the issue.
Tip: You can also create a customized icon for any applications with Microsoft Paint. Read this guide from wikiHow.com for further instructions.
How to Rebuild the Icon Cache in Windows 10?
There are several types of broken icons, such as instead of showing the correct icon, it shows a blank icon, damaged icon, or incorrect icon. When this issue occurs, the perfect solution is to reset the Windows icon cache and let it rebuild automatically.
In this post, I will show you the instructions to rebuild the Windows icon cache on your Windows 10 PC.
[alert-note]The rebuild process also works in Windows 7 and Windows 8 and helps to repair broken icons. However, it’s a bit different.[/alert-note]Before getting started, you should know where Windows stores the icon cache file.
In Windows 7, Microsoft puts the icon cache file at:
C:\Users\<username>\AppData\Local\IconCache.db
In Windows 8 and Windows 10, it locates it at:
[alert-warning] is the username that you are using to log into your Windows PC.[/alert-warning]C:\Users\<username>\AppData\Local\Microsoft\Windows\Explorer
When accessing this folder, you may see many icon cache files. To rebuild, you need to clean up this folder by deleting all files there. However, you can’t delete those files like you would removing a normal file because Windows Explorer is using them.
To get started, press Windows + X, choose A and then YES to launch Command Prompt with administrative privilege.
In the Command Prompt window, perform the command below to kill Windows Explorer:
taskkill /f /im explorer.exe
In the next step, perform the following command.
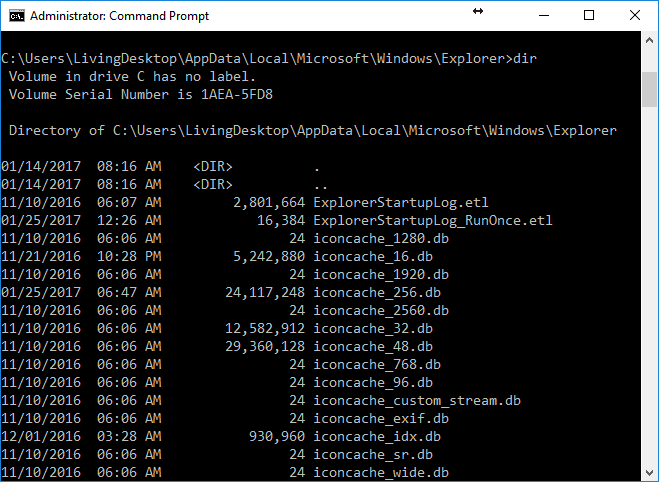
C:\Users\<username>\AppData\Local\Microsoft\Windows\Explorer
You also have to replace <username> with your actual login username of Windows. In this case, my username is LivingDesktop. So, the command should be:
C:\Users\LivingDesktop\AppData\Local\Microsoft\Windows\Explorer
or
cd C:\Users\LivingDesktop\AppData\Local\Microsoft\Windows\Explorer
Next, type:
del iconcache*
to delete all Windows icon cache files. After that, perform the dir command to see whether there’s any file left. If one or more files are still there, you’ll have to close all running programs and repeat the process again.
To start Windows Explorer, type:
start explorer
in Command Prompt.
You can now restart your computer. The icon cache will automatically rebuild and resolve the issue related to Windows icons that occurs on your Windows 10 computer.