Disclaimer: This post may contain affiliate links, meaning we get a small commission if you make a purchase through our links, at no cost to you. For more information, please visit our Disclaimer Page.
Kodi is a convenient application used by many. However, it’s not always an easy application to update. Depending on your device, you may have just one, or many methods for getting those updates installed. We’re going to cover some of the more popular options here. Follow along and you’ll have Kodi updated in no time.
Related Reading: How to Install Exodus on Kodi
Table of Contents
Updating Kodi
On Mac OS
You only really have one option for updating Kodi on your Mac device. The good news is that it’s a pretty simple process, so you won’t need to worry about things getting too complicated.
Step One
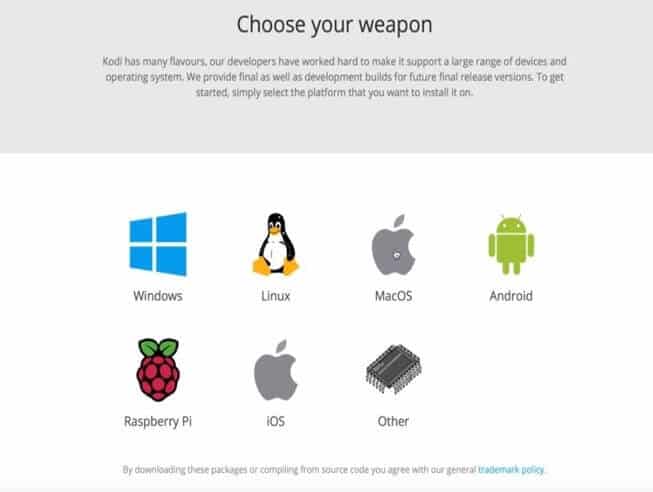
First, go to the Kodi website. From here, you’ll act as though you’re downloading the program for the first time and select “Download.”

Step Two
Choose the download option for Mac OS.
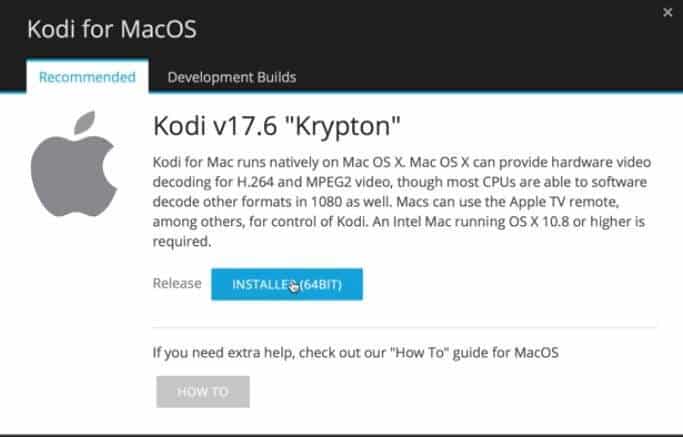
Step Three
Here, you’ll want to choose the 64-bit installer. This will download the newest version of the program.
Step Four
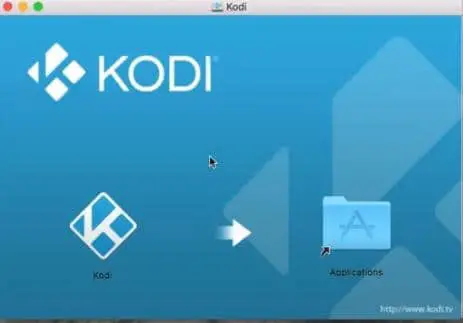
Double click on the file in order to open up the containing folder.
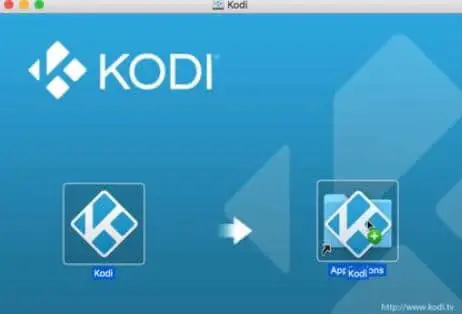
Step Five
Pick up the file and place it in your “Applications” folder. At this point, the computer will ask if you want to replace the files already in existence on your computer. Select “yes” and allow the computer to replace the files.
For Android Devices
Android keeps it easy by simply allowing you to install the updates using the Google Play Store. Use the following instructions to get that process completed.
Step One
Open up the Google Play Store on your device.
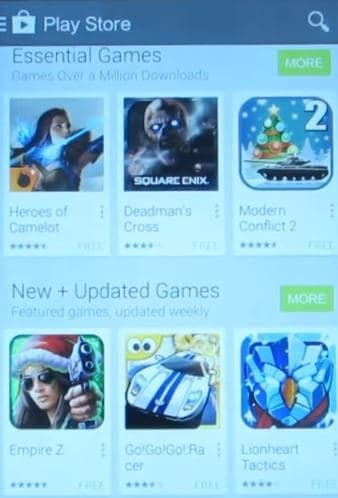
Step Two
Within the store page, you should see three lines in the upper corner of your screen. Click on this to open up the menu.
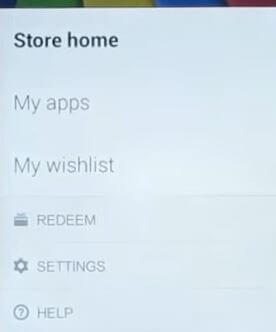
Step Three
In the menu, click on “My apps and games.”
Look for Kodi in the list. If updates exist for the application, you’ll see a clear “Update” button.
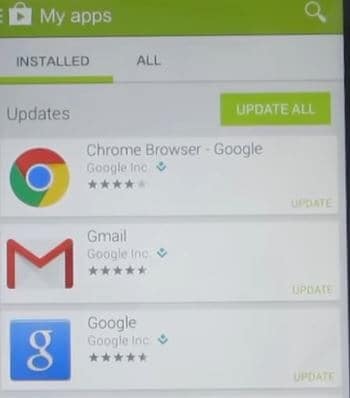
Step Four
If you’re seeing that update button, press it and allow the device to install the update.
On Your Xbox One
Under normal circumstances, your Xbox will make sure updates are handled without you ever having to worry about them. However, there may sometimes be problems that result in you having to handle updates yourself.
Step One
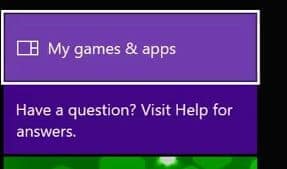
On your controller, begin by selecting the Xbox button.
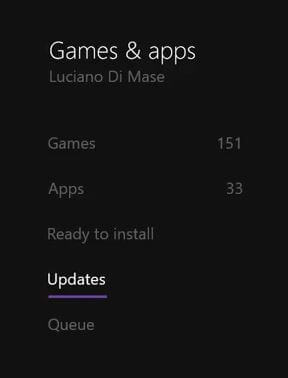
Next, look for the “My Games and Apps” option and select it.
Step Two
Now, seek out “Updates.”
Here, you will see any updates that may be available. If you find one for Kodi, you can install it at this time.
If you want to allow this process to happen automatically, you can change it in the settings on your Xbox.
On Your Smart TV
Generally, this option will work the best on Android smart TVs. After the steps for this process, we’ll let you know what you need to do for updating Kodi on non-Android smart TVs as well.
Step One
First, you’ll want to open up the Play Store on your TV.
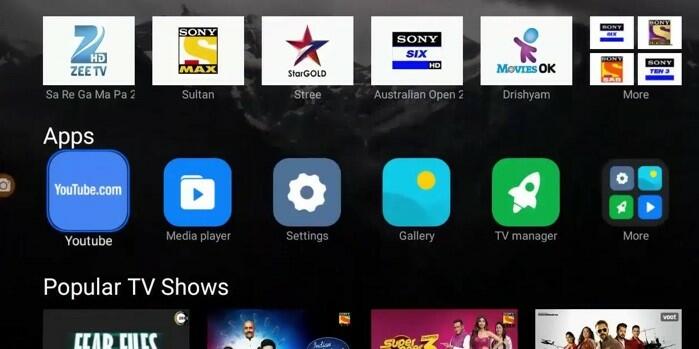
Step Two
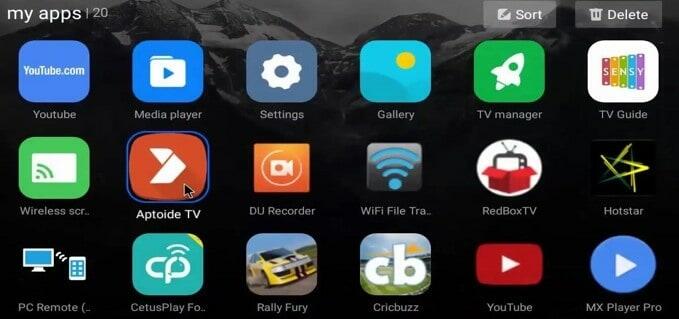
Then, find the “My apps” option.
Find “Kodi” on the list.
If there is an update available, this is where you’ll be able to install it.
For Non-Android Smart TVS
Find the device you have Kodi installed on and update it as per the instructions available for that device. Then, you’ll need to mirror the screen to your TV.
On Windows
Much like with the Mac OS, this process is going to require downloading the application again in order to replace the previous version. This is typically done through the Windows Store.
Step One
Find the icon for your Windows store or search for it in the Start search bar. Then, open the application.
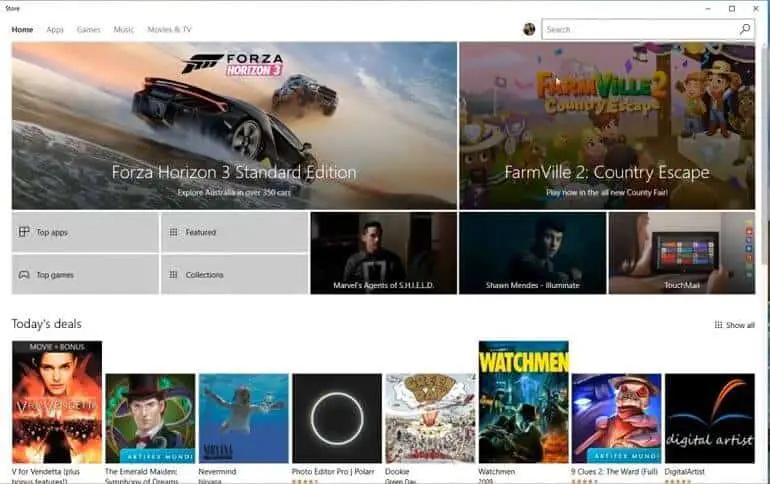
Step Two
In the top right, you’ll find a search bar. Go ahead and type “Kodi” into it.
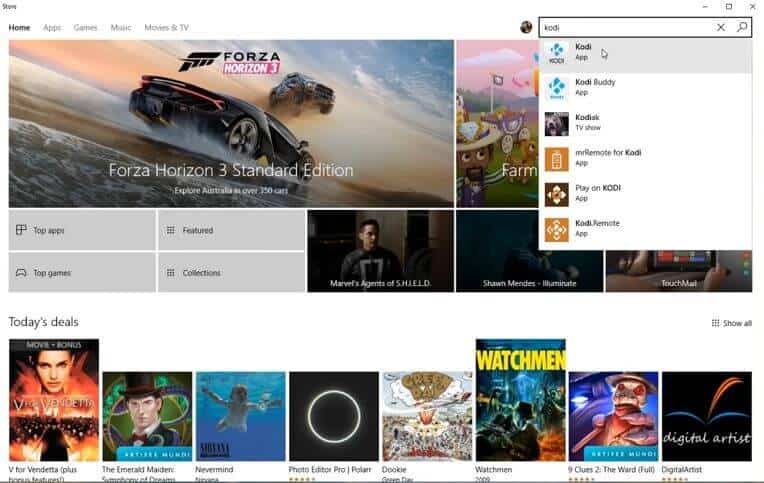
Step Three
When you’re searching for Kodi, make sure that you choose the original option as there might be some lookalikes. This result will display as being made by “XBMC Foundation.”
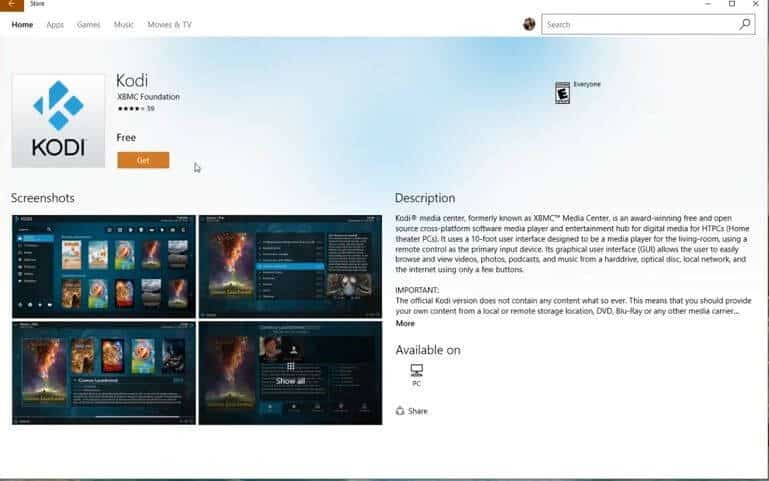
Step Four
Once you have found the right result, simply click on “Get.”
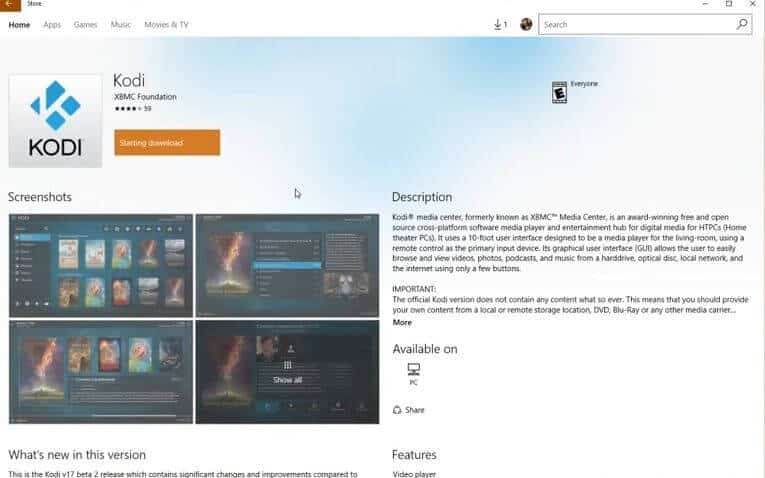
Step Five
Windows will handle the rest, and this version will replace your older version of Kodi.
Using Linux
Those who are familiar with Linux know that many features are controlled through the use of commands. The following are the commands you’ll need for updating Kodi.
- First, you’ll need to run your terminal interface. In order to do this, simply press “CTRL”, “ALT” and “T” at the same time.
- Once the terminal is open, type in “sudo apt-get update” and then hit enter.
- Next, type in “sudo apt-get upgrade;”
- Now, you’ll need to type in “sudo apt-get dist-upgrade;”
At this point, the newest version of Kodi will install.
For the Amazon Fire Stick
Much like both Windows and Mac OS, this will require downloading Kodi as if you’re doing it for the first time. That said, it is a little more complicated than those other processes.
Step One
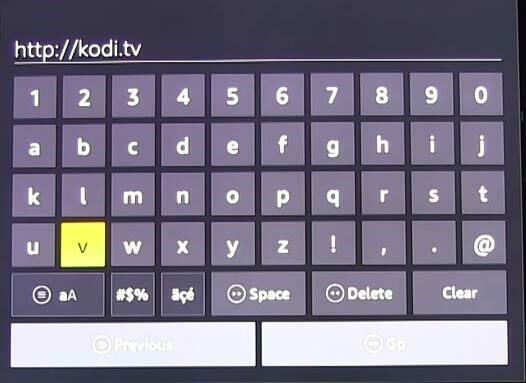
First, you’ll need to find your search option and enter “downloader” into it.
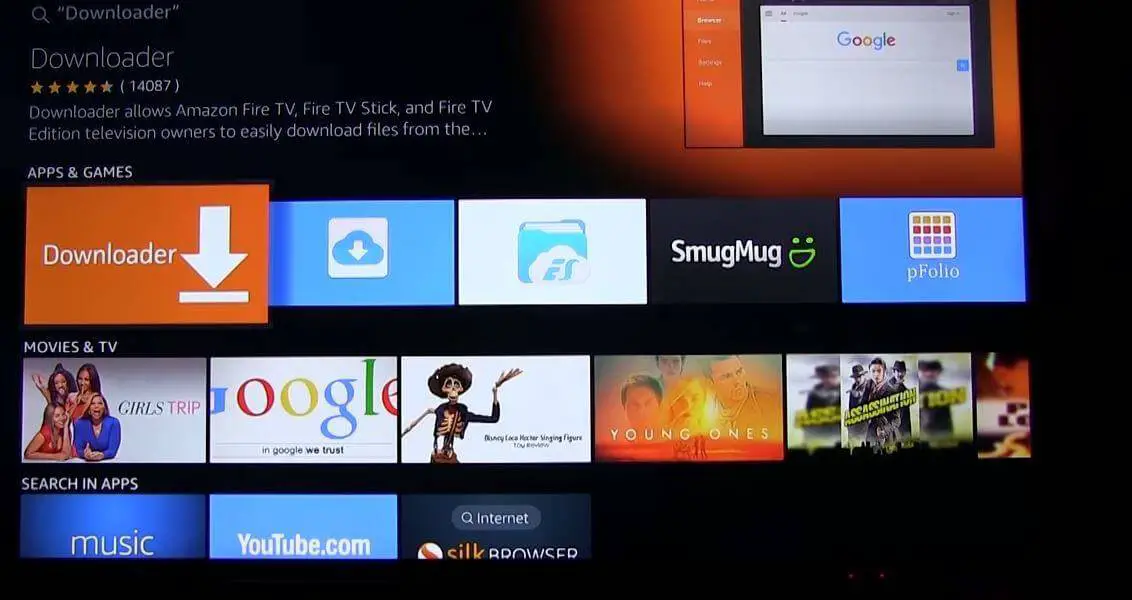
Step Two
Beneath the virtual keyboard, you should see the name of the application you’re looking for. Select that name.
Step Three
Now, select the cloud icon and allow the application to install.
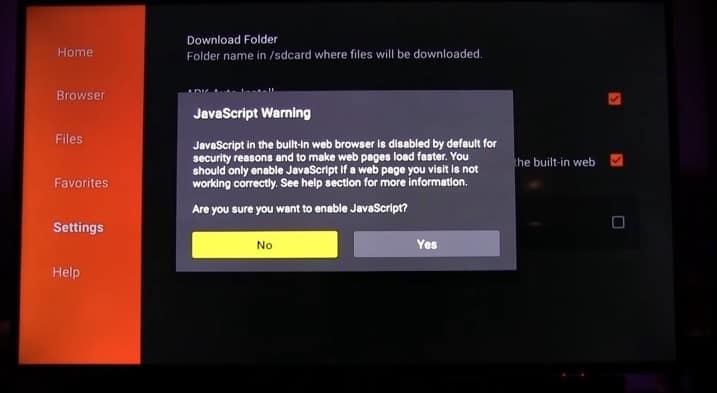
Once you have the program installed, open it up and navigate to the settings.
Make sure you have opted to allow JavaScript to be enabled.
Step Four
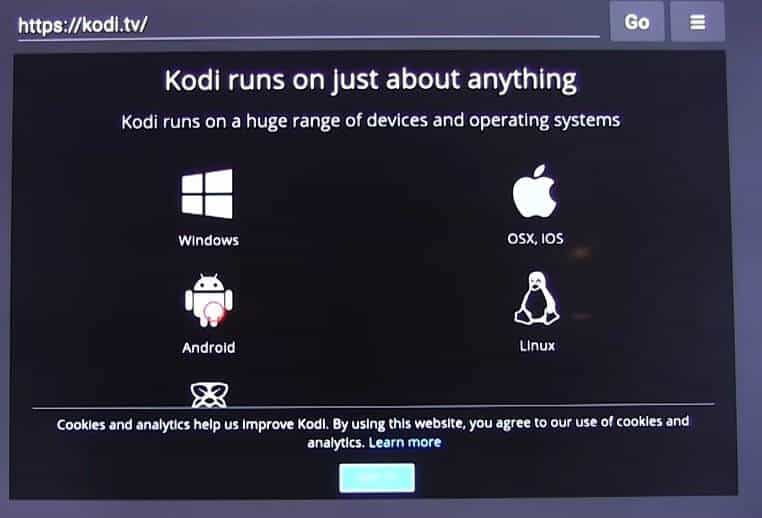
Head back to the home screen, and then search for the Kodi website.
On the bottom of the website home page, choose the logo for Android devices.
Step Five
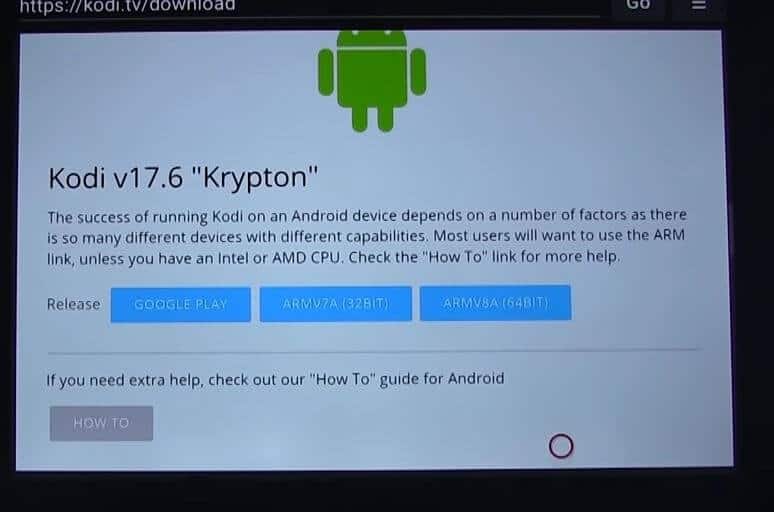
You should see a box with “ARMV7A (32 Bit)”. Allow this option to download.
A new window should pop up. In that window, opt for “Install.”
Step Five
Wait for the installation.
On iOS
Unfortunately, you won’t be able to download or update the Kodi application on the iOS store. Instead, you’ll have to work through alternative means. Often, this means connecting your iOS device to a computer and making use of the Cydia Impactor.
Sources
https://www.youtube.com/watch?v=-KO4s_xHpDw
https://www.youtube.com/watch?v=ewDjWu5zKFk