Disclaimer: This post may contain affiliate links, meaning we get a small commission if you make a purchase through our links, at no cost to you. For more information, please visit our Disclaimer Page.
Oculus Quest and Oculus Quest 2 are two of the most popular VR gaming consoles in the fledgling, often uncertain VR gaming market. They’re excellent devices, to be sure, but not exactly up there with the likes of PC and game consoles.
For that reason, they don’t get us much troubleshooting love, though they do have occasional issues that require a fix. Both devices are fairly robust, and neither feels flimsy nor cheaply made. With that being said, constantly crashing is probably not a hardware issue.That is, unless you’ve dropped it on a hard floor or ran head first into a wall while wearing them. If your Oculus Quest is constantly crashing, there’s probably something going on that’s far more subtle than impact damage.
Table of Contents
5 Potential Fixes To Constant Oculus Quest Crashing
1. Reset Your Oculus Quest
Let’s start off with one of the least elegant and most simple of solutions—the standard reset. Part of figuring out why a device is crashing is often like slinging mud at the wall, seeing which one sticks and which one slides down, making a mess on the floor.
Both headsets have a physical power button located on the device and, to do a standard reset, all you need to do is hold the power button down.
There’s really no set time, so just hold the button down for about a minute. You won’t get a beep or any kind of indication that the reset is complete.
Believe it or not, this is the most common troubleshooting tip for Oculus Quest devices. Mostly because of how frequently it works.
Resets are simple but nearly always effective, especially for eliminating minor bugs and glitches in the software that are likely causing the problem.
2. Update the Oculus Quest’s Software
This is the second most common fix and cause behind the Oculus Quest crashing. It’s important to keep your software updated whenever a new update is available. Of course, one of the primary methods for updating the Oculus Quest is within the Quest itself.
Depending on when the crashing occurs, you may or may not be able to get into the Settings menu to check the update.
- Open the Oculus Quest Menu
- Locate and open Quick Settings
- Open the standard Settings menu from there
- Select Software Update
- The Quest will search for the latest software update
- If a new one pops up, select it
If the system is crashing over and over again or if the screen remains black, you obviously won’t be able to update the software using the console itself. So what are your other options?
You can try plugging the Oculus Quest in to charge. Since the Quest is designed to search for and download updates while charging, that functionality may still work.
If it’s not updating just from plugging it in to charge or if you can’t access the menu through the Quest itself, you will have to do the end-around option. This means accessing software updates via the Oculus Quest app (Android or iOS).
Plug the Oculus Quest in to charge and access the software update via your smartphone. Don’t mess with the Quest or unplug it from charging until the software update process on the app is complete.
3. Issues with the Proximity Sensor
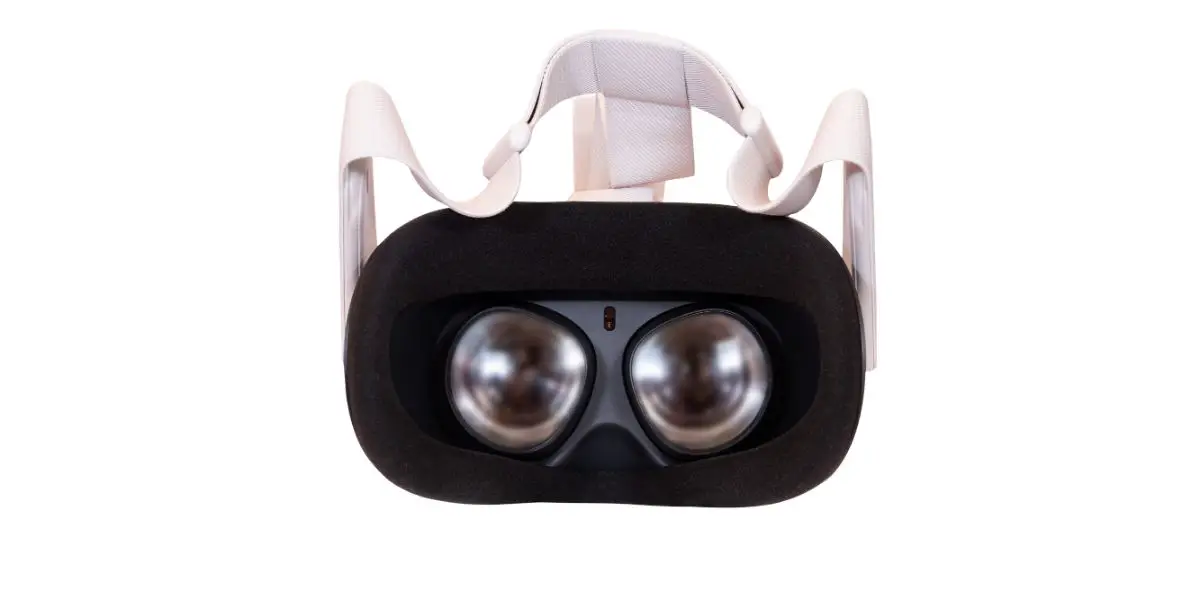
If the proximity sensor on your Quest device is not functioning properly, it’s likely to cause a black screen or simply crash when you’re in an app. The proximity sensor is responsible for handling your movements in game and ensuring your head is actually in the headset.
If it can’t do either of those things, it’s liable to create problems. The best way to handle the proximity sensor is through preventative maintenance. Of course, preventative maintenance is often longingly looked at in retrospect, after the issues have started.
So, if you haven’t utilized preventative maintenance up to this point, you’ll need to clean your proximity sensor and, for future reference, keep it clean by establishing a routine maintenance of your VR console.
To clean it, you need some Q-tips, a microfiber cloth, and some isopropyl alcohol (rubbing alcohol). Use the Q-tips for the edges and the microfiber cloth to clean the sensor as a whole.
Don’t dump alcohol on the sensor or saturate the Q-tip or microfiber cloth with it.
All you require is a little—just enough to make your cloth slightly damp. Though rubbing alcohol dries and evaporates quickly, go behind it with a dry microfiber, to make sure there is no residue from the original wipe or streaking.
4. Guardian
Guardian has a history of causing crashes after an update.
If you’re unfamiliar with Guardian, it’s a safety feature that allows you to set up play time limits to keep yourself from spending too much time in the headset. There’s more to it than that but, you get the point.
Guardian is known for causing crash issues with the Oculus Quest, so you have three options if this happens to you. The first is to simply wait for the patch. If updates to the Guardian software are causing crashing problems, you cannot roll back the update.
You can also report the constant crashing to Meta Quest Support (Meta is the “new” name for all products related to Facebook). Its possible they can walk you through a workaround but, most likely, it will add to the pile of support requests and increase the likelihood of a patch.
The third thing you can do leads us to the fifth troubleshooting tip on the list—a factory reset of the Oculus Quest.
5. Factory Reset
Unfortunately, a factory reset is the last resort option because it will delete everything you have on the device and reset it to its original, out-of-the-box state. It’s not what you want to do if you’ve spent a lot of time on the device, have all of your preferences saved, and have games downloaded.
On the bright side, you won’t lose your digitally downloaded games. You’ll just have to download them again when you boot the device back up for the first time. Factory resetting the Oculus Quest is not a difficult option either.
- Hold down both the Power and Volume Down buttons
- Make sure you are wearing the headset
- A menu will pop up once you’ve held the buttons down long enough
- Use the Volume buttons to navigate to Factory Reset
- Confirm your choice by pressing the Power Button
- You’ll have to press it again to confirm
It will take the Oculus Quest a while to completely restart, with all the content and settings you’ve applied in the past deleted. It will be as if you put the headset on for the first time.
Once it starts back up, go through the process of retrieving all of your original data and changing the Settings (Guardian as well) to fit your preferences.
If the system continues to crash after a factory reset, you will have to contact Meta Customer Support, file a warranty claim if it’s still under warranty, or simply replace the system.
Final Thoughts
No one wants to factory reset their system, especially if you’ve put a lot of time and effort into it. Fortunately, if the factory reset works, you can retrieve everything you lost with a little effort and time.
Hopefully, you won’t have to go that far and the above tips and tricks will alleviate the issues long before Factory Reset is on the table.


