Disclaimer: This post may contain affiliate links, meaning we get a small commission if you make a purchase through our links, at no cost to you. For more information, please visit our Disclaimer Page.
For the purpose of this review of the Acronis Disk Director Advanced Server, let’s say you have just installed the Windows Server and in the rush to get the server up and running, you forgot to leave enough room for a separate logical drive to store the data away from the Server Operating System. Acronis Disk Director Server will aid with the creation of a new partition on the server. The first step in the process is to resize the existing partition then create a new partition on the server.
As you probably already know, the Windows Server Disk Management utility is of little help with resizing and merging partitions. Acronis realized this fact long ago and developed the Disk Director Server hard drive management utility.
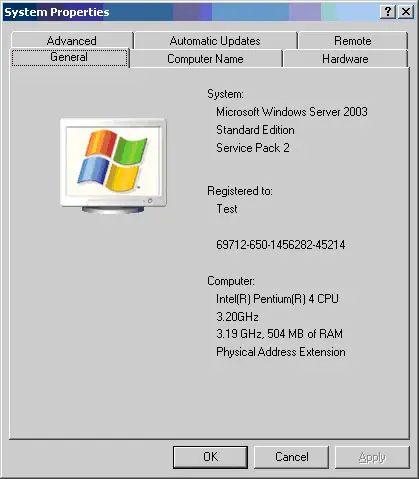
Here is the server used for the test. Only an 80-Gigabyte hard drive but it’s only a test. It is always recommended that you test any disk management software in a test environment to make sure that it works as you need it to work. You could always download a free trial of the Acronis Disk Director Server to follow along with the review.
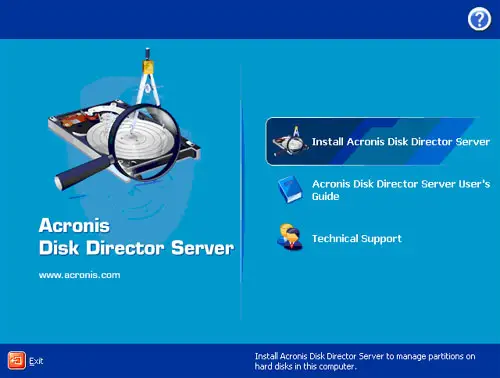
The first thing to do is to install the Disk Director Server server drive management utility.
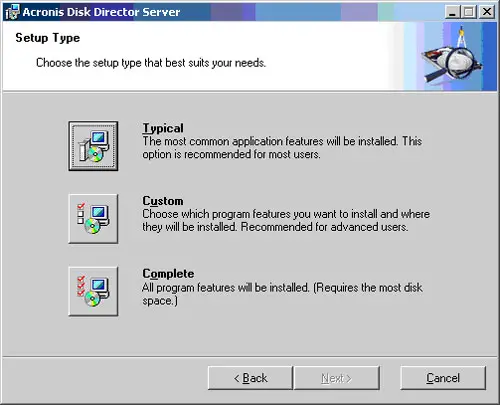
I chose to do the complete setup to make sure that everything available would be installed.
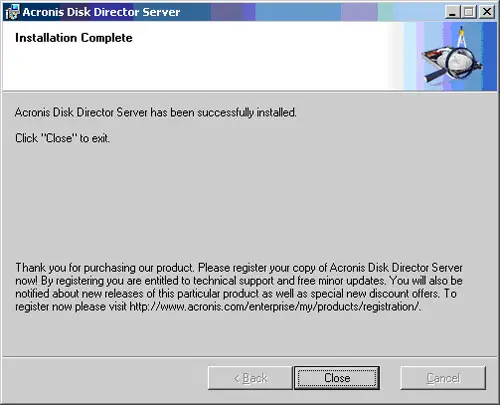
The installation was uneventful.
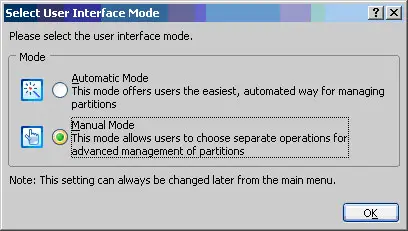
When Acronis Disk Director Server starts, you will be asked to choose an interface mode. I chose the manual mode just to have total control over the program.
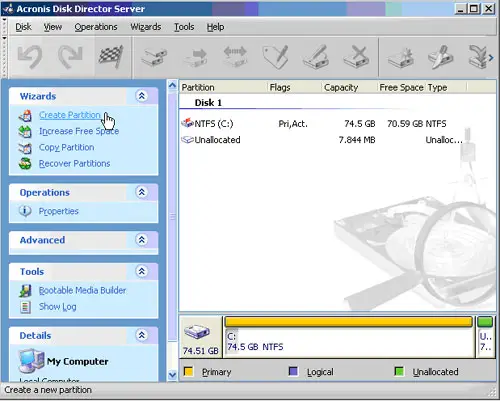
The next screen shows you a choice of Wizards where you can create a partition, increase free space, copy a partition or recover a partition on the server. I chose to create a partition on the Windows 2003 server.
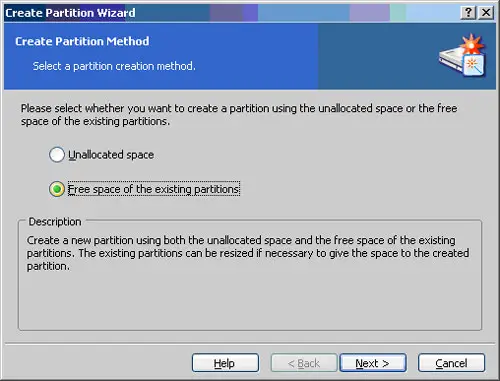
The utility then asks to select whether you want to create a partition using the unallocated space or the free space of the existing partitions. I chose to create a new partition on the server by using the free space of the existing server hard drive partitions because there was no unallocated space on the server hard drive. This step allows you to create a new partition using both the unallocated space and the free space of the existing server partitions. The existing partitions can be resized if necessary to provide the needed space to the newly created partition.
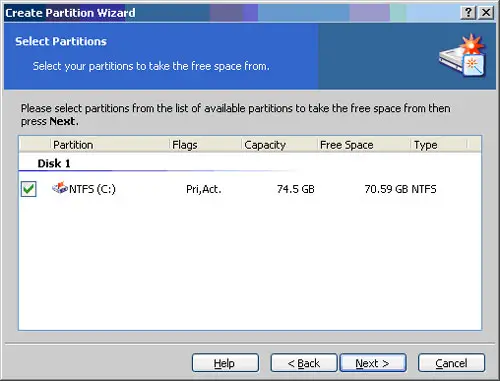
I was then asked to select partitions from the list of available partitions to take the free space from then press Next.
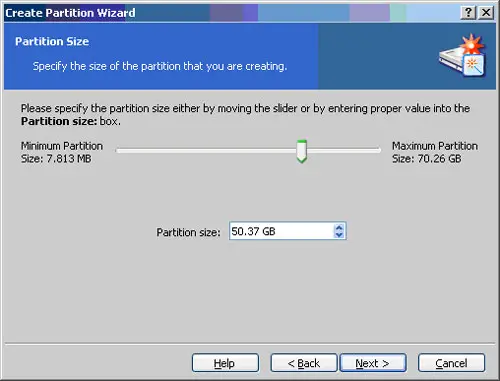
The Acronis Disk Director Server Create Partition Wizard then wanted me to specify the partition size either by moving the slider or by entering proper value into the partition size. I wanted to create about a 50-Gigabyte partition on this server.
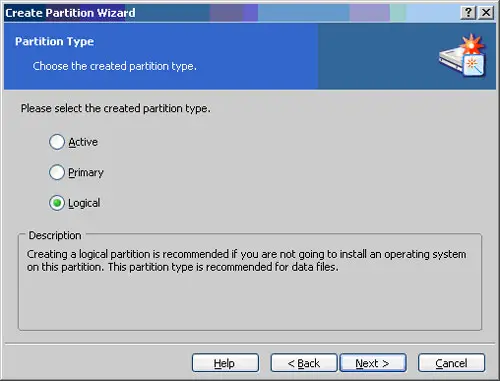
I was then prompted to choose a partition type. Creating a logical partition is recommended if you are not going to install another server or operating system on this partition. This partition type is suggested for data files. I chose the logical partition option then clicked next.
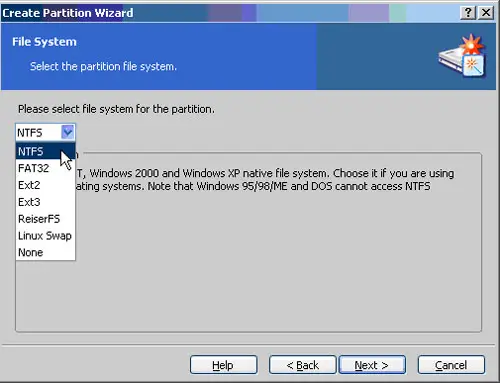
You are then given an option to create the partition with several file systems. This is a Windows 2003 Server so the best file system for this server is the NTFS file system.
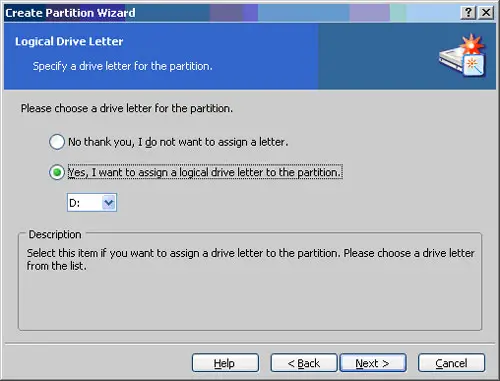
The new partition needed a drive letter so I chose to make it the D Drive.
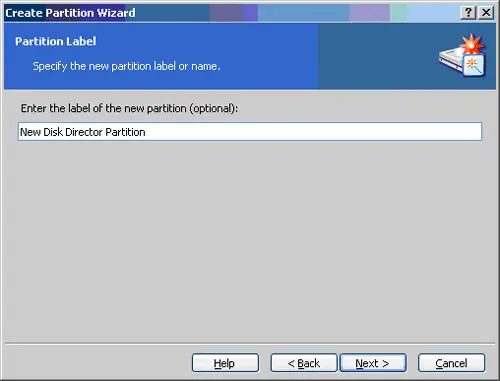
I entered a label for the new partition called the New Disk Director Partition.
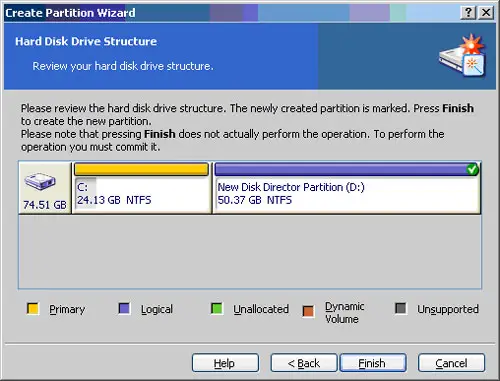
This next screenshot shows exactly what the Acronis Disk Director Server will perform on the Server hard drive. It tells me that the newly created partition is marked to perform the specified operations and to press finish to create the new partition. Giving me a reminder that pressing Finish does not actually perform the operation. To perform the operation you must commit it. So naturally, I smacked the finish button.
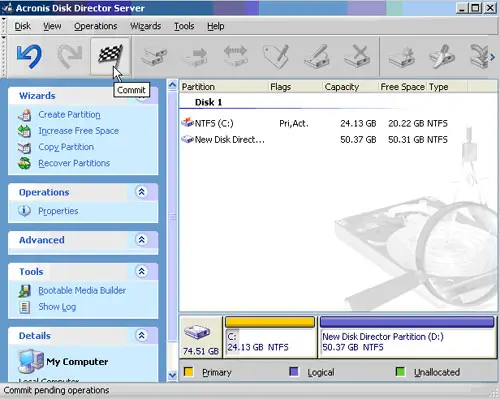
After smacking the finish button, this screen pops up. Here is where you have to commit to the pending operations. Before committing to the pending operations, you should step back and think about all possible scenarios of the things that could go wrong. Acronis is good but you never know. Make sure that all of the data is backed up. The best thing to do before committing to a change like this with live data would be to image the server with the Acronis Backup & Recovery 11 for Windows Server backup and imaging solution. Here is a good review of the Acronis Backup & Recovery Server imaging process. I then smacked the Commit button.
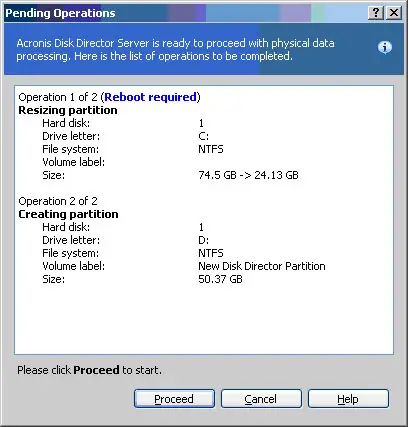
I then get one last warning that the Acronis Disk Director Server is ready to with the physical data processing. There is also an anticipated reboot required because I am working in the partition that is about to be resized. I quickly saved this page and clicked Proceed.
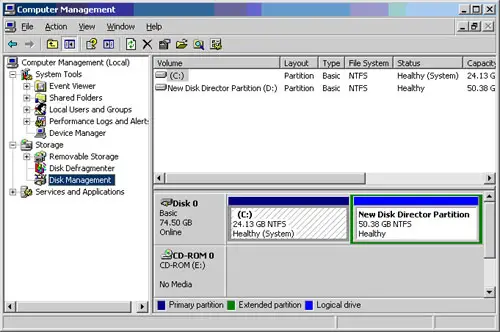
The Disk Director Server utility created the new partition while the Windows Server 2003 was booting up. It took less than a minute to create the partition. After the reboot, the Windows Server 2003 Disk Management reports the new partition accurately.
As with all of the Acronis products reviewed, the Acronis Disk Director Server performed all of the operations needed to create a new partition quickly and intuitively. For this reason, The Disk Director Server gets an honorable Brontobyte on a scale of Bytes to Brontobytes. This is a recommended utility for any IT professional to have in their toolbox.