Disclaimer: This post may contain affiliate links, meaning we get a small commission if you make a purchase through our links, at no cost to you. For more information, please visit our Disclaimer Page.
Whether you’re using AirPods or another type of wireless headphones, crackling noises and static in the background are fairly common across the board. There are about a thousand reasons this can happen but only a handful are prevalent.
The most common culprits behind that snap, crackle, and pop you hear in the background include Bluetooth connection issues, a lack of cleaning, connection problems that require a reset, and software problems.
All of it sounds pretty bad but, as mentioned above, these are fairly common issues behind the static sound in your AirPods. All of them are fixable issues unless there is something physically wrong with the AirPods. If that’s the case, it’s either due to neglect or a manufacturer deficiency.
Table of Contents
What’s Causing the Static Noise in Your AirPods?
Usually, it’s the simplest thing that you never expect. AirPods are not shoddily-made, garbage wireless earbuds. So, if you’re having issues with too much static in the background, start by eliminating the simplest or most obvious potential problems first.
1. Keeping Your AirPods Clean
This is probably the most undervalued troubleshooting tip when it comes to avoiding background static or a number of other issues that crop up with AirPods. It’s not like there are moving parts within the tiny things, so it’s not the first issue that comes to most people’s minds.
It’s not that dirty AirPods actually create static noise—that would be impossible. What it does do is reduce the headphones’ ability, creating what may sound like static because the AirPods are simply unable to function at an optimal level.
There are many reasons you should keep them clean and this is just one.
Regardless of what type of AirPods you have, remove the soft ear tips (or don’t for earlier models) and use a Q-tip to clean the mesh material beneath.
Use light isopropyl alcohol on the Q-tips and work the head back and forth, pulling out any earwax, dirt, or debris.
Use a microfiber cloth with alcohol to wipe down the charging leads and exterior. Do everything you can to avoid letting any liquid access the inside of the AirPods. Simply clean them lightly and maintain that level of maintenance once every two months.
2. Bluetooth Connection Issues Are Common
It’s not that AirPods use weak Bluetooth technology. Even the oldest AirPods use Bluetooth 4.0. The fact is, Bluetooth is a lot like WiFi, meaning it doesn’t take much to generate interference with the signal traveling from your iPhone/iPad/Mac to your AirPods.
If you walk too far from your iPhone while listening to your AirPods, the static sound can get extremely loud and pervasive. Sometimes, when you walk back, well in range of your iPhone, the static persists.
If this happens to you, simply reset your iPhone’s or Apple device’s Bluetooth connection. On an iPhone or iPad, you only need to swipe down from the top, right-hand side of the screen to bring up your Control Panel.
Within the Control Panel, you should see the symbol for Bluetooth. It will be highlighted in blue. Touch the symbol to turn off the Apple device’s Bluetooth. Your AirPods will inform you they’ve lost connection (Siri).
Touch the symbol again to activate Bluetooth and your AirPods should automatically connect, without all of the static. If they don’t connect automatically, place them in the case and close it. Remove them again to connect.
3. Your AirPods Need To Be Reset
Resetting has a long and highly successful history of working for just about everything with a wire in it, through which electricity flows. Since the days of blowing in an Atari or Nintendo cartridge and simply hitting the power button twice, resets do a lot for devices.
Remember, AirPods are not just headphones with Bluetooth hardware and software. They are actually computers, with a large volume of things going on at any given time. Like any PC or Mac, sometimes a reset will clear things up and get the ball rolling smoothly again.
Resetting is simple but it’s more than putting the AirPods away and pulling them out again. There are a number of steps you should follow to properly reset them.
- Place the AirPods in their case and make sure the case is closed
- Leave them in there for anywhere between half a minute and a full minute
- Open the case lid
- Place the AirPods in your ears like normal
- Ensure you have a connection (Bluetooth)
- Open the Settings menu on your Apple device
- Scroll down to Bluetooth
- Locate your AirPods on the Available Devices list
- Select “Forget”
- Hold the Setup button on your AirPods case for fifteen seconds (access the button by opening the lid)
- When you see the LED light flash yellow, followed by white, the AirPods are reset
- Set your AirPods up with your Apple device again, just like you did the first time you removed them from the box
This will clear up any lingering issues more often than not. Resetting is a tried and true method for getting AirPods (or any other consumer electronic device for that matter) working properly again.
4. Soft Reset Your Apple Device (iPhone or iPad)
Soft resetting an iPhone is a combination button-press exercise. It’s not a matter of finding the right setting in one of the many menus and following the instructions. If you want to do a soft reset on your iPhone, use the following steps precisely:
- Press and release the volume up button
- Quickly followed by pressing and releasing the volume down button
- Press and hold the “Power” button (side button)
- Continue holding until you see the Apple logo pop up in the middle of an otherwise blank screen
- Your iPhone is officially reset
It may take a minute for your iPhone or iPad to cycle back up (possibly longer than powering off and back on again).
Turning off the iPhone or iPad and turning it back on again is not the same as doing a soft reset. Plus, be sure to press the buttons, as instructed in the above bullet points, quickly and precisely.
For anything older than an iPhone 8, press and hold both the power and volume-down buttons until you see the Apple logo. This is the same as doing a soft reset on newer Apple devices.
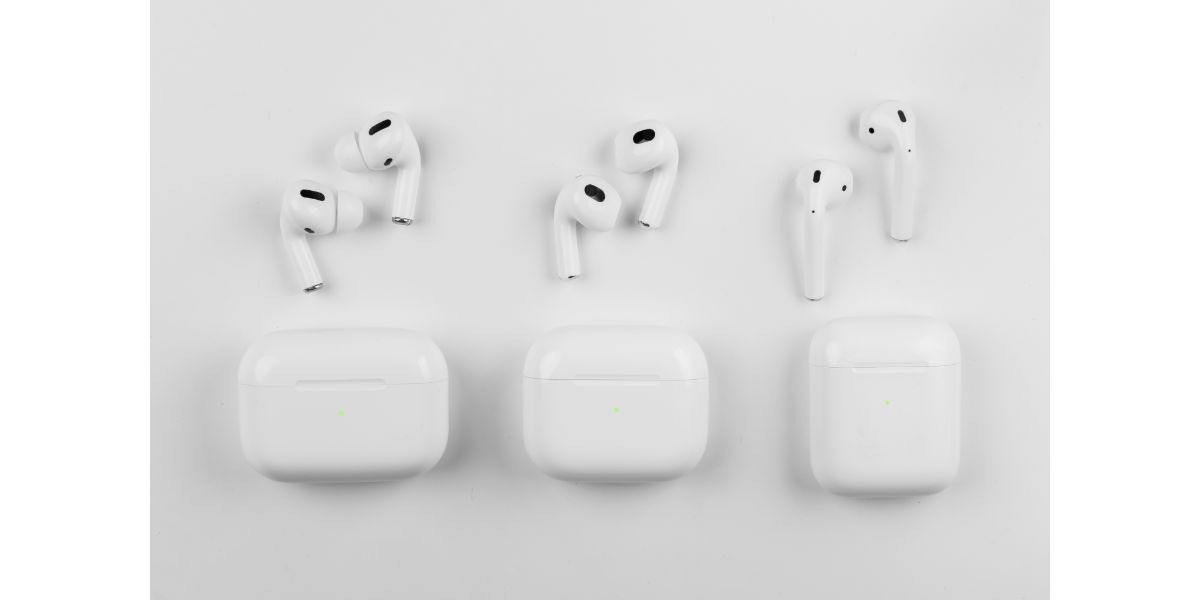
5. Specific Static Issue for 3rd Gen AirPods and AirPods Pro
We’re listing this one as a more specific fix. Though you can try this fix on other generations of AirPods, this issue is known for 3rd generation standard and pro models. The problem is hearing static in only one AirPod, rather than both.
It’s kind of a strange fix but it’s been known to work very well for this generation and may work for other generations as well.
- Tap the Settings icon on your Home Screen
- Open Accessibility
- Choose your AirPods
- Select Audio Accessibility Options
- Select Background Sounds
- Toggle on Background Sounds
- Switch the Background Sound to “Rain”
- Adjust the slider bar so the volume is all the way down
Apparently, this is some sort of conflicting issue that sometimes happens with the 3rd gen AirPods. The noise cancellation process the AirPods use creates a static sound in only one of the buds. The above process is supposed to fix it.
6. Ensure Your AirPods’ Firmware is Up to Date
Like a soft reset, this is a huge troubleshooting tool you should always go to first when you’re having problems with your AirPods. They should automatically update as new firmware is delivered to your iPhone/iPad on a regular basis.
However, sometimes things simply slide through the cracks, and it’s incumbent on you to ensure your AirPods are properly updated.
- Select the Settings icon on your Home Screen
- Select Bluetooth
- Select your AirPods
- Check the firmware
If they are not updated, you need to place your AirPods back in the case, while they are still connected to your Apple device.
Plug the AirPod case in and keep the case near your Apple device. This should automatically kick off the latest firmware update.
All Things Considered
That’s it—the primary method for kicking that static sound to the curb. AirPods are fantastic wireless earbuds with excellent sound, especially if you’re taking advantage of Dolby Atmos, Spatial Audio, and Lossless.
The last thing you want is a grainy, static sound intervening in the background.
If these troubleshooting tips don’t work for you (and one of them definitely should), you may want to contact Apple’s customer service, use the warranty that comes with the AirPods, or take advantage of AppleCare +.