Disclaimer: This post may contain affiliate links, meaning we get a small commission if you make a purchase through our links, at no cost to you. For more information, please visit our Disclaimer Page.
Apple TV is one of the four major devices people often use to access a multitude of streaming services, with the Firestick, ROKU, and Google Chromecast devices being the other three. As with most Apple devices, Apple TV is supposed to be a technological step up.
It probably doesn’t feel that way when the screen is flickering like crazy, most likely because of resolution conflicts, firmware that isn’t up to date, the wrong HDMI output settings, poor cable connections, or a bad HDMI cable to name a few, potential culprits.
Despite Apple building a reputation for premium, high-end products, and services, its hardware and software are often just as susceptible to problems as other brand technologies. Fortunately, we have a few troubleshooting tips that will get your Apple TV’s act together.
Table of Contents
6 Fixes to Apple TV Flickering
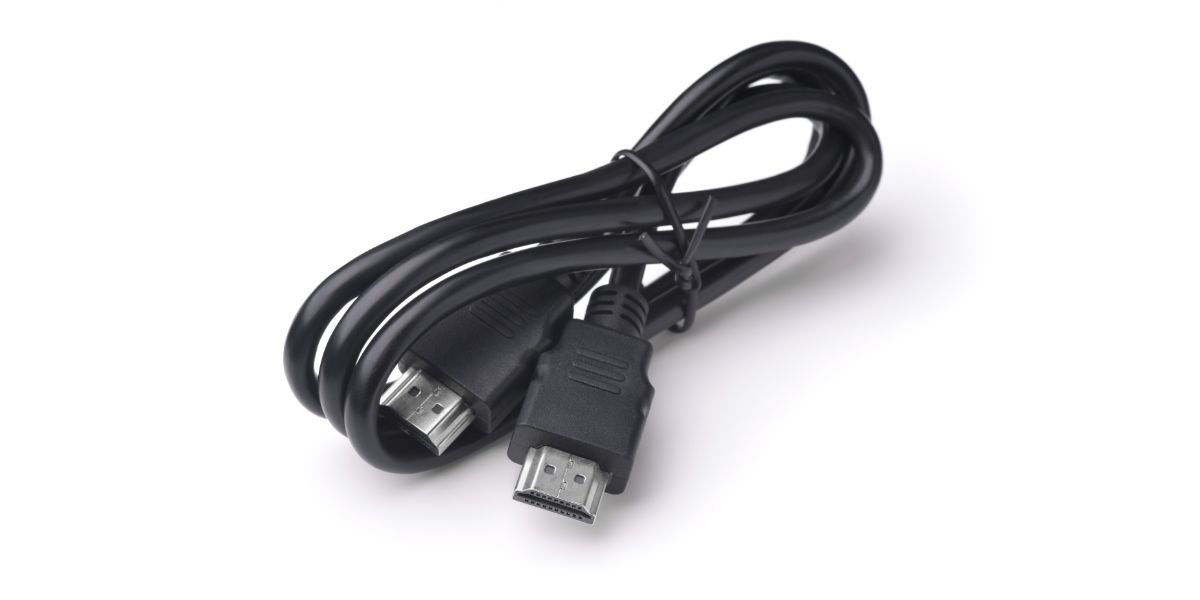
1. HDMI Cable
Believe it or not, this is the problem most of the time. The thing is, not all HDMI cables are created equally. There is a reason you will find some HDMI cables on the shelf for $10 and others that cost $50. That’s not overpricing.
HDMI cable brands aren’t always clear about the specs of their HDMI cables. If you look at the back of your Apple TV device (the 4k variation specifically), you’ll see that the HDMI port is labeled ‘HDMI 2.1’.
About a year ago, some of the software possibilities that HDMI 2.1 cables offer were not enabled yet, but Apple enabled them over time, through firmware updates (more on that below).
The point is, a cheap HDMI cable won’t do. At the very least, you should have an HDMI high-speed cable, with 2.0 or 2.1. It will make a difference if you are experiencing a lot of screen flickering with a cheap, low-end HDMI cable.
2. Match Dynamic Range and Match Frame Rate
These are two settings on your Apple TV device that should be turned on if you don’t know what display format your TV supports. When you turn them on, you will probably see your TV screen flicker or go completely black as the Apple TV attempts to match your TV.
Match Dynamic Range
- Go to the ‘Settings’ Menu on your Apple TV
- Select ‘Video and Audio’
- Select ‘Match Content’
- Select ‘Match Dynamic Range’
Match Frame Rate
- Open the ‘Settings’ menu
- Select ‘Video and Audio’
- Select ‘Match Content’
- Select ‘Match Frame Rate’
According to Apple, this will enable to device to match 60, 50, 30, 25, and 24 fps (frames per second).
3. Cable and Connections
It’s a fairly common thing to upgrade your TV. For one, every year, the new releases are better than the previous year’s iterations. For two, brands like Vizio, Onn, TCL, and Hisense are constantly releasing affordable alternatives that are pretty impressive.
The last thing you want is a bunch of 6 or 7-year-old cables you found laying around the house running the latest TVs. Not only is it not a good idea to use old cords and cables with new equipment, but it’s also one of the primary culprits behind flickering screens.
Once you grab a brand new Apple TV, you should upgrade all of the cables and cords you’re currently using.
4. Resolution
You may have a 4k TV and an Apple 4k device, but that doesn’t mean both are perfectly in sync. There’s nothing you need to do or change on the Apple TV, but you will need to mess with the resolution settings on your TV.
Of course, every TV is different, so there’s no real way of walking you through messing with the resolution settings on your particular set. The best thing you can do is set your TV to the lowest resolution that it supports.
After that, incrementally (insofar as your TV allows it or has settings for it) raise the resolution until you experience the screen flickering problem again. Once you do, go back to the resolution settings right before that.
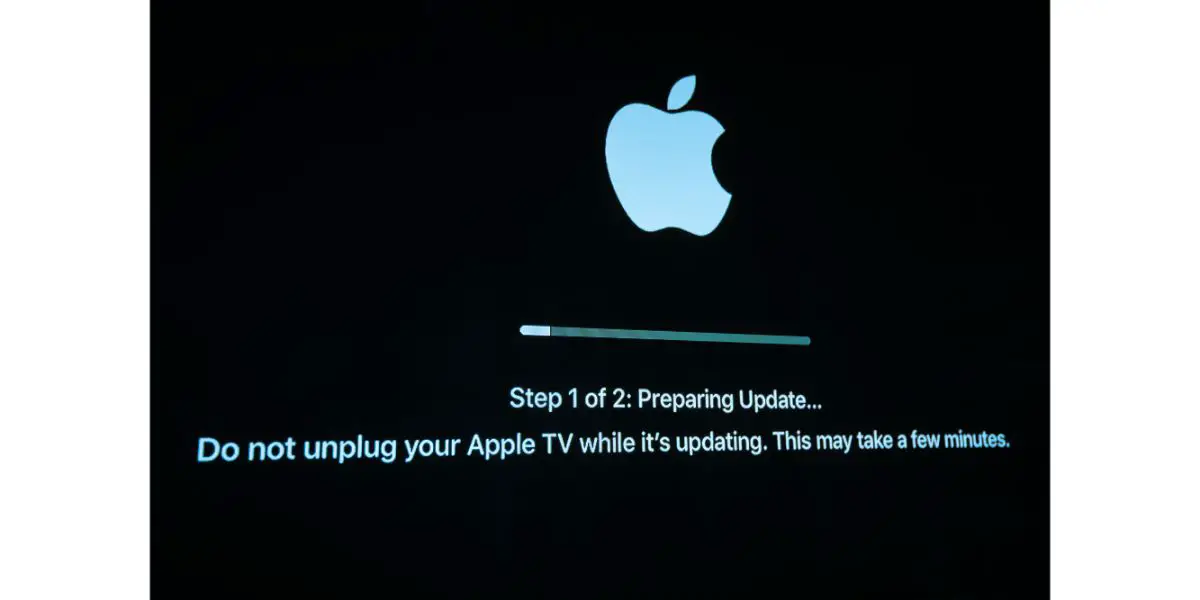
5. Update your TV and Apple TV Firmware
For the most part, the default settings should be set to automatically update any new firmware releases received. This is true on just about any smart device you own, whether it’s an Apple TV device or the smart TV you have in your home.
If you’ve had a smartphone a step above a flip-phone jitterbug, you’ve probably experienced so-called “automatic” updates. In other words, you need to jump on your smart TV and Apple TV device and ensure they are updated to the latest firmware.
As far as your TV is concerned, you’re on your own. Since every TV is different, we could write a novel on updating TV firmware in the settings. For Apple TV, however, it’s fairly straightforward and the same across all Apple TV devices.
- Open the Settings on your Apple TV
- Select ‘System’
- Select ‘Software Updates’
- If an update is available, it will pop up at this point
- Select ‘Update Software’
- Select ‘Downloads and Install’
Your Apple TV device will do the rest from here. Just be sure that your Apple TV isn’t turned off or disconnected from the internet until it’s officially updated.
6. Restart Apple TV Device
Sometimes, when nothing else seems to work, a restart is just the trick. We’re not talking about doing a factory reset, just a restart. You can do this with the device itself by simply unplugging it from its power source, waiting a few minutes, and powering it back up.
You can also do the same thing with your Siri remote. On a Siri Generation 1 remote, press and hold the Menu button. On a 2nd gen remote, press and hold the back button. Depending on your remote, hold either button until the Apple TV device begins blinking over and over again.
All Things Considered
Flickering issues are common enough with Apple devices and it usually means there’s a connection problem, rather than a failure in the Apple device itself. For the most part, the above fixes will take care of the problem and you’ll be back to streaming in no time.