Disclaimer: This post may contain affiliate links, meaning we get a small commission if you make a purchase through our links, at no cost to you. For more information, please visit our Disclaimer Page.
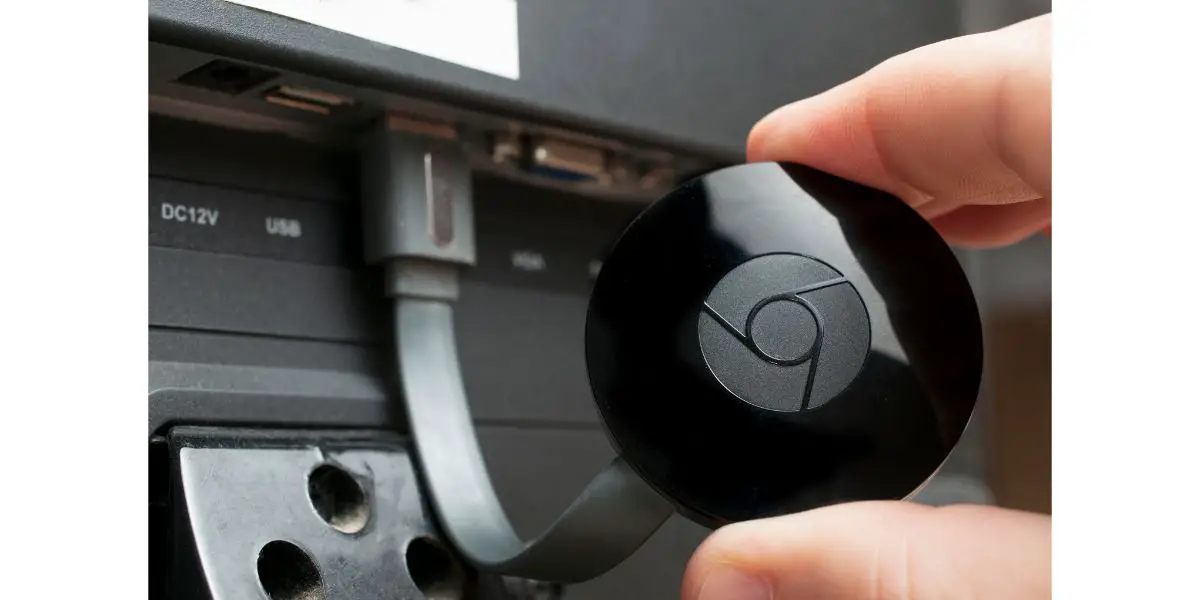
Whenever any device gets a bit too hot, it’s normal for any gadget owner to feel a bit of panic. This is particularly true for the Chromecast, which has many components cramped together in such a small case. So why does the Chromecast get hot, and when should you be worried?
Your Chromecast is heating up because of damaged components, a buildup of dust and dirt, overuse, or awkwardly positioned thermal pastes. Overheating can be fixed through heat sinks, a Chromecast wipe, a device rest, or thermal paste replacement, depending on what’s causing it.
We know you’re tired of worrying over your handy device, so we’re here to help. This article will give you a couple of reasons why your Chromecast isn’t working and guide you with some fixes. Read on for a comprehensive guide on how to get your Chromecast back in optimal condition.
Table of Contents
4 Reasons Your Chromecast Is Heating Up
Within your Chromecast is an intricate network of wires and components that allow electricity to pass through. The collision of ions within the metal components creates heat within the device.
Whenever your Chromecast does not produce the desired output, it will keep exerting energy until it does. Sadly, the heat does not escape immediately after the device tries again. Instead, it travels from one component to another, sometimes heating up the entire device.
Here’s what may be happening within the device that makes it overheat.
Damaged Components May Not Be Able To Handle Apps
That one drop or thud to your Chromecast you considered harmless may have damaged crucial components within. Damaged components compromise the electricity flow efficiency, producing wasted heat. Sometimes, the overheating may be accompanied by frequent crashes.
Another possible culprit could be the connector wire. A faulty wire may be delivering voltages way above usual, and this could be injecting unnecessary heat into your Chromecast. To confirm this, look for irregular bumps in the wires or check for damages.
How To Fix
You can use a circular-shaped heat sink that matches the surface area of your Chromecast. Heat sinks are shaped to allow heat to travel through and be trapped in the blades. This facilitates greater heat dispersion, effectively cooling your handy device.
Here’s how to install a heat sink:
- A lot of users often say that it is the front of the Chromecast that heats way more than the back. For this fix, you will begin by lightly heating the front of the Chromecast. This will allow the sticker that comes with the heat sink to stick better.
- Once the back is heated, place the sticker on the surface and press the heat sink on top. If the heat sink heats up, it’s actively absorbing the heat.
- Place the Chromecast in a well-ventilated area so the heat can flow freely.
- Plug in your Chromecast and check if the problem persists.
Dirt and Dust Are Preventing Airflow
Another reason you need to keep your Chromecast in an airy area is that air disperses dirt and dust. When they clump up and lock the airways of your device, expect the Chromecast to heat much faster.
How To Fix
Here’s how you can get rid of dirt and dust:
- Begin by cleaning the surface using a cloth lightly dabbed with alcohol. Wipe the entire surface area until you remove dust and dirt particles.
- Using a sharp object with a point small enough to get to the holes, scrape any dust buildup you might see. Use the same object to scrape beneath the Chromecast casing.
- Check if the problem persists.
You Aren’t Letting Your Device Rest
We know, we know, we’re being a downer. But sometimes, we must give our devices rest time for their components to cool down so we can use them again without problems.
If you’re always watching high fps shows on your Chromecast, your Chromecast may not be able to handle the constant load on its components.
How To Fix
The fix here is straightforward: let your device breathe. Time yourself with the Chromecast and set limits for your usage. Try to stay within these limits as much as you can.
The Thermal Paste Needs Replacing
The thermal paste is there to better transition the heat from your processor’s plate onto the component that dissipates the heat. Often, the heat dissipator is an efficient insulator.
Every now and then, the thermal paste’s position might be moved well enough for heat transfer to be less efficient, causing overheating. This may be due to you dropping your Chromecast or bumping it against other surfaces.
How To Fix
Here’s how you can deal with it:
- You will have to pry open your Chromecast to replace the thermal paste. You first must pry off the cover plate using a thin object like a small knife or blade. If you aren’t confident with your tinkering skills, you might want to leave this to an expert.
- You will see three screws holding the entire circuit board together. One is above the metal plate, and two are below. Unscrew all three.
- Once you have removed the board, you should see thermal paste between the back plate and the back of the circuit board. This is what you will have to replace later. You can also remove the connector on the Chromecast base for easy access.
- Both sides of the circuit board have metal plates. These plates protect the processing chips of your Chromecast. These chips are prone to overheating as they satisfy the Chromecast’s desired output. Pry these metal plates off. Be very careful; you wouldn’t want to dent the metal plates.
- One side of the board has two chips, while the other has one. These three chips all have their own blobs of thermal paste. You can either reposition the paste or scrape it and place your own. Dab a fair amount on the chip, but not so much that it overflows onto the other components.
- Place the metal plate back onto the circuit board and re-attach the connector. Re-screw the torque screws you removed earlier. You can also replace the thermal paste between the metal plate and the cover plate of your Chromecast.
- Plug in your device and watch out for episodes of crashing. If the overheating was related to the thermal paste, you should be ready.
Conclusion
That’s it for this discussion. Hopefully, this guide has helped you troubleshoot and fix your overheating Chromecast. Remember, you don’t necessarily need to do the fixing yourself; you can always enlist the help of an expert if things get too complicated.