Disclaimer: This post may contain affiliate links, meaning we get a small commission if you make a purchase through our links, at no cost to you. For more information, please visit our Disclaimer Page.
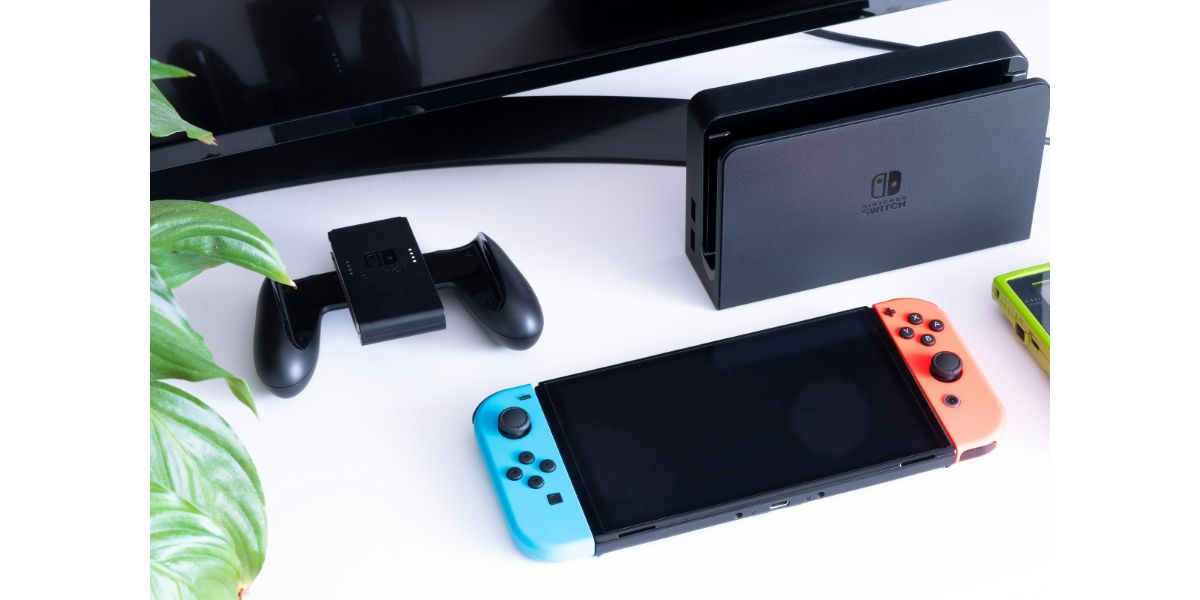
Whether you’re using your smartphone or a MiFi device, mobile hotspots are incredibly useful, especially if you spend a lot of time on the move and carry multiple devices. Hotspots don’t discriminate among devices, so there is no reason a Nintendo Switch shouldn’t connect.
If your Switch doesn’t connect, there are a number of potential scenarios, including your hotspot settings, a password problem, WiFi interference, WiFi frequency, the Switch needs a restart, or you need to adjust your DNS settings.
Fortunately, all of the above are quick fixes and simple enough. Dealing with your DNS settings is probably the most time-consuming, but it’s not that bad, even for non-software enthusiasts. If you’re having trouble, don’t worry—we’ll cover each step so you can get your Switch back online.
Table of Contents
5 Reasons Your Nintendo Switch Won’t Connect to Hotspot
1. WiFi Frequency
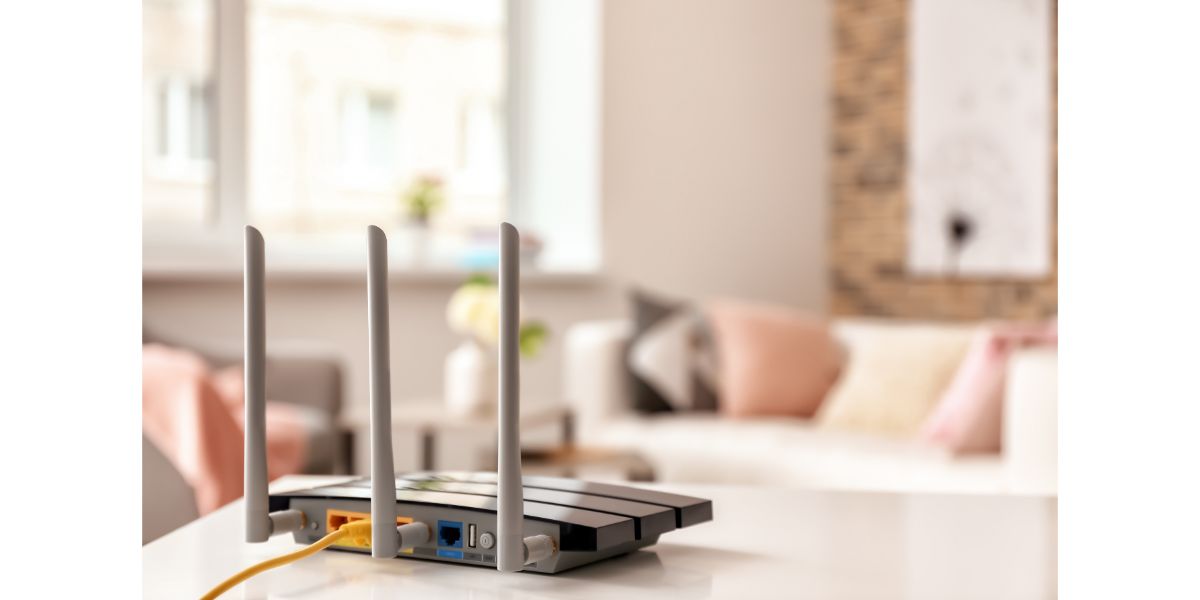
WiFi is nothing more than radio waves and, like radio waves, there are frequencies. The two frequencies we use the most in our day-to-day internet connectivity are 2.4 GHz and 5.0 GHz. The 5.0 GHz transmits more data at a faster speed but it’s hampered by the fact that its range is very low.
The 2.4GHz is slower, with less data but it has a more extensive range than 5.0 GHz. Mobile hotspots are also known as MiFi, and when you turn your smartphone into a hotspot, you are essentially using a MiFi device, which broadcasts in 2.4 GHz, 5.0 GHz, and even up to 6.0 GHz, depending on the capability of your smartphone or MiFi.
What does all of this have to do with your Nintendo Switch? Remember, the higher the frequency, the shorter the range. Plus, 5.0 and 6.0 GHz are also more susceptible to interference.
If your Nintendo Switch isn’t connecting to your hotspot, try switching to the lowest bandwidth—2.4 GHz.
If there is a 5.0 GHz connection, there is almost always a 2.4 GHz option. In layman’s terms, it’s basically like selecting a new WiFi network to switch from one to another.
- Turn on your Nintendo Switch
- Open “System Settings” from the Home Menu
- Select “Internet”
- Select “Internet Settings”
- Select “Connect to a Wireless Network”
- The Switch will begin scanning for networks in range
- You should see a 5.0 GHz and 2.4 GHz option if your router supports both
- Select the 2.4 GHz option and enter the password
2. Turn Hotspot Off and Back On
It sounds silly but it’s surprising how often it works. The hotspot might be running just fine in the background and the Switch won’t pick it up. Whether you are using a MiFi, an Android smartphone or tablet, or an iOS device, open up your hotspot settings and turn off the hotspot.
Be sure your Nintendo Switch is open and currently scanning for networks. Turn the hotspot back on and check the Switch. If it pops up, jump on it quickly, without allowing your smartphone or other device to lock.
Depending on what device you’re using, the password might change each and every time you turn the hotspot back on. If this is the case with your device, be sure to pay attention to it and enter the new password when prompted.
3. Restart Your Switch
This little troubleshooting tip is bound to be on just about every troubleshooting list for fixing a device and getting it on the same page as yourself. The reason is that it works. It tends to stop any background processes that might be interfering with the Switch’s ability to connect to your hotspot.
Restarting the Switch is a far simpler process than most devices. All you need to do is hold down the power button until it turns off. Give it a few (good things come to those who wait) and power it back up again.
If the Switch is frozen (which happens from time to time, especially if you’re trying to tackle a large number of tasks on the device at the same time), hold the power button for more than 15 seconds.
4. DNS Settings
Domain Name System is essentially the modern-day version of the phone book, that huge book that used to hang on payphones in public. It also had a permanent place on top of the microwave in every home throughout the 80s, 90s, and early turn of the millennium.
The phone book was a huge compilation of everybody’s home phone number. That’s what a DNS is—except it’s for the internet. Sometimes, the Nintendo Switch may not recognize your DNS. The hows and whys behind this are more complicated than anything we need to get into here.
The point is, you need to fix that to get your Switch to connect. You first want to jump on your Nintendo Switch and switch your DNS setting from Automatic to Manual.
- Open the Settings from the Switch’s Home Menu
- Select “Internet”
- Select “Internet Settings”
- You’ll see a list of networks (big or small and depending on your router)
- Select yours
- Select “Change Settings”
- Select “DNS Settings”
- Select “Manual”
- Select “Primary DNS”
- Hold down the “B” button to rest the Primary DNS to all zeroes
- To get the DNS of your hotspot, you’ll need to access the hotspot settings on your device
- Once you locate your DNS in your hotspot settings, copy it down
- On your Switch, enter the DNS you just copied down
If your Nintendo Switch had trouble recognizing your DNS, this should fix the problem. It’s like trying to help someone find Waldo. Sometimes, when they can’t find him, you just have to point your finger directly at the spot. He’s always hiding in plain sight.
5. WiFi Interference
WiFi is notoriously finicky when it comes to range. The farther out you go, the harder it is to maintain a stable connection. On top of that, just about everything interferes with WiFi.
It may create a problem if you’re in your bedroom, trying to connect to your hotspot and the hotspot is in another room, it may create a problem.
Brick, concrete, metal, microwaves, wood, sheetrock, (insert just about any material here), all reduce WiFi or completely block it, depending on how much of it the signal has to pass through to get to your Switch.
You’ll always get your best connection when you’re close to the hotspot. Other WiFi signals will interfere with your hotspot as well. If you have a router and you’re using a hotspot on top of that, there’s liable to be some degree of interference.
If people could see the number of radio waves within their homes, it would look like something straight out of a science fiction movie. It would be frightening if nothing else. There’s always a lot going on that can easily be attributed to WiFi interference so that’s always something you should consider.
When setting up a router, the advice is always to make it as centered in the home as possible, extending its reach to every corner of the house. When it comes to a mobile hotspot, the advice is no different. The best connection is always the closest connection.
Final Thoughts
When carriers don’t charge you an arm and a leg, a mobile hotspot is a fantastic option for connecting to the internet on the fly. Mostly, it should work just like a router would at home.
In cases where your Nintendo Switch refuses to connect, the above troubleshooting tips should get you situated and back online. Your days of owning the arena in Super Smash Bros. or exploring the world of Zelda: Tears of the Kingdom, should continue uninterrupted.