Disclaimer: This post may contain affiliate links, meaning we get a small commission if you make a purchase through our links, at no cost to you. For more information, please visit our Disclaimer Page.
For users who don’t know, WUAUSERV is a Windows system service of the Windows Update feature that provides the wuauserv.dll library. By default, this system service will launch with the help of svchost.exe because the .dll itself can’t run directly.
WUAUSERV is only run when Windows Update is running. It’s not an essential service, which you can quickly disable to speed up your Windows computer. However, when you use Windows Update while it’s disabled, you may get this error message:
“Windows Update has encountered an error and cannot display the requested page. The necessary service “Automatic Updates” (WUAUSERV) is not started or Background Intelligent Transfer Service (BITS) is disabled.” – Microsoft.com
and an error code.
Nothing to worry about! You only need to go to Windows Service and enable it and try to “check for updates” in Windows Update again.
Table of Contents
Methods to Fix WUAUSERV (Windows Update) High CPU Usage Problem
Lately, many users have reported performance issues on their Windows PCs. The problem is that sometimes they notice their computers run very slow and almost freeze up. When checking with Task Manager, one of the svchost.exe processes consumes a lot of RAM and up to 100% of CPU resource. They also said it’s nearly impossible to use their computer.

However, each svchost.exe container process will be utilized by system services and programs. So, to find out which service or program is causing this high usage problem, just right-click on that svchost.exe and then choose “Go to service(s)“.
The Task Manager will redirect you to another tab and highlight all services and programs that are using the process. You can then try to close and disable one by one to find out the cause.
If you use Windows 7, you can download the Process Explorer application and use it to find out. It will show you more detailed information regarding each running process.
As far as I know, WUAUSERV is the one that causes this high CPU usage issue in most cases. To prevent it from using too many resources of your PC, use some methods below.
1. Delete SoftwareDistribution folder
Before deleting this folder, you need to stop the Windows Update service. To do so, press Windows + R, type: services.msc and then press Enter.
Next, find Windows Update service from the list of Windows services, right-click on it and choose “Stop“.
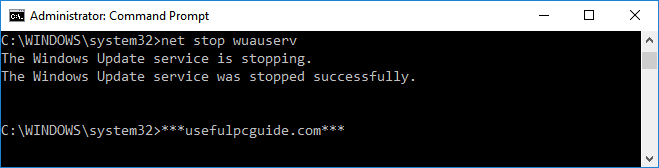
Tip: You can also quickly stop Windows Update by launching Command Prompt and type: “net stop wuauserv” without the quotes.
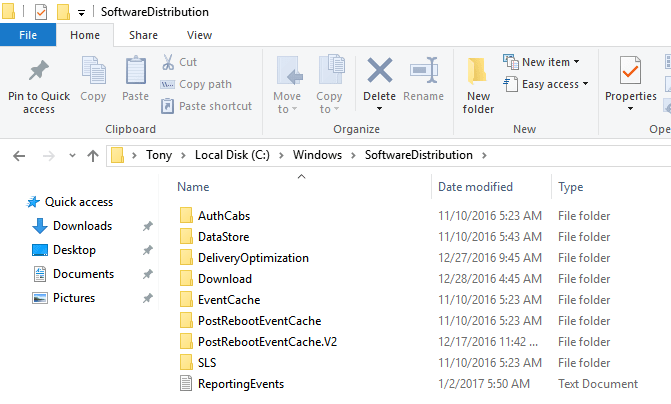
In the next step, navigate to C:\Windows, find the SoftwareDistribution folder and then delete it.
After that, restart your computer and check again whether the problem persists.
You can also download this .txt file, rename it to be a .bat file and execute it instead of doing it manually.
2. Uninstall recent Windows updates
If this high CPU usage problem occurs after updating Windows, I would recommend you to uninstall recent updates and restart the computer.
To do so, go to the Control Panel, choose Uninstall a program, and then click on “View installed updates” on the left sidebar.
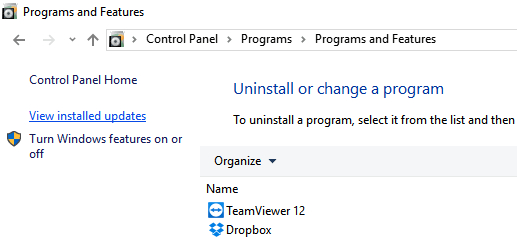
Look at the date and then uninstall recent Windows updates.

3. Reset Windows Update agent and service
To reset all Windows Update settings, download this .txt file and then rename it to be a .bat file and execute it.
By using this .bat script, it will help you completely reset all configurations of Windows Update and clean up the local update cache. It will help to resolve most common Windows Update errors.

After executing the script, restart your computer.
4. Disable WUAUSERV service
If you have tried all the methods above but the WUAUSERV high CPU usage problem remains, then you should disable Windows Update and wait for the next update from Microsoft.
To disable WUAUSERV (aka Windows Update) service, press Windows + R, type: services.msc and press Enter.
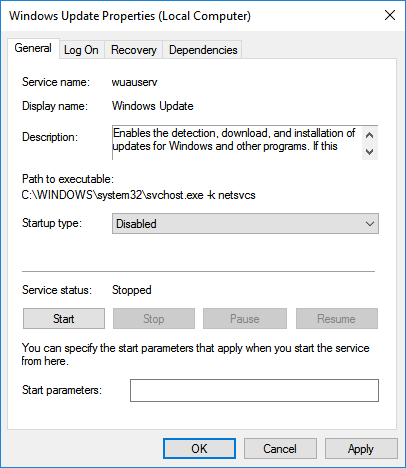
In the Windows Service window, find Windows Update service, double-click on it and choose “Disabled” from “Startup type” drop-down list. Click on “OK” button and restart your computer.
I hope these methods will help you to fix the WUAUSERV high CPU usage issue on your Windows PC. If you have any questions regarding this article or the WUAUSERV service, let me know by leaving your comment below.