Disclaimer: This post may contain affiliate links, meaning we get a small commission if you make a purchase through our links, at no cost to you. For more information, please visit our Disclaimer Page.
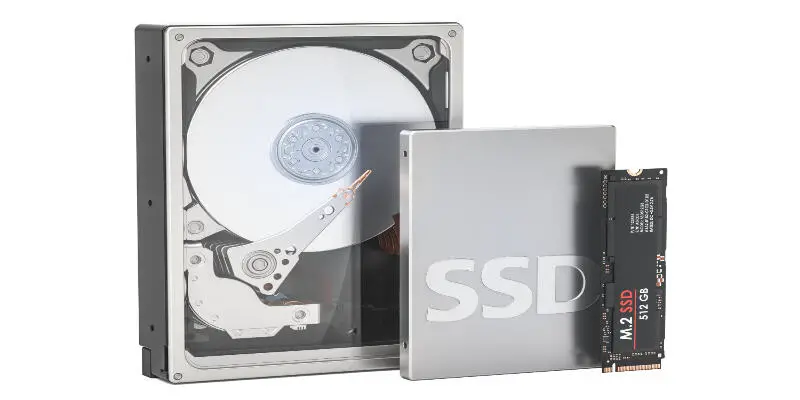
With the way technology has been advancing today, there are now more people who prefer to use solid state drives or SSDs instead of hard disk drives or HDDs for their computers. After all, SSDs are faster, slimmer, and a lot quieter than the chunkier and noisier hard drives.
After you have installed your SSD into your computer, restart the system and enable the SSD from BIOS. From there, migrate your Windows 10 to the SSD using migration software or manually. Restart the PC again and enter BIOS to change the boot order and set the OS to boot from the SSD.
It doesn’t take a computer wizard to know how to make your SSD the primary boot drive for your Windows 10 computer.
And it should be something that many people can do at home as long as they are doing it carefully. Of course, because SSDs are becoming more available to the public price-wise, it was only smart for Microsoft to make it easy for you to make the SSD your primary boot drive.
Table of Contents
How to make SSD primary drive Windows 10
While HDDs are still the kings when it comes to storage to price ratio, SSDs are becoming more affordable nowadays.
And because more of the general public are now capable of buying SSDs for a good price, there are now more people who use SSDs not only as a spare drive for their computers but also as the main boot drive.
Of course, that’s because SSDs are just really miles ahead in terms of speed, which will make booting and using an OS faster compared to the slower HDDs.
So, if you were to buy an SSD for your Windows 10 computer and you want to make it your PC’s primary drive, how do you do that on your own without going through the effort of taking your computer to a shop so that an expert can do it for you?
Here is how you do it:
Prepare the SSD
So, the first thing you need to do to make an SSD your primary drive for your Windows 10 computer is to actually prepare the SSD first.
That means that you have to buy an SSD before anything else. While SSDs might be a lot more expensive than HDDs, they are getting cheaper and cheaper every year.
As such, in that case, make sure to buy an SSD that is equal to or more than the space that is occupied on your HDD.
If you have eaten up a ton of space in your HDD, this might be a bit difficult for you to do because you would need to buy an SSD with a large capacity, which can be quite expensive.
As such, for the files that aren’t very important, you can back them up in an external disk instead. That is if you can’t afford an expensive SSD with a good amount of storage space.
Install the SSD
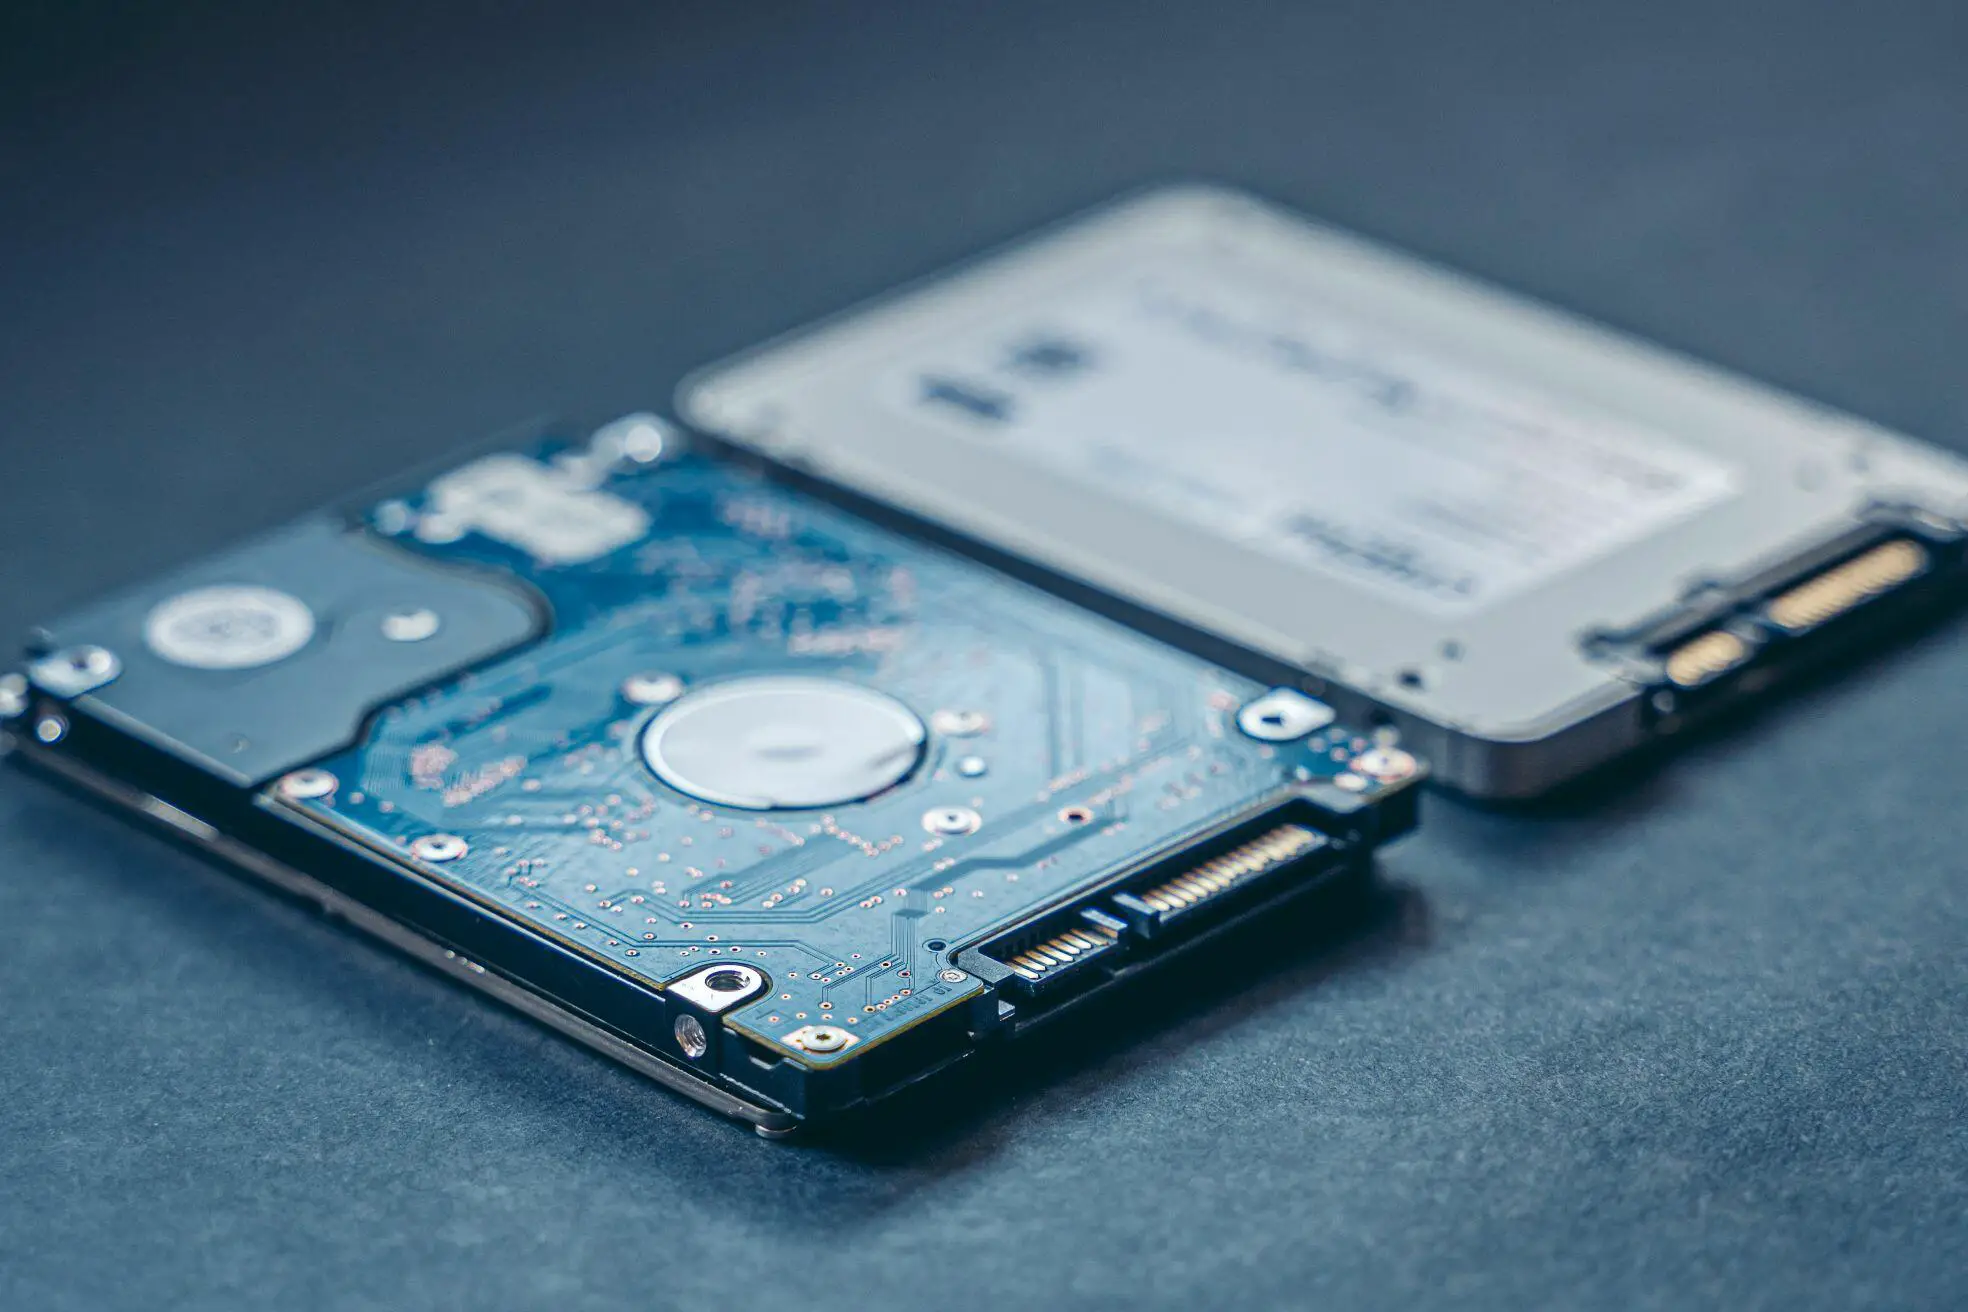
After that, you should install the SSD that you bought. You can do so by taking apart your computer’s case.
From there, insert the SSD into a spot reserved for the drive and then use the provided connection cables to connect your SSD to your computer.
Physically, the SSD may have already been installed on your computer but you need to actually install it virtually.
Enable the SSD by using BIOS (we will get there later). Without getting into the details, you have to restart the computer to enter BIOS. That is where you will be able to enable your SSD so that you can use it for your computer.
Migrate Windows 10 OS to your SSD
As soon as you have enabled your SSD in BIOS, you are now capable of using it as one of your drives on your computer. You will be able to confirm it if you start your computer and then go to disk management.
If you can see your SSD there, that means that you can already use it by storing files in it. However, if you want to use it as your primary drive, you have to migrate your Windows 10 OS to it.
The migration part is the trickiest part of making your SSD the primary drive for Windows 10, but this is something that we will talk about later in greater detail so that you can understand it better.
However, you can make this step easier if you use a third-party migration tool.
Set SSD as a boot drive
After you are done migrating your Windows 10 OS to your SSD, restart your computer because it is yet to be designated as the primary boot drive even though it has your Windows 10 OS on it.
You need to designate it as the boot drive so that your OS will boot from your SSD the moment you turn on your computer. This leads us to the following…
How to set SSD as the boot drive in BIOS
So, as we have mentioned, you are supposed to used BIOS when you want to not only designate your SSD as the primary boot drive but also to install or set it up on your computer after you have already physically installed it.
First things first, what you need to do after you installed your SSD physically is to restart the computer.
You should be able to enable your SSD in BIOS by restarting the computer and by doing the following: Press F2, F8, F11, and DEL to enter BIOS > Enter Setup > Turn on SSD or enable it > Save the changes and exit.
After you have done that part, your SSD should have already been installed on your computer. You can confirm it if you see it in disk management after booting up your OS. However, you are not yet done with the entire process.
As soon as you have migrated your Windows 10 OS to your SSD after you have enabled the SSD and completed the installation, what you need to do next is to restart the computer again so that you can designate it as the boot drive for your Windows 10 OS.
Restart your computer and then enter BIOS once again by pressing F2, F12, and DEL. Look for the boot option.
From there, you can easily change the boot order so that you can set up your SSD as the disk where the OS should be booting from. If you don’t do that, the system will try to boot the OS from your HDD even though the OS is no longer in it.
After you have designated the SSD as the boot drive, save changes and then exit. Your computer will now regularly boot the Windows 10 OS from your SSD as it is now your system’s primary drive.
How to transfer Windows 10 from HDD to SSD?
One of the most important steps involved in setting up your SSD as the primary disk for your Windows 10 computer is to transfer the OS itself to the SSD.
This can be something that can be pretty tricky without the help of a third-party program or software that can make things easy on your part. As such, the best decision, in this case, is to make sure you use a third-party migration tool.
If you are looking for a good migration tool to use, we recommend that you use EaseUS Partition Manager or EaseUS Todo Backup.
The Partition Manager is the paid software while the Todo Backup is the free program. If you are merely looking to migrate your Windows 10 OS to your SSD, you should do fine with Todo Backup.
Run the program that you chose and then select the Migrate OS option. You can select your SSD as the destination drive for the migration.
Make sure that the SSD doesn’t have anything on it because the migration process will delete everything stored in that drive. After that, click Migrate to proceed with the process.
From there, you will be given a layout of what your target disk would look like after the migration process.
But you can also customize the layout so that you can decide how you want to partition your SSD depending on your personal preferences.
After you have done so, you can now click the Proceed option so that the software will do the migration process for you. All you need to do after that is to wait for the software to do its thing.
However, you should also be reminded that the entire process isn’t over after migrating your Windows 10 OS to your SSD.
As we mentioned previously, you still need to restart the computer and then use BIOS to choose your SSD as the boot disk for your OS.
Otherwise, the system will try to boot the Windows 10 OS from the hard drive even though you have already moved the OS to your SSD.
Check the detailed steps we outlined above so that you will be able to know how to properly set your SSD as the boot disk for your Windows 10 OS every time you boot up your computer.
Conclusion
As you can see, making your SSD your primary drive shouldn’t be something too hard to do. You don’t even need to be good with computers to figure things out.
All you have to do is to make sure that you follow the instructions so that you can enjoy the lightning-fast speeds of your new SSD.