Disclaimer: This post may contain affiliate links, meaning we get a small commission if you make a purchase through our links, at no cost to you. For more information, please visit our Disclaimer Page.
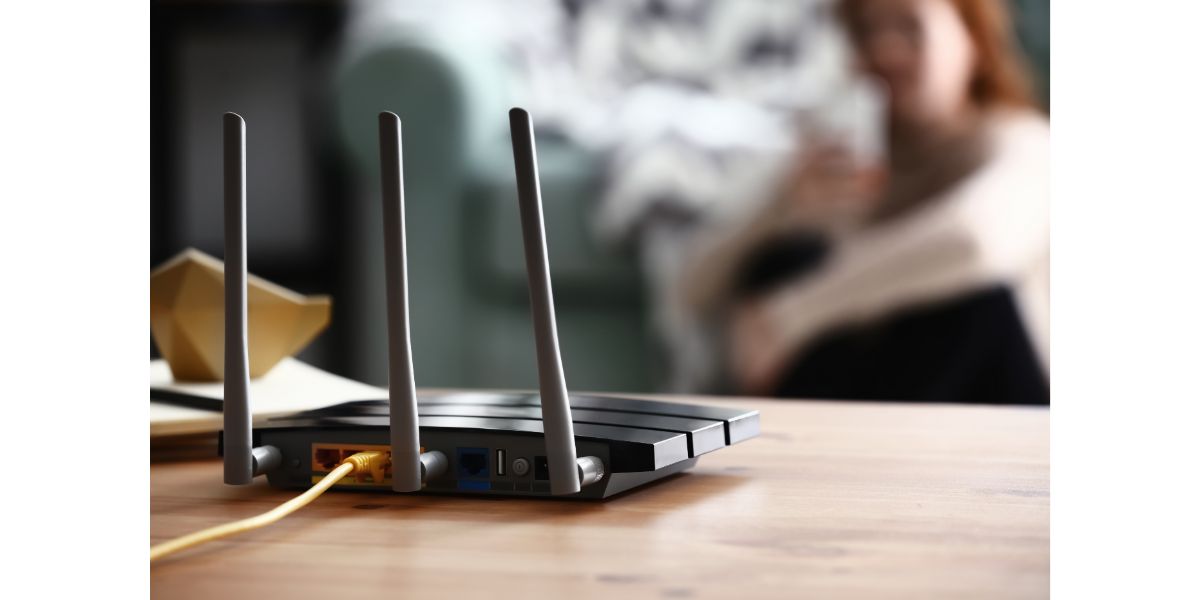
Port forwarding is a good way to use two or more networks on the same internet connection. You can use it with security cameras, game consoles, and any other devices or gadgets you have. If you try to set up port forwarding and get a “Failure! Please check your ports message,” read on to see why it happens and what to do next.

Table of Contents
Port Forwarding Basics
New home security systems include cameras that monitor your home’s activity. While you can usually use an app to check on the cameras when you’re out, you may want to check in while you’re at work or you don’t have your phone handy.
The best way to do this is with port forwarding. One of the issues you’ll face is that the firewall on your network will block you when you’re away. You need to find a way to access your home network from a private or public network, which is available through port forwarding. With port forwarding, you can use your router to either open or close ports that you access from other networks.
Why Use Port Forwarding?
Port forwarding comes in handy for home security, gaming, and virtual desktop needs. Many offices allow employees to use virtual desktops when they work from home.
They can check in on their workers and ensure that they are at work during their scheduled hours. It gives you full access to the resources available back at the office and may help you do your work faster. Port forwarding allows you to send info back to the office, too.
It’s also popular with gamers, especially those who play Call of Duty games. Port forwarding can cut back on the time you spend waiting in the lobby for a new game to start and help you move through games faster. Many people who play on Xbox and Playstation consoles use port forwarding.
Solving “Failure! Please Check Your Inputs” Error
“Failure! Please Check Your Inputs” is a common message received by users who have internet through Xfinity, but you might work with a different ISP and get the same message.
It lets you know that an error exists but doesn’t provide you with enough information to fix the problem. Try some of the methods below to fix the problem and keep the error message from popping up again later.
1. Restart the Router
Try restarting your router to see if you can make the error message disappear before doing anything else. Routers pick up data from everything you do online, which can make them run sluggish. You may even find that the router issues error messages because it cannot keep up with your needs due to all that data.
Once you turn off the router, remove the power cord and any other cables. Wait five minutes or longer until the router cools down. It should feel cool to the touch before you restart it. Plug in all of the cables and the power cord. Press the power button and see if the message still appears.
2. Do a Factory Reset
When you set up a router for the first time, it uses the factory settings. The chances are good that you made a few changes to those settings over the months or years. It’s easy to make a few mistakes that cause errors in the router when you try to use port forwarding.
Many routers have a tiny button on their backs that restores the factory settings. You need to turn it off and use a paperclip or a similar object to press the button. Other routers require that you log in as the administrator and click on the Restore Factory Settings button.
3. Invest in a New Router
Routers usually last for around five years or less. Older models will only let you use one bandwidth and do not work with some of the new tech methods you want to try such as port forwarding.
You can spend a lot of time looking at how to fix the error or replace the router. Contact your ISP and ask for a new router. Your plan may require that you buy a new one or that you lease a router from the ISP. If your ISP allows outside equipment, feel free to buy a router and set it up.
4. Change the Range
Xfinity makes gateway routers that limit how you can use and set up port forwarding. Even if you have a router from another ISP, you might come across the same problem.
The only way to establish port forwarding is through your local network and its Dynamic Host Control Protocol or DHCP range. You will need to change the end and/or start range. Only then can you go back in and establish or enable port forwarding.
5. Fix Port Errors
Another thing to consider is one or more errors in relation to your ports. When you set up port forwarding, you attach a number to each port, which also helps you set the start and end points. There is a big chance that you used the wrong number when you set up those ports, especially if you keep getting this error message.
Compare the port numbers on all ending and starting points to make sure they are correct. It only takes one wrong number for the port to stop forwarding, which will result in you getting this error.
6. Update the Router
While you can change your router, you can also try updating your old router. Firmware updates are essential for all routers and keep them running the way they should. Even though newer routers automatically install updates, you might have an older router that lacks this feature or find that it missed an update because of a network outage.
Visit the company’s official website that made your router and check for any available updates. You can also use your web browser and enter your IP address to gain access to your router. Once you log in as an administrator, select and install all the firmware updates you missed.
7. Delete Your Reserved IP Address
A reserved IP address is usually associated with a cloud service you use, such as one that backs up data saved on your system. Every device in your home that connects to your router has a different IP address.
All devices in the same region share the same address and can limit some of the things you do online, which is why some people use a virtual private network (VPN). When you remove devices from your network, the router will reassign some of those addresses to your new devices.
With port forwarding, you must assign reserved IP addresses to the connected devices. This allows each device to use the same address with each port.
The problem is that your router may keep trying to give those devices new addresses. When you try to use port forwarding, you get an error because the router cannot identify the devices based on the new reserved IP address.
Use your settings to delete any reserved addresses you saved in the past. You also need to restart the router and try to use port forwarding. If you still get the same message, consider resetting the system and setting up port forwarding again.
Conclusion
It’s often easy to ignore error messages that appear on your PC. The “Failure! Please Check Your Inputs” is a warning message that tells you about an error when you set up port forwarding. Making changes to your DHCP and router are some of the top ways to get rid of this message.