Disclaimer: This post may contain affiliate links, meaning we get a small commission if you make a purchase through our links, at no cost to you. For more information, please visit our Disclaimer Page.
Most of us are familiar with updating Windows using the Windows Updater. In most cases, it’s a pretty easy process that handles most of the work itself. However, sometimes that updater can get stuck and become an annoyance. When that happens, check out these potential solutions.
Related Reading: What to Do When The Windows Update Cannot Currently Check for Updates
Table of Contents
Verify That The Updates Are Stuck
If you can, it’s worth your time to find out if the updates might just be running more slowly than usual. Taking a little time away from the computer can give them a chance to complete, and then you won’t need to worry about getting into a bunch of troubleshooting or repair methods. If you don’t have the time, it’s understandable. Just go ahead and get started with the rest of these methods to resolve the problem.
Read Article: What to Do When the Taskbar Won’t Hide
Try Restarting Your Computer
The first step (aside from waiting a while) is just restarting your computer. There are a few options you can use to do this, depending on what’s going on with your computer.
Through the Start Menu
If you are able to use your computer aside from the frozen updates, then the best way to restart is by going through your Start menu. This will be the easiest on your computer.
Pressing the Front Power Button
However, if you cannot access your start menu to turn the computer off, then you can also hold down the power button on the front of the computer for the same effect. Keep in mind that this is a little harder on your computer because it can’t take a moment to shut everything down, so use it sparingly.
Pressing the Back Power Button
If for some reason you cannot use the start menu or the front power button, you can usually turn off the computer using a switch on the back of the computer, or by simply unplugging it. That said, it’s highly recommended that you try the above options first, as this is also rough on your computer.
Try Your Troubleshooter
Next, you can try out the Windows troubleshooter. This is a good way to easily locate and resolve problems using Windows itself.
Step One
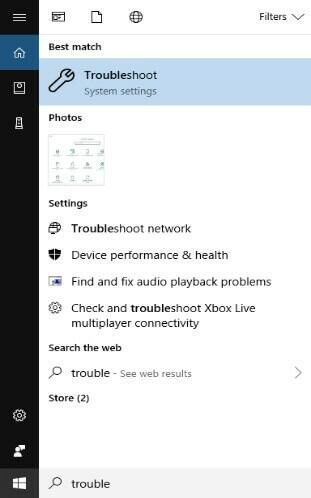
Start by getting to the search bar in your search menu. Enter in “Troubleshooter”, and select the matching result.
Step Two
Follow the instructions that the troubleshooter provides, and answer any questions it may ask as accurately as possible.

Step Three
When you’ve gotten through the troubleshooter, check to see if the updater is able to function correctly again.
Check the Utility
The Utility is another place where you can find the source of your issues, so don’t forget to check it as you’re looking for a solution.
Step One
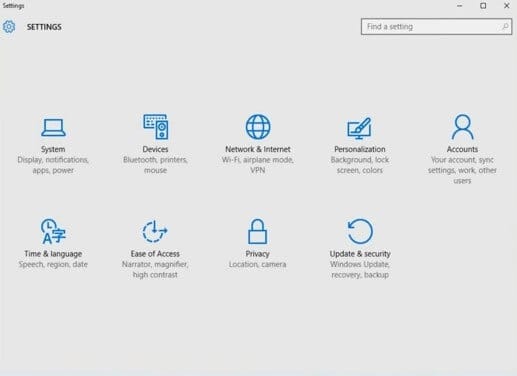
Begin by opening up your Start menu, then go to “settings” and then “update and security.”
Step Two
Now, look for any issues that may have been reported.
Try a Virus Scan
Some issues may also be caused by some kind of virus or other unwanted software on your computer. Running a scan with your anti-virus program may be able to catch these problems and resolve them for you.
Step One
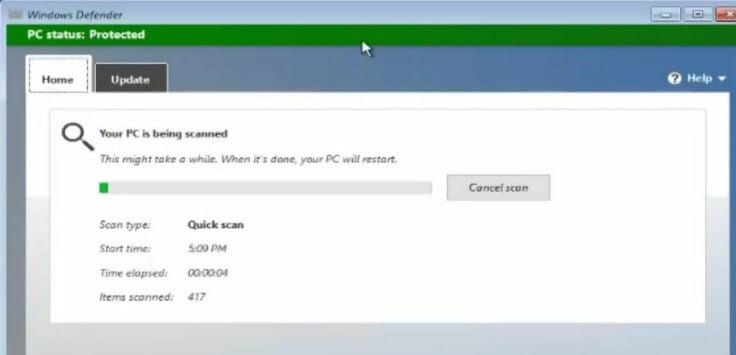
Open up your chosen anti-virus. Use whichever one you find to be most effective. Select the option to run a scan on your computer. Ideally, you should run a full scan.
Step Two
If the anti-virus finds problems, follow the instructions to get rid of the unwanted software. Then, try your updater again. Reboot your computer if needed.
Try Using Safe Mode
Safe Mode is a great place to get through tasks that you may not be able to in standard Windows.
Step One
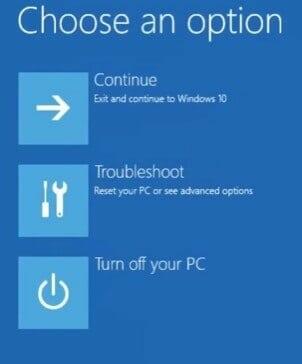
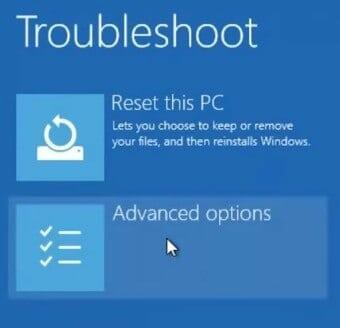
To reach Safe Mode, press “shift,” choose “power” and then hit “restart.” Then, Select the “troubleshoot” option.
Step Two
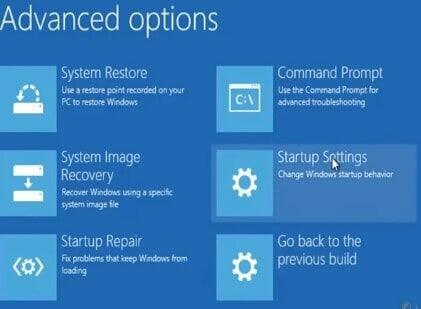
Go to “advanced” options.
Step Three
Locate the “startup settings” and opt to restart in safe mode.
Step Four
Now, allow your computer to reboot into safe mode and try running the updater from there.
Restore Your System
Restoring your system can set it back to an earlier date, which may resolve problems due to recent software or hardware additions that may be causing problems.
Step One
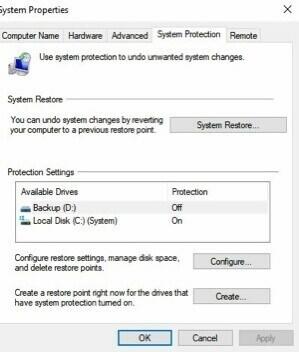
Go to your start menu and type in “control panel”, select the result that matches the inquiry. Next, head to “system” and then “system protection.”

Step Two
Now, click on the option labeled “system restore.”
This option should open up a wizard. In that wizard, you’ll be able to choose a point in time that you want to restore to. This selection is totally up to you, but it’s best to at least set it back to a point when the updater wasn’t having problems.
Step Three
Now, finish up the steps to complete the wizard. Wait for your computer to restore, and attempt the updater again.
Try a Manual Deletion
It may be corrupted files that are causing the issues with your Windows Updates. When that is the case, you’ll need to get rid of the files that are causing the problem. Luckily, they tend to be located in one place.
Step One
To begin with, use the instructions listed above to boot your computer in safe mode.
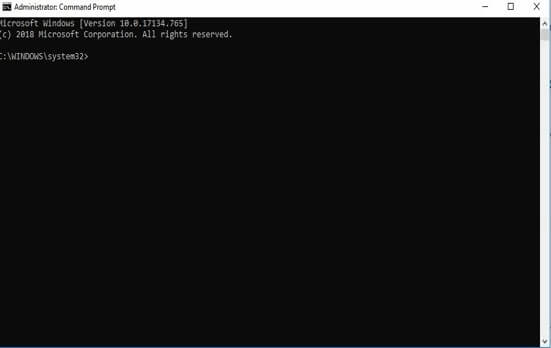
Next, you’ll need to open up your command prompt by typing “Cmd” in the start search bar and selecting the “command prompt” result.
Step Two
In your command prompt, type in “net stop wuauserv” and hit enter. Next, enter “net stop bits” and press enter. Now, reboot into normal windows.
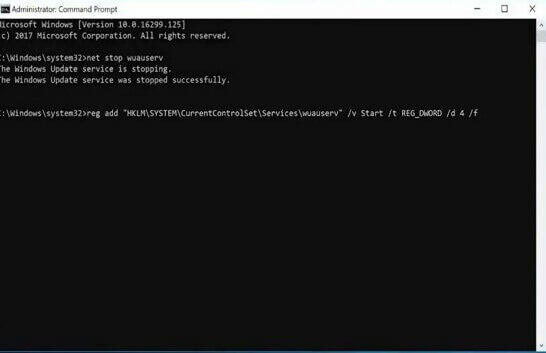
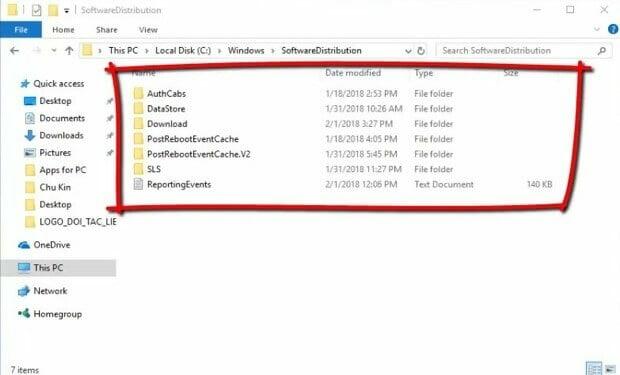
Step Three
In your file explorer, go to C: Windows, Software Distribution and delete all of the files within this folder. Now, you’ll need to return to your command prompt and replace “stop” with “start” in the same two commands listed above. Press enter after each one.
Step Four
Attempt to use your updater again.
Reset Windows
When all else fails, you’ll need to reset Windows to the factory settings.
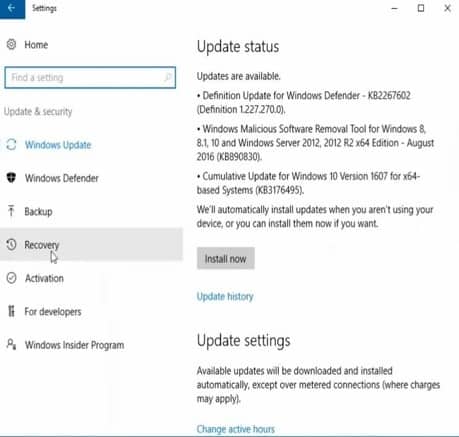
Step One
Head into “settings,” “update and security” and then “recovery.”
Step Two
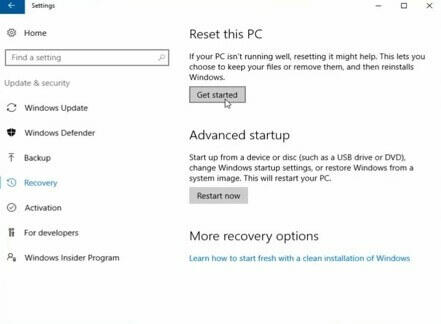
Here you can opt to restore factory settings. Select this option, follow the wizard and wait for the process to complete.
Sources