Disclaimer: This post may contain affiliate links, meaning we get a small commission if you make a purchase through our links, at no cost to you. For more information, please visit our Disclaimer Page.
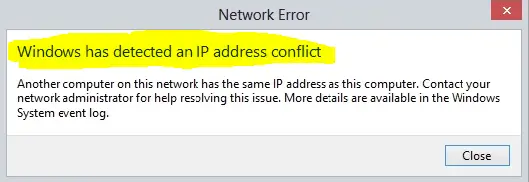
Are you getting Windows has detected an IP address conflict error when connecting to a wireless network or through an Ethernet cable? Here are a few ways you can use to get rid of it.
When you connect your computer, smartphone, or any other devices to a local network(*), all the devices will get a unique IP address. The primary purpose of this is to provide a critical addressing technique to the network and its element. It is often used to distinguish each device on the same network as well as to communicate to each other. You can also call it as the internal IP (Internet Protocol).
* In this article, I will only talk about the local network only (LAN), so some concepts may be explained in a narrow scope.
For instance, when you connect one desktop, one laptop, and one smartphone into the same wireless network, then each device will have its own IP address, and it’s unique.
However, sometimes a few things don’t go the way they were designed because of malfunctions or wrong configurations. Therefore, you will get IP address conflicts, where Windows has detected an IP address conflict message if you are using a Windows computer.
Read Article: The Default Gateway Is Not Available Error
Table of Contents
How To Fix Windows Has Detected An IP Address Conflict
The simplest explanation of this issue is that there are two devices that are using the same IP address on the same local network. As I mentioned above, each device must have a unique IP address to work properly. Otherwise, that device won’t be able to communicate with other devices, as well as access the Internet, and it will be considered as an unconnected device.
Fortunately, there are a few handy ways you can use to get rid of this annoying error on your computer:
1. Reboot Your Modem Or Wireless Router
In many cases, a simple reboot will help you get rid of the Windows has detected an IP address conflict error immediately. There are two ways you can restart your modem or wireless router:
- Log into the administrator management page (often at 192.168.0.1, 192.168.1.1, or 192.168.11.1) and then go to Management -> Reboot.
- Power off (unplug power cable or press the Power button) for some seconds and then turn it on again.
After restarting your modem or wireless router, connect your computer to the network and check again whether the error is gone or not.
Read this Article: Top 10 Most Dangerous Ransomware And How Do They Work
2. Reset Your IP Configuration Via Command Prompt
If after rebooting your modem or router and the problem persists, probably it’s a fault of your computer. So, let’s force your Windows PC to ask the DHCP server (modem/router) for a new IP address. To do so, you can reset all the IP configuration, as well as release and review the IP.
To get started, press Windows + X, then press A and then choose Yes to launch Command Prompt as an administrator.
In the next step, execute all the following commands, one by one:
netsh int ip reset c:reset-log.txt
ipconfig /release
ipconfig /renew
After that, reboot your Windows computer and test again if the error is still there or gone.
3. Set Static IP Address For Your Windows Computer Manually
If both methods above can’t help you to fix the Windows has detected an IP address conflict, I would recommend configuring static IP address for your computer manually.
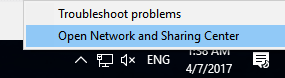
To do so, look at the right of your taskbar and right-click on the network’s icon and then select the “Open Network and Sharing Center” option.
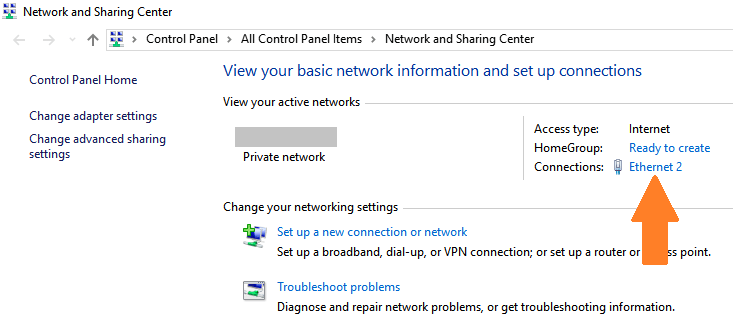
In the next step, choose the network adapter that you are currently using (and also the one that is getting this issue).
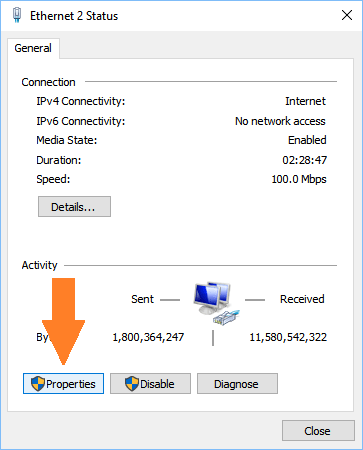
Next, click on the “Properties” button.
Then double-click on the “Internet Protocol Version 4 (TCP/IPv4)” option.
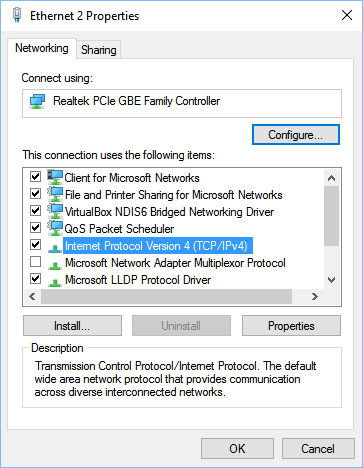
In the next step, configure your static IP following the details of your modem or router (and the image below).
- IP address: This is the static IP of your computer that you want to assign. For example: 192.168.1.111
- Subnet mask: The subnet mask often is 255.255.255.0
- Default gateway: This is the IP address of your router. It often is 192.168.1.1
Note: If the IP address of your modem/router is different, such as 192.168.11.1, then your static IP address needs to follow its form, for example, 192.168.11.111. Otherwise, your Windows computer won’t be able to connect to the network.
- Prefered DNS server: 8.8.8.8
- Alternative DNS server: 8.8.4.4
You can also use another third-party DNS server from this recommended list.
After you fill in all essential details, click on the “OK” button and then restart your computer.
That’s it!
The final method will definitely help you get rid of the Windows has detected an IP address conflict error on your Windows PC.
If you have any questions about this article, or TCP/IP configuration, please don’t hesitate to drop a comment below. I will try to response as quick as possible!
https://whatsabyte.com/windows/kernel-security-check-failure-windows-10/