Disclaimer: This post may contain affiliate links, meaning we get a small commission if you make a purchase through our links, at no cost to you. For more information, please visit our Disclaimer Page.
A PC has a lot of components that can cause boot issues. So if your PC fans are spinning but won’t boot, you’d have to find and isolate the part that causes the problem. Let’s talk about how you can do it properly on your computer.
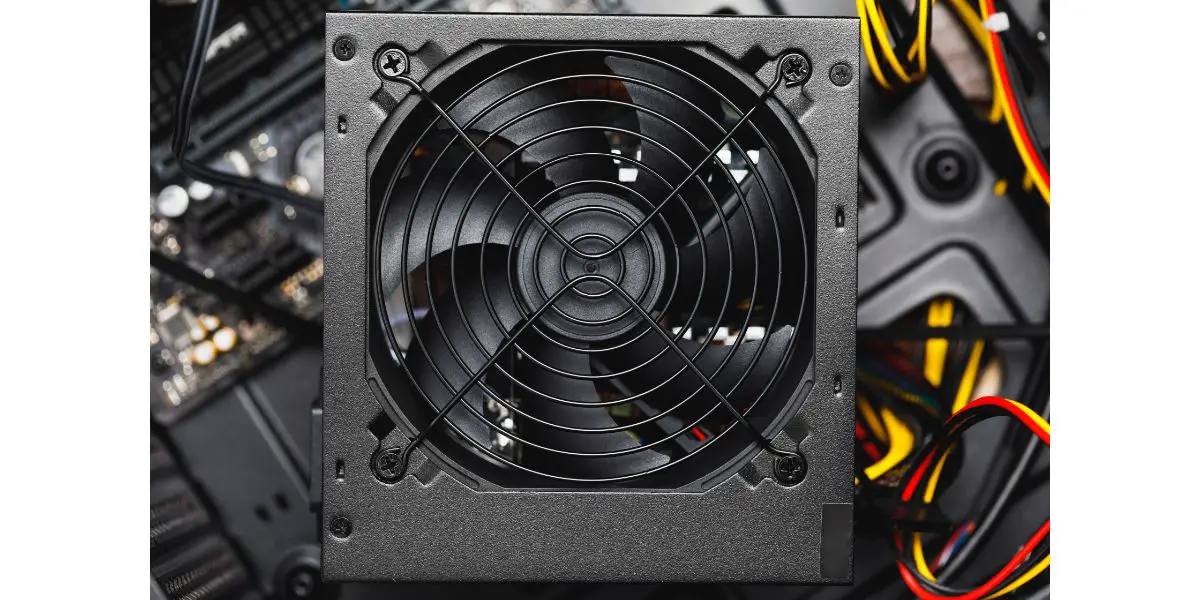
Table of Contents
1. Check the Power Supply Voltage
When you’re experiencing boot issues with your computer, the power supply unit (PSU) is the first thing you always need to check. It’s responsible for delivering power to all the components of your PC. If it’s faulty or doesn’t have a stable voltage output, one of your components won’t be able to boot properly.
You’ll need a voltmeter to test all the pins on your power supply. If you’re unsure how to do it, here’s a detailed guide from Lifewire showing how to check your PSU using a multimeter.
Remember, your PSU pins should have the correct voltage output and stable readings. If the reading for one of the pins is too high, too low, or fluctuating, then it could be why you’re having boot issues.
2. Check the Power Supply Connectors
Similar to the voltage output, if one of the PSU connectors isn’t seated correctly, then it won’t be able to deliver the power that your computer needs to boot up. Checking these connectors may sound mundane, but it’s an essential part of the process when trying to isolate the part that’s causing the problem.
Try to check all the connector pins and see if one of them is loosely connected to a computer part. These connectors should click into place to have a proper connection from the power supply to your computer.
3. See Where the HDMI and DP Cables Are Connected
If you have a GPU (Graphics Processing Unit), you’ll need to connect the HDMI or DP cables to the GPU ports and not to the motherboard ports. If you have a GPU and the HDMI/DP cables are connected to the motherboard, you might experience the same symptoms as a PC that’s not booting up.
We had to deal with several computers that had the same issues, only to find out that the HDMI or DP cables were connected to the motherboard.
When it happens, your PC will boot normally, fans are spinning, lights are lighting up, and you’ll even hear the beep sounds, but nothing shows up on the monitor, which may seem like the PC is not booting up.
So before you disassemble your PC to conduct a proper diagnosis, check your monitor cables. If you only need to reconnect it, you’ve saved yourself from a lengthy process of isolating the issue and possibly replacing a working PC component.
4. Check and Locate the Faulty Component
Once you’ve confirmed that your power supply is working and all the cables are correctly in place, the next step is isolating all the parts and determining which is causing the boot issue. It will be a methodical process, so follow all the steps carefully to find the component that’s preventing the computer from booting up.
It will be easier if you have spare PC parts because you can pinpoint what’s causing the problem. However, narrowing it down to 2 possible faulty parts is good enough for you to start working on a possible fix or replacement.
Boot With Minimal Components
Remove everything from the power supply except the bare parts your computer needs to boot. It would include the following:
- The motherboard
- The CPU (Central Processing Unit)
- At least one RAM stick in the memory slot. If you’re using paired RAM, you’ll need both on your motherboard for the PC to boot.
Remember, whenever you’re trying to isolate computer parts to determine which is faulty, you’d have to add every component one by one and keep rebooting it until you find which part is causing the issue.
This first step is the most complicated process because if your PC doesn’t boot, you’ll have to determine which issues between the motherboard, CPU, and RAM sticks.
Doing this will be easy if you have spare parts that you can use for testing. However, we assume you don’t have any for these parts because an average PC user wouldn’t have a working motherboard, RAM, or CPU in storage.
Here’s what you have to do to proceed with the test:
- Turn your PC on.
- If your PC fails to boot, proceed to Step 3b. You’ve also narrowed the possibilities down to three parts. However, you’d need to test it with another unit to pinpoint which of them is having issues. If you don’t have spare parts for your computer, you have two options:
- Make a little bit of an educated guess based on your testing results.
- Take all three parts to a computer technician to pinpoint the faulty component.
- If your PC successfully boots, proceed to Step 3f. You can also worry a lot less because none of your major components (motherboard and CPU) is causing the issues, and replacing or repairing the other parts will be a lot easier.
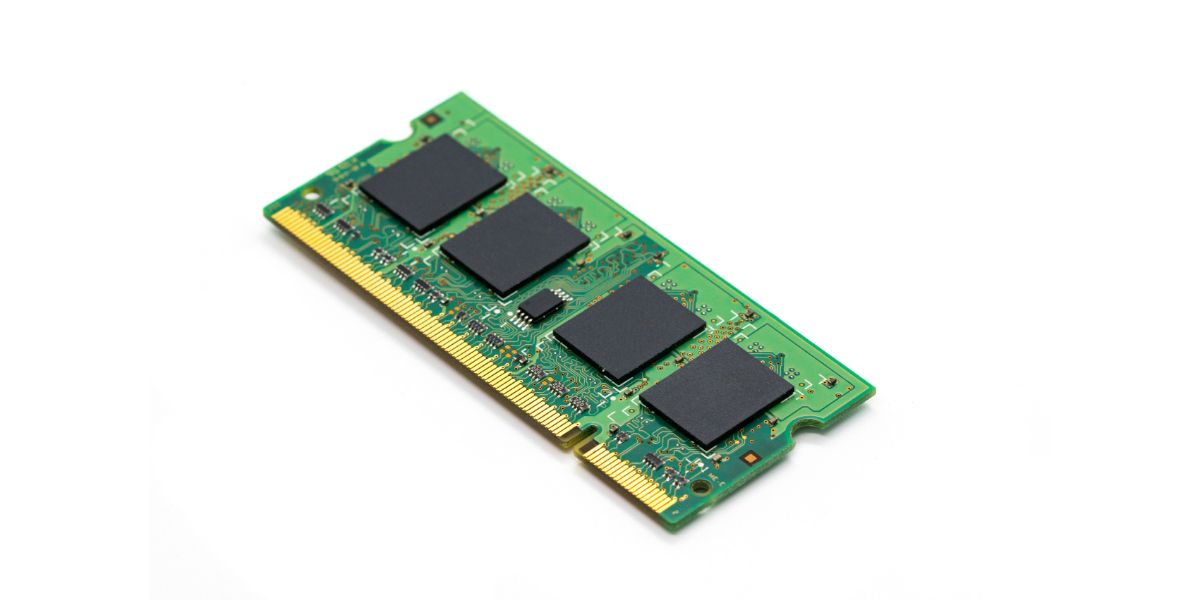
Replace the RAM Stick if It Doesn’t Boot
If you have a spare RAM stick that you can use for testing, try replacing the one that you have on the memory slot.
When placing the memory stick, ensure that both sides click into place to avoid problems with its operation. If your RAM is paired, you might have to ask someone for an extra RAM stick that you can try.
RAM sticks are the easiest and cheapest to replace, so you must be 100% sure that your memory sticks aren’t causing boot issues before you start isolating or replacing the other parts. You’d want to do every possible test on your RAM stick before ruling it out because replacing the motherboard or CPU is much more expensive and time-consuming.
If you don’t have access to extra memory sticks, don’t buy one yet. Instead, proceed to the other steps to ensure that the other parts are not causing the issue.
Drain or Clear the CMOS Battery
Your motherboard has a coin-like battery called the CMOS (Complementary Metal Oxide Semiconductor). It is responsible for powering the BIOS settings and retaining settings for your computer even when it’s off.
When isolating the issue, it’s best to drain the CMOS battery to rule out the possibility of a BIOS-related error. Many people had boot issues caused by the BIOS (Basic Input/Output System), so it’s worth resetting. Since CMOS batteries are easy and cheap to replace, there’s no downside to checking it whenever your PC fans are spinning but won’t boot.
Here’s a video from Mike walking you through the process of draining your CMOS and resetting your BIOS:
Check the CPU for Bent Pins or Try a Different CPU or Motherboard
The CPU and motherboard are major components and are the most complicated parts to replace when you have boot issues. These parts can be costly and even require you to reformat your computer, making them the worst suspects for any issue you may encounter with your PC.
The first step for this diagnosis is to remove the CPU from the motherboard. You’ll want to look for bent pins or anything that’s out of place. Here’s a video from CyberPowerPC that’ll show you how to install and remove the CPU from an Intel or AMD motherboard:
Pinpointing the Faulty Part With a Spare
If all the pins are in order, you can check your CPU and motherboard for any problems that may prevent your PC from booting up. If you have a spare motherboard, install your CPU and RAM stick on it. If your PC boots, you’re dealing with a faulty motherboard. If it still has the same issue, you’re looking at a faulty RAM stick or CPU.
If you have a spare CPU, try it on your motherboard and see if it boots. If it did, you’re dealing with a bad CPU, assuming you still have the same RAM stick. If it still fails to boot, you’re dealing with a faulty RAM stick or motherboard.
Fixing the Boot Issue Without Spare Parts
The processes we mentioned require you to have a spare for the motherboard, CPU, or RAM. Unfortunately, if you don’t have any of them, we’ll have to make an educated guess as to what might be causing the problem.
At this point, we’re still not sure whether your RAM, motherboard, or CPU is having issues. However, based on probabilities, you’re most likely dealing with faulty RAM sticks. Between these three parts, RAM sticks are the easiest to go bad, followed by the motherboard, then the CPU.
Aside from bent pins, it’s rare for CPUs to go bad over time. In most cases, CPUs will outlast every part of your computer. Getting a motherboard before replacing your RAM without confirmation is also not a good idea, considering the amount you have to spend and the work you need to do to replace it.
So, if we are to make an educated guess, your PC won’t boot because of faulty memory sticks. They’re cheap and easy to replace, with a higher chance of being faulty than the other two parts. Add that to the fact that if it didn’t solve your issue, you’d have more memory sticks to upgrade your PC.
If you don’t like the idea of guessing which of the three parts is faulty and wouldn’t mind spending a bit more, taking all of them to a computer technician for proper testing is the best move. They have spare parts that they can use for testing and might have the tools needed to repair them.
Warranty can also help you reduce the cost of replacing your computer parts. Consider bringing all three to the service center for repair if all three are still covered. If you bought a computer set, the warranty would even cover the diagnosis for the parts to help you pinpoint which of them needs a repair or replacement.
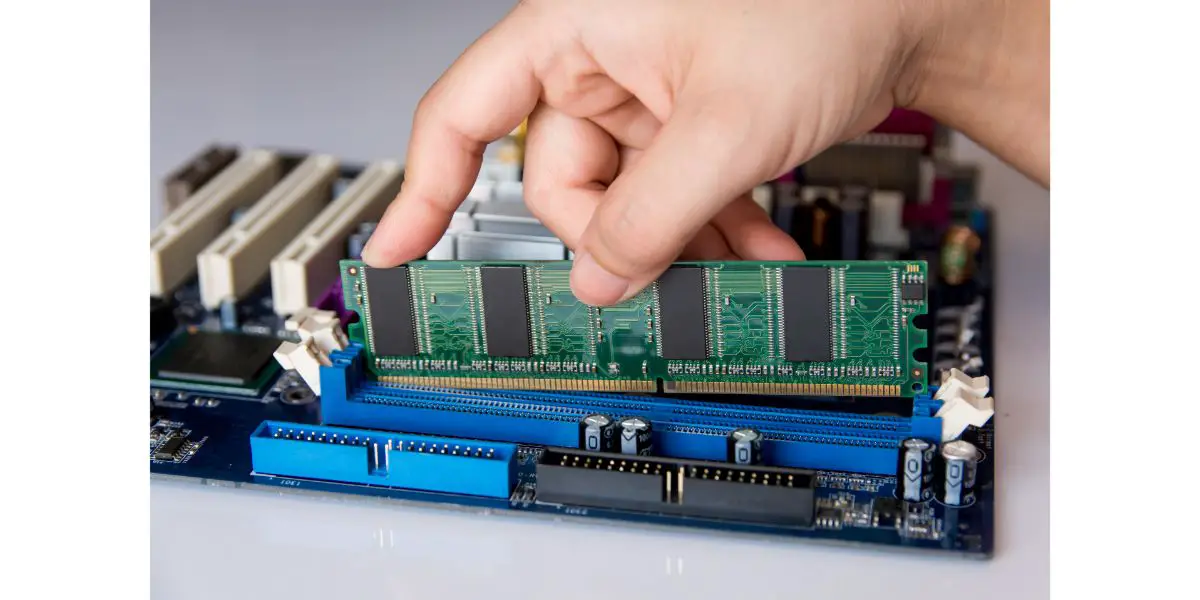
Insert Ram Sticks One at a Time
Now that you know your CPU, motherboard, and RAM are all working, it’s time to determine which of the remaining parts is faulty. Most computers have at least two memory sticks, while high-end motherboards have eight memory slots. So test all your RAM sticks to see which prevents your PC from booting up.
Here’s how you can determine which of the RAM sticks you have is faulty:
- Insert your second RAM in the same channel as the previous RAM.
- Reboot your PC. If it boots, leave the stick in the slot, then try another stick. If it fails to boot, remove it from the motherboard, and separate it from the other sticks.
- Assuming that you have more than 2 RAM sticks, repeat steps 1 and 2 until you’ve tested all your RAM sticks and separated the faulty memory sticks.
Except for reseating the power connectors or improper GPU cables, replacing the RAM sticks (even if you have to replace them) is a lot better than the other possible causes.
If you have to replace the RAM, you won’t have to change anything in your PC’s configuration, and you only need to ensure that they click into place to start working again.
Insert the GPU and the PSU Pins
The GPU is the last component that can potentially cause the issue of a PC not booting up. A faulty GPU is not uncommon, and it’s also plagued with DOAs (Dead on Arrival) and infant mortality (unit goes bad after 3 to 4 months).
If none of the steps you’ve tried resulted in a boot-up failure, it’s most likely a GPU problem. If your CPU has integrated graphics, your computer will boot up even without a working GPU. Unfortunately, if your setup needs a GPU and you have a faulty one, it can be very costly to replace.
GPUs are very expensive. Some computer builds even have a more expensive GPU than the motherboard and CPU combined. If it’s still under warranty, bring it to the service center and request a repair or replacement.
Conclusion
You can’t fix a computer that won’t boot up unless it’s an issue with the cables or power connectors. The best thing you can do about it is to isolate all the parts and determine which is causing the issue and have it repaired or replaced.