Disclaimer: This post may contain affiliate links, meaning we get a small commission if you make a purchase through our links, at no cost to you. For more information, please visit our Disclaimer Page.
When your Roku audio is out of sync with your video, you miss enjoying the best moments of your favorite shows.
While Roku is one of the top streaming devices, it has problems, and audio is sometimes one of them. In this article, we’ll show you the best ways to help resync your audio and video on your Roku.
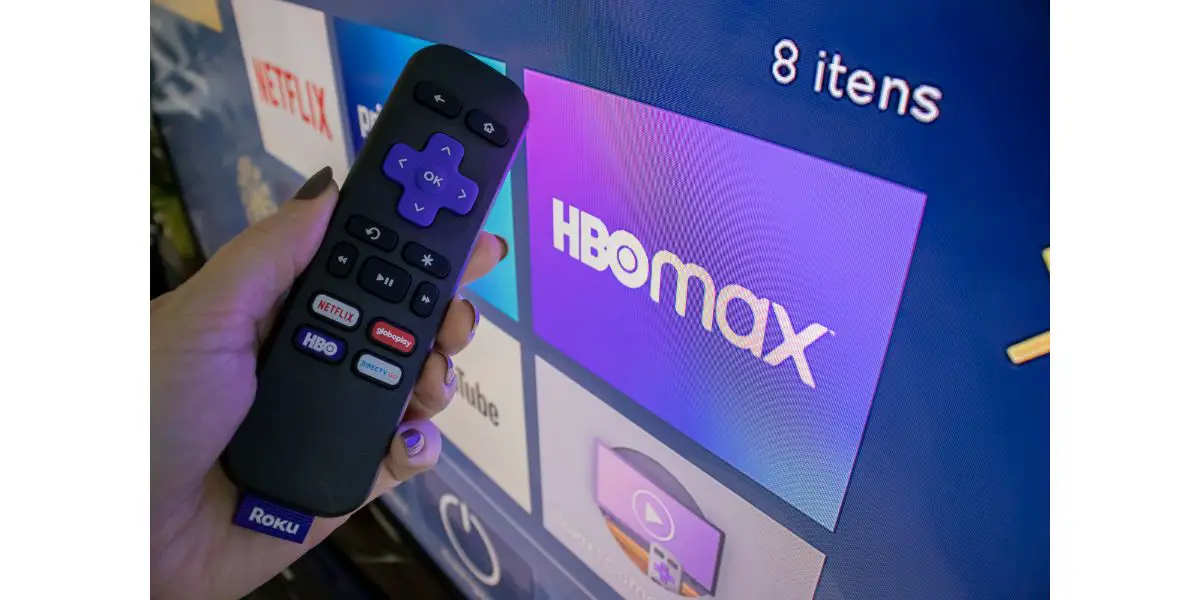
Table of Contents
Why is My Roku Audio Out of Sync?
Roku audio syncing issues are fairly common among users. The problem usually is software related, but there are times when physical damage will affect your audio’s ability to sync.
There are three common sources for why your Roku audio is out of sync:
- Issues with the external components of your Roku.
- Internal software issues.
- Problems with your TV.
Physical Issues With Your Roku and Solutions
Check the External Appearance of the Roku
The first step to troubleshooting your Roku’s audio issues is to check for physical damage to your device. Any dents or deformations could allow dust to settle into the unit, creating many problems.
If your Roku device has external ports, such as an HDMI cable connection jack, you should also check those for damage.
If you do find damage, you should contact Roku to fix it. For a temporary fix, you can cover it with a little masking tape to prevent dust and debris.
Sometimes you may notice that the damage is internal. If this is the case, you should contact a Roku specialist. A service center can help fix up most damage and will clean up the internal components.
Check the Cables
Do you remember when audio had two separate cords, and video was on its own? These days audio and video connect with one signal cord, usually an HDMI. If your HDMI cable breaks, audio, and video can fall out of sync with each other- or stop working altogether.
You should check that the cords are fully connected. The connection will not be as strong if there is any wiggle room for the cables.
Next, check the power cord and HDMI for wear and tear damage. Change the cords if you notice something, such as exposed wires or unnatural bends. You can purchase replacement cables from Amazon or Best Buy. Always ensure that the source is reputable and that the cord’s specifications work with your Roku device.
Some users have reported a solution to their audio sync issues after changing their HDMI cable, but others have had to troubleshoot the device further.
Software Issues with Roku and Solutions
Adjust Roku Volume Mode and Audio Levelling
One of the easiest solutions to your syncing issue is adjusting your volume and audio leveling modes. Most Roku devices have volume mode settings. These settings allow you to change audio with compression to make things softer or louder when necessary.
Follow these steps to adjust your volume mode settings:
- Start watching a show on your Roku. Press the star button on your remote to open an Options menu.
- From the pop-up Options menu, select Volume Mode and toggle it to off.
Some streaming apps have a different thing appear when you press the star on the remote. If so, head to The Roku Channel and try the procedure again.
If all goes accordingly, your audio should sync immediately.
Factory Reset
A factory reset should be the last solution you try. If you have a Roku streaming device attached to a non-Roku TV, try the below suggestions before attempting this step. A factory reset wipes your Roku clean of all your information and settings, causing you to start from scratch as if you pulled the device from the box.
Follow these steps to perform a factory reset:
- Press the home button on your remote.
- Push the left arrow button and scroll down to Settings.
- From the Settings menu, select System, then Advanced system settings.
- Next, choose Factory reset.
- Follow the instructions on the screen to finish the factory reset.
You can also factory reset using the physical Reset button on the device. It will either be a tactile button or a pinhole. With the device powered on, press the button down for ten seconds.
Clear the Roku’s Cache
Clearing Roku’s cache is one of the most successful solutions for users when resyncing their audio. Cache causes your Roku to slow down, which could result in audio falling out of sync.
You’ll need to use your Roku remote for this to work- a universal remote will not do the job.
Follow these steps to clear your Roku’s cache:
- Press the home button on your remote while your device is on.
- Ensure you are on the home tab on the sidebar menu on the left side of the screen before continuing further.
- Now, using your Roku remote, follow these instructions:
- Press the Home button five times in a row.
- Then push Up once.
- Push rewind twice.
- Lastly, press fast forward twice.
Wait around 30 seconds. The device will delete the cache and other junk files. A restart will happen automatically.
Perform a Power Cycle for Your Roku
A power cycle is the same as a soft reset- meaning all your settings and apps will remain intact. It effectively means that you are just fully powering your device on and off.
Performing a power cycle is different depending on your Roku device type. If you have a Roku TV (whether with Hisense, TCL, or other brands), follow these steps to soft restart:
- Unplug your TV from the wall or subsequent power source.
- Leave the device unplugged for at least 60 seconds.
- After the time passes, plug it back in and power it up.
To soft reset a Roku streaming device such as a streaming stick, follow these steps:
- Turn on your device and head to the Home menu. You can get there by pressing the button with a house icon on it.
- Scroll to the left of the user interface and scroll down until you find Settings.
- In the Settings submenu, select System.
- From the Systems tab, locate and choose System Restart. Confirm the Restart.
- Wait for your device to turn back on automatically.
Issues with Your TV and Roku
Sometimes Roku does not play nice with other devices. If you are using a Roku streaming device instead of a Roku TV, the issue may be with your TV. Try the below troubleshooting methods to solve your problem.
Soft Reset the TV
Rebooting your TV gives your device a clean slate to reconnect to the Roku. Some users have found success with performing a soft reset every once in a while when they have problems with their audio.
To soft restart your TV, follow these steps:
- Turn your TV off.
- Disconnect the plug from the power outlet.
- Please wait 60 seconds, plug the TV back in, and turn it on.
You should keep your Roku streaming device plugged into the TV the whole time.
Switch HDMI Audio Formats
There are two standard HDMI input audio formats: PCM and Bitstream. If your TV’s audio is on Bitstream, you may find success by changing to PCM.
To change the settings, follow these steps:
- Go to your TV home screen or menu.
- From there, head to the Settings option. You may have to select “More…” after hitting Settings.
- Next, select Sound, then Expert settings.
- From the Expert Settings submenu, locate the HDMI audio format. Turn off Bitstream and select PCM.
This step was massively successful for many users who only had issues with particular apps, such as YoutubeTV, falling out of sync while using their Roku.
Conclusion
Audio syncing issues are beyond frustrating, and the solutions will not always work for everyone. Clearing the cache and changing your audio settings are two of Roku’s most successful methods for fixing out-of-sync audio.
If the problem persists after you attempt the above troubleshooting methods, contacting Roku Support can help.