Disclaimer: This post may contain affiliate links, meaning we get a small commission if you make a purchase through our links, at no cost to you. For more information, please visit our Disclaimer Page.
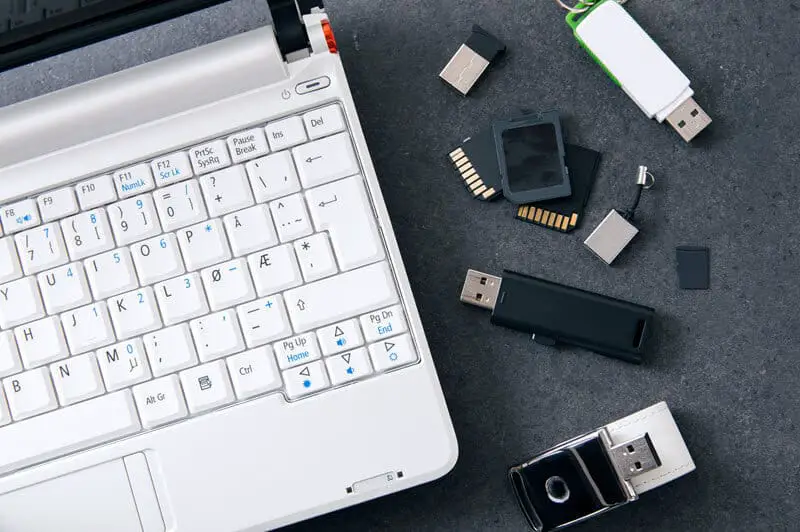
You go to plug in your USB — or external device of similar nature — only to find it isn’t registering. You try the other port. You try flipping it. It doesn’t fit. You had it right the first time. So what’s wrong?
The USB ports on a Windows 10 computer can stop working and become unresponsive due to device drivers getting corrupted, power supply to USB ports being cut off and other reasons. Before jumping to conclusions, make sure that the device itself is ok.
Read Article: What Is Other On Mac Storage
Ask yourself the following questions:
Is your device out of date? Meaning, is it simply old and run its course?
Could the device be incompatible with your software? If the device is older it could very well be incompatible with your PC/Mac if you’ve recently upgraded.
Do you notice any rips or tears in the cable? Simple yet destructive. If there’s a tear or even the semblance of a tear in your cable, this could be affecting your connectivity.
You can check all of these things by simply plugging in a newer device of any kind, and seeing if the port registers. If not, your port has a problem.
Table of Contents
1. Reboot

Golden rule: reboot, reboot, reboot. Give your machine a rest and let its system get back to basics. Rather than hitting ‘restart’, shut down completely. Give your device a few minutes of silence. If it’s a desktop, unplug it directly from the source. Then feel free to turn it back on and try it all again.
2. Out With the Old (device driver)
What is a device driver? It’s a little bit of software that speaks with your operating system, converting binary code into usable, sometimes tangible, services. Basically, it lets the printer know what to print, and the mp3 player what to play. Stuff like that.
When a device driver is corrupt, the system no longer knows how to perform. In our example, when you plug the USB in, the system doesn’t register anything because there’s no drive to inform it. It’s the equivalent of staring at a blank face.
All you gotta do in this case is uninstall your device drivers.
But then who will give my machine it’s instructions? I hear you ask in dismay. Well, have more faith in your machine.
When you reboot, the necessary drivers will reinstall itself, stronger than ever and your port will work. Granted that that was the issue in the first place, of course.
Let’s uninstall together:
- Find Device Manager by right-clicking on the Start button
- Once on the Device Manager window, click on the USB Controllers with an exclamation mark (!)
- Click on Uninstall in the menu.
- Search for other USB controllers with exclamation marks and uninstall them as they arise.
- Now it’s time for the reboot.
Windows should automatically reinstall the correct drivers once it comes back to life.
3. Say Good-Bye to Fast Start-Up
Windows 10 has a new future called ‘fast start-up’. Sounds great for those of us on the go, writing on public transport, fitting in that last episode on the way home; not so great when basic features, like USB ports, forget to boot up in its haste.
If this is a recurring issue, you might want to disable the fast start-up option altogether.
Let’s do that together:
- Open up the Control Panel on your PC/Mac.
- Once on the Control Panel screen, go ahead and hit ‘Hardware and Sound’
- Change ‘What Power Buttons Do’ link.
- Once the next screen comes up, scroll down to “Shutdown Settings”. Then uncheck ‘Turn on fast startup’ option.
It may take a little slower for your computer to boot up, but it will have all its faculties. I see that as a big plus.
4. Power Management Setting may be the USB Root (Hub) of the problem
Another notoriously big sucker of life from our USB ports is the ol’ Power Saver function. Just like the Fast Start-Up, Power Saver gives you the bonus of added battery life, at the cost of other features.
The USB Root Hub, specifically, is software that allows for multiple USB ports to be used at the same time.
Sometimes it’s necessary to pick and choose when it comes to your power source. It’s good to know how to do this manually.
That way you get to decide where the power goes, with no nasty surprises.
- Start with the Start button, and then click on the ‘Device Manager’ option.
- When you’ve got the Device Manager screen in front of you, right-click on ‘USB Root Hub’ and click on ‘Properties’.
- On the Properties screen, click on the Power Management tab and uncheck the option for “Allow the computer to turn off this device to save power” and hit the ‘OK’ button.
5. Get Selective with your Selective Suspend Setting
This is a more specific version of what we just discussed re: power management mode. The Selective Suspend Setting specifically deals with the USB ports when they are not in use.
Like sleep mode, just for the ports. Sometimes these guys can be deep sleepers.
Our advice: Simply disable it.
- Get your Control Panel open on your computer.
- Once on the Control Panel Screen, be sure that you’re in the “Category” view and click on ‘System and Security’.
- The System and Security Screen will present you with ‘Power Options’. Hit that.
- Then click on the ‘Change Plan Settings’ link, which you’ll find next to the existing Power Plan.
- Then you’re going to click on the ‘Change Advanced Power Settings’ link.
- On the next screen, click on ‘USB Settings > USB selective suspend setting’ and select to disable the option for “Plugged In” and then again, for “On Battery”. On battery is a fancy way of saying Laptop. Cover your bases.
- To save your good work, hit OK.
Getting to know your machine better can be the difference between pulling your hair out over a ‘dud’ port — and getting straight back to business.