Disclaimer: This post may contain affiliate links, meaning we get a small commission if you make a purchase through our links, at no cost to you. For more information, please visit our Disclaimer Page.
You pull up your Windows Update Service, only to find that the updates you need just aren’t quite working the way they used to. This is an issue that can quickly become frustrating if you don’t know what to do about it. The good news is that there are several methods you can try that may solve the problem for you. We’re going to discuss them here to help with ridding you of your headache.
Related Reading: Potential Windows Update Database Error Detected – DIY Troubleshooting
Table of Contents
What Does The Windows Update Service Do?
In short, the Windows update service will make sure that your Windows-related programs are updated and working correctly. It’s a useful tool that allows you to keep everything in check for Windows PCs in one simple place. It even includes a handy troubleshooter in case you run into problems. For those who are new to using Windows, it’s a good program to become familiar with so that you can make use of it when needed.
Malicious Software Might Be the Problem
In some cases, unwanted, dangerous software may be causing the problem for your Windows Updater. It’s worthwhile to check, for the sake of safety as well as getting your updater working again.
Step One
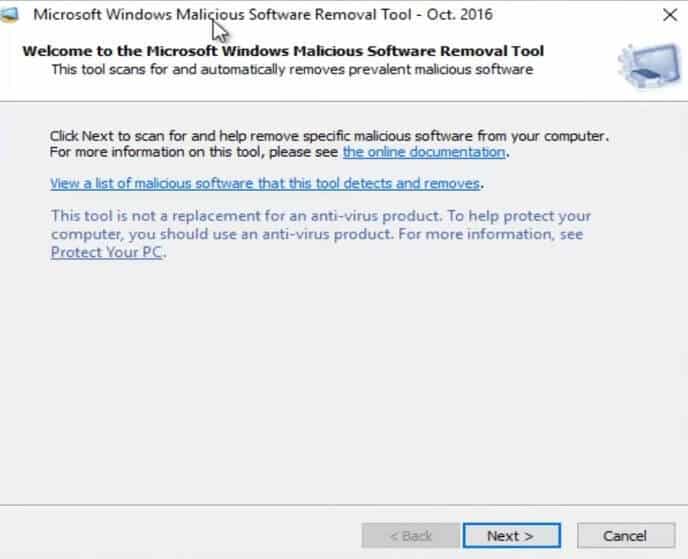
If you don’t already have it, it’s worthwhile to get your hands on Microsoft’s Malicious Software Removal Tool. This can be a key factor in clearing away software that may be causing you problems.
Step Two
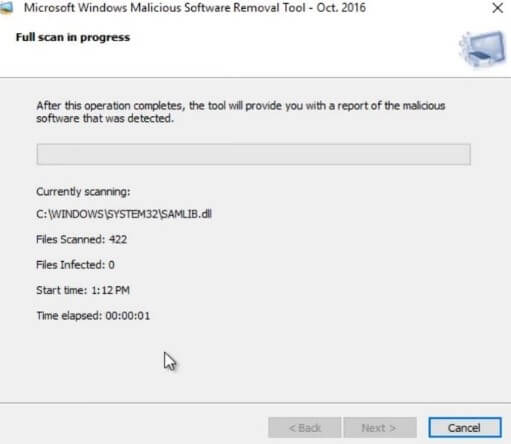
Once you have the tool installed, you can use it to scan your computer for dangerous software.
Step Three
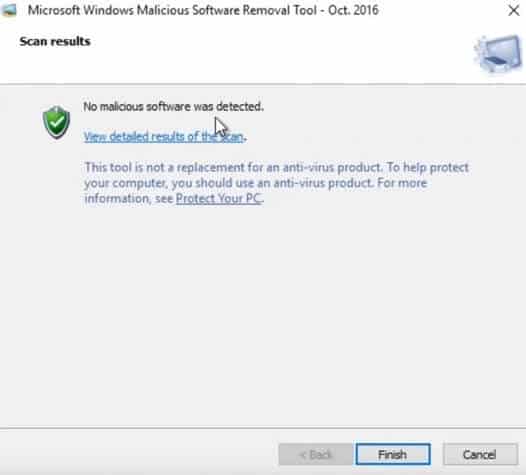
If the removal tool finds any unwanted software, it will guide you through handling those issues. Follow the instructions it provides.
Step Four
Once the tool is finished, you can restart your computer and attempt using the updater again.
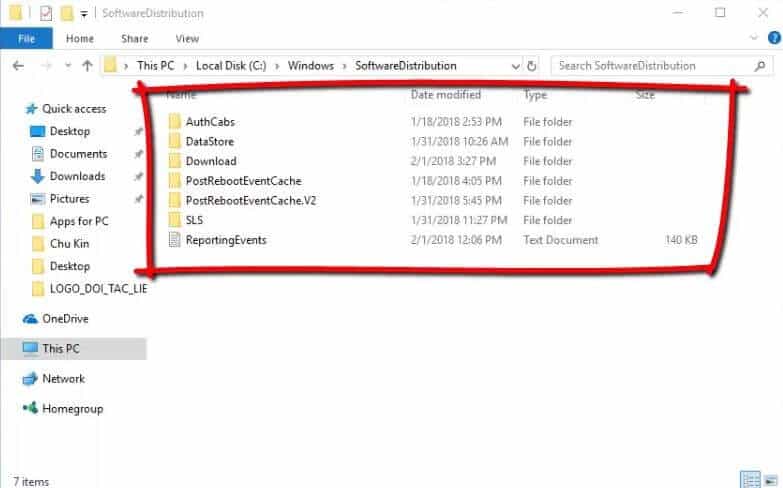
Manage Your Folder For Software Distribution
Your software distribution folder is typically one that holds folders for Windows Update to make use of. Often, these folders are temporary and in some instances they can become corrupted. It’s because of this that checking and deleting them can help to get your Windows Updater working once again.
Step One
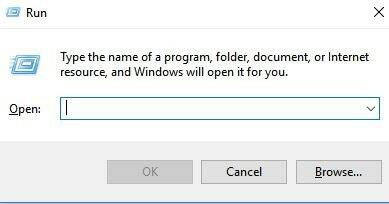
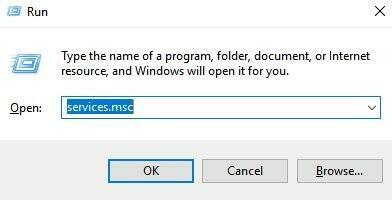
Start by pressing the Windows key and the “R” button at the same time.
Step Two
In the box that pops up, enter “services.msc” and then select the “OK” button.

Step Three
Find “Windows Update” in the list, and press the “Stop” button.
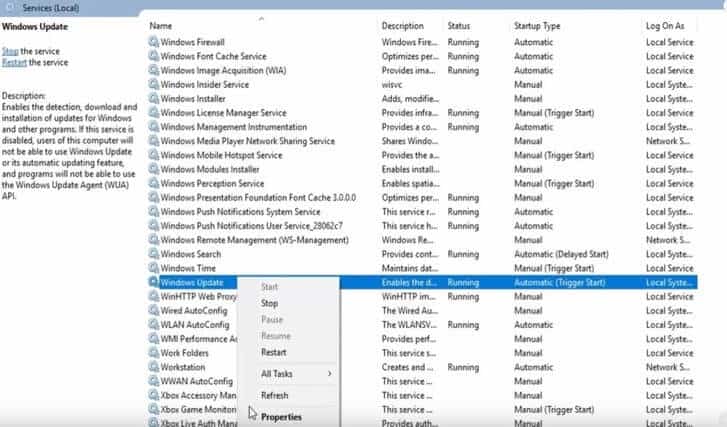
Step Four
Next, you’ll need to get your file explorer opened up. From here, you’ll need to head to the Local Disk (or C:) folder. Then, click on “Windows,” followed by “Software Distribution.” Clear out everything in that folder by deleting it.
Step Five
Now you’ll want to return to your “Services” box. On the “Windows Update” you’ll now want to hit “Start” to get it functioning again. From here, you’ll just need to restart your computer and make another attempt at using the Windows updater.
Try the Windows Update Troubleshooter
For those who are looking for a simpler solution to try out, the Windows Troubleshooter is also able to troubleshoot the updater. As a result, it can search for and fix issues within itself.
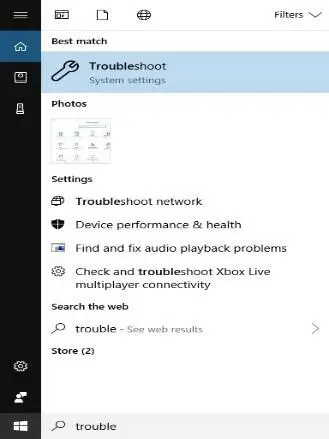
Step One
Hit “Start.” In the search bar, enter “troubleshooter” and open up the “Troubleshoot” option.
Step Two
Once you have the troubleshooter opened, select the option that reads “Fix problems with Windows update.”

Step Three
From there, just follow the instructions that the troubleshooter gives you. When you have gone through all of the instructions, try using the Windows Updater once again.
Try Restarting Windows Services
There are a variety of services that are connected to the updater, and when these services are disabled by accident it can result in the Windows Updater not working correctly.
Step One
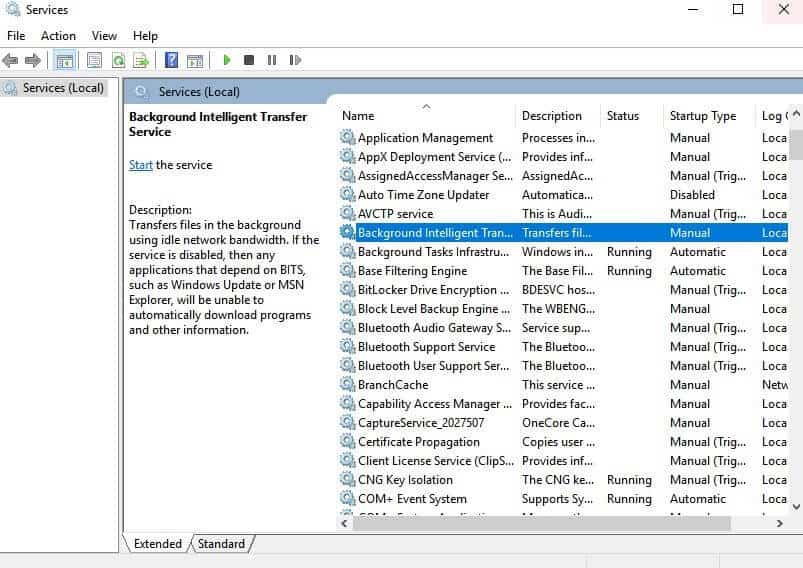
At the same time, hold the Windows key and “R”. Type in “services.msc” and select “OK.”
Step Two
Look for “Background Intelligent Transfer Service” and double click on it.
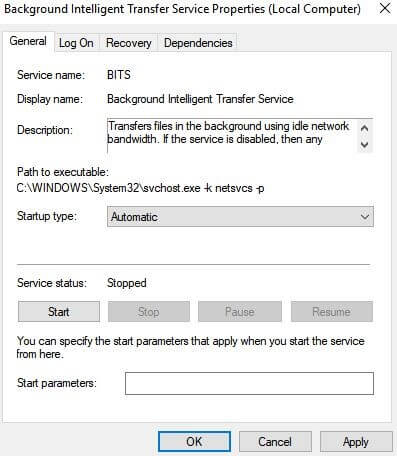
Step Three
Check the “startup type” listed for this service. If it isn’t set to “Automatic,” then change it so that it is. Then, select “start” if you’re able to. If that button is grayed out and you cannot click it, then select “stop” and then “start” again. Finally, click “OK”.
Step Four
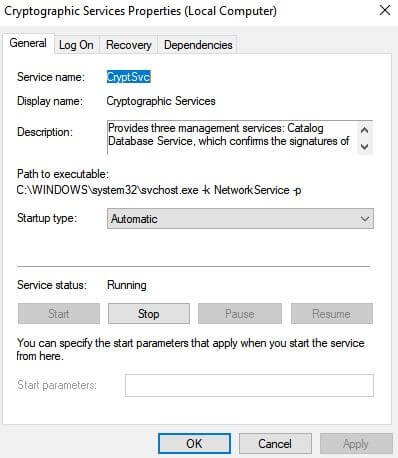
Now, find the service listed as “Cryptographic Services” and repeat step four with this service.
Step Five
Look for “Windows Update” and repeat step four once again. Restart your computer when you have finished these processes and try the updater again when it has rebooted.
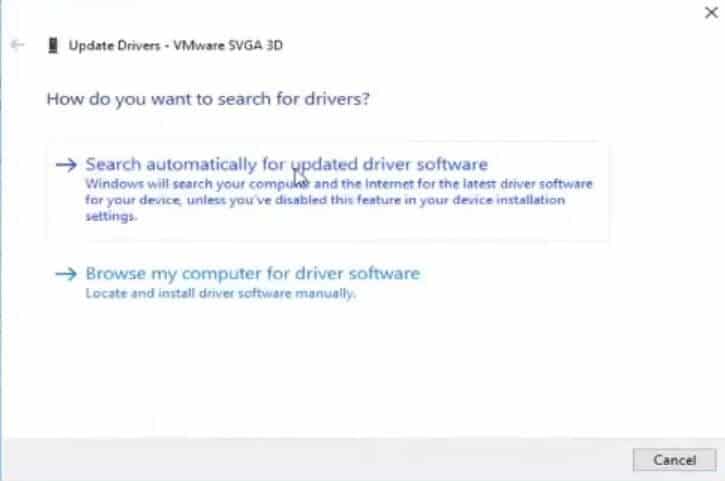
Try a Device Driver Update
You may find that you simply need to get your drivers updated. The good news is, this isn’t a hard thing to accomplish. Just follow these steps and you’ll be on your way.
Step One
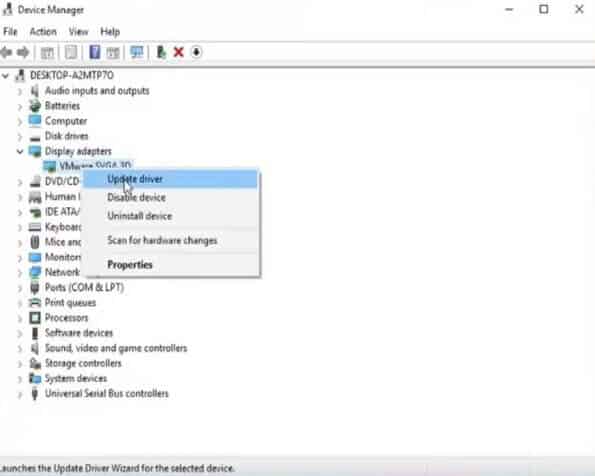
In the “Start” search bar, type in “Device Manager”. Click on the matching result.

Step Two
Open up the kind of drivers you want to update. This typically requires double clicking on the section. From there, you’ll be able to find the device that you want to update the drivers for. Right click on that device and select “update driver.”
Step Three
Allow your computer to look for new drivers automatically. If there are driver updates, here is where you’ll be able to install them. Otherwise, there are likely no updates needed.
Step Four
Restart your computer if prompted and try the Windows Updater again.
What if I’m Still Having Problems?
If you try out all of the solutions listed above and still find that the Windows Updater isn’t doing what you need, it’s probably time to contact customer service. Windows customer service should be able to help with diagnosing your problem and provide some solutions for you to try.
In rare cases, your computer may need repairs in order to work correctly once again. Because of this, it’s a good idea to keep track of any warranty information you may have, just in case you may be able to minimize costs related to the repairs.
Sources