Disclaimer: This post may contain affiliate links, meaning we get a small commission if you make a purchase through our links, at no cost to you. For more information, please visit our Disclaimer Page.
The “Windows was unable to complete the format” step-by-step guide!
Formatting a USB flash drive is an easy process. It’s not strange to most of us. All you need to do is just right-click on the USB flash drive you want to format, select the “Format” option, and then click on the “Start” button. After that, everything will be done automatically.
Generally, the format process will be done in less than a minutes, depending on the size of your USB flash drive, as well as, how much data you stored on it. However, sometimes you might face the Windows was unable to complete the format error and it always repeat whenever you try to format the USB flash drive.
In this guide today, I will show you three useful ways to fix “Windows was unable to complete the format” error and help you to format your USB flash drive successfully.
Read Article: How To Fix The User Profile Service Failed The Logon Error
3 Methods To Fix Windows Was Unable To Complete The Format Error
There are several methods you can use to format a USB flash drive. But here are three easy and helpful ways to complete the format process – with a few simple steps.
Format USB Flash Drive Using Command Prompt
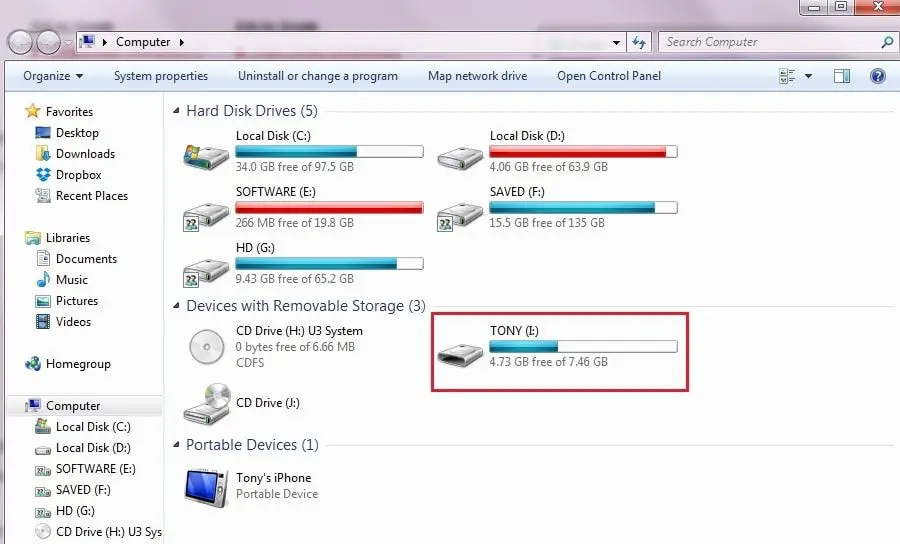
Firstly, in order to format your USB flash drive, you have to connect it to your computer. Then go to My Computer to check the letter right after the partition name. In this case, it’s I: – remember it to use in the next step.
Next, open Command Prompt program by use this combination keys: Windows + R, type “cmd“, and then press the Enter key.
In the next step, using the following command to format your USB flash drive:
format /q /x I:
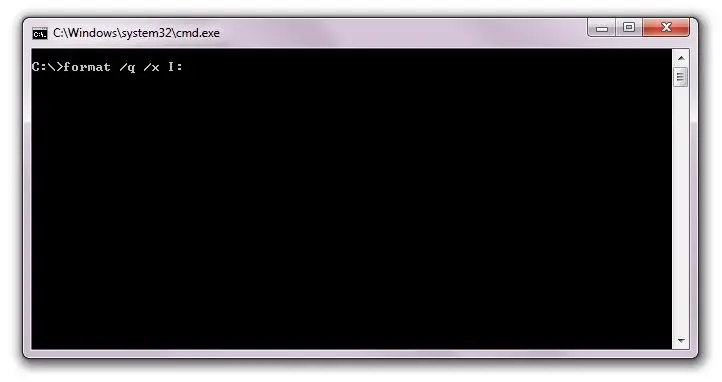
In this case:
- q – quick format
- x – force to dismount the device if required
- I – the USB flash drive letter that I mentioned above.
Finally, press the Enter key to proceed the format. It will be automatically started. You have to wait until the process is completed.
Format Your USB Flash Drive In A Different File System
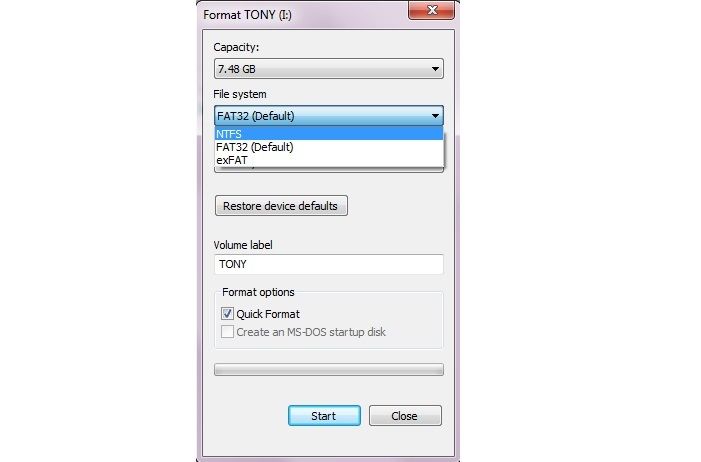
This is the simplest way to help you avoid the “Windows was unable to complete the format” error while formatting a USB flash drive. All you need to do is just change the file system to the other one. Also, uncheck the “Quick Format” feature and then click on the “Start” button.
For example, if you want to format your USB flash drive with NTFS file system, then try change to FAT32 to format your USB flash drive. When the process is completed, you can format it again back to NTFS. That’s it!
Use HP USB Disk Storage Format Tool To Format USB Flash Drive
If two above methods can’t help you solve the “Windows was unable to complete the format” error, then try the new format tool from HP called HP USB Disk Storage Format Tool.
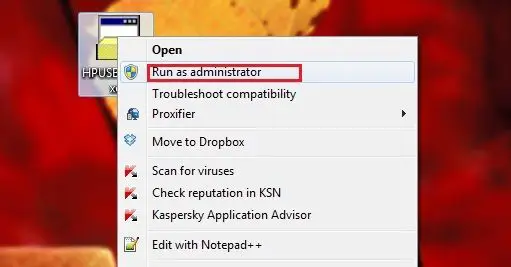
Visit here to download the tool to your computer and then Run as Administrator.
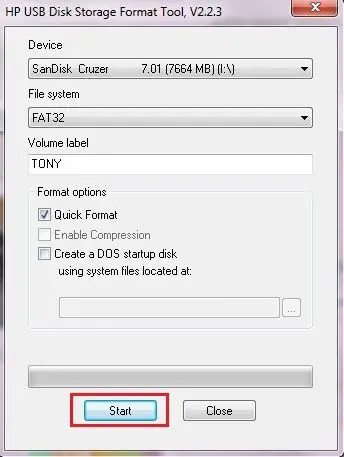
You will have to select the file system, choose Quick Format or not, and then click on the “Start” button. The format process will automatically be started. You need to wait until the process is completed.
With all above methods, I hope you can now format your USB flash drive completely. These methods also help you to bypass and fix “Windows was unable to complete the format” error. You can also apply these methods to solve similar issues with your SD card, memory card as well as the external hard drive that uses the USB port.