Disclaimer: This post may contain affiliate links, meaning we get a small commission if you make a purchase through our links, at no cost to you. For more information, please visit our Disclaimer Page.
Do you know what MsMpEng.exe is? Why is it running on your Windows computer?
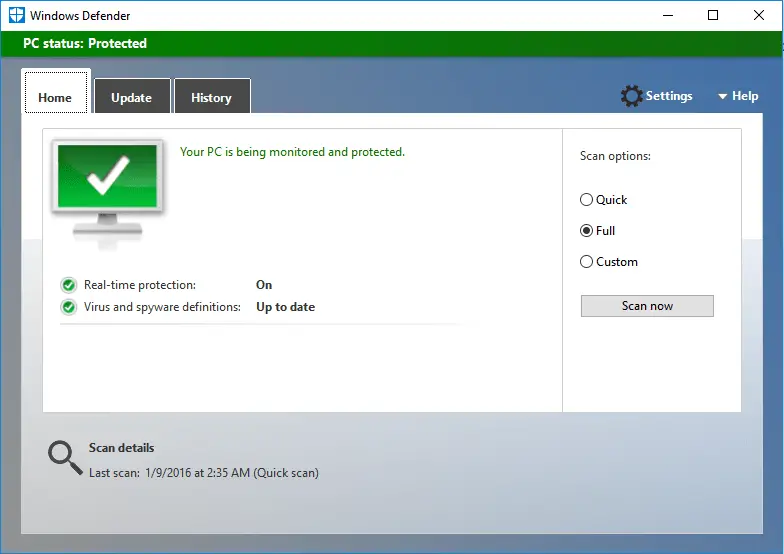
In case you are still wondering, I can confirm that MsMpEng.exe isn’t spyware or malware. It’s used by both Microsoft Security Essentials in Windows 7, and Windows Defender, from Windows 8.
What should you do when the MsMpEng.exe process is eating up all CPU resources?
I’m currently using Windows Defender on one of my computers. Based on my experience, it’s a good free antivirus program for individuals. However, sometimes, I noticed that the MsMpEng.exe uses a lot of CPU resources and causes high CPU usage for no apparent reason.
After diagnosing and troubleshooting the MsMpEng.exe high CPU usage issue, I discovered that this problem might happen for various reasons. So there is no all in one solution you can use to fix it.
How To Fix MsMpEng.exe High CPU Usage Problem
In this post, I’m going to share with you a few useful solutions that you can apply to prevent MsMpEng.exe from using too much computer resources.
1. Scan Your Computer for Malware
In the past, I have fixed the MsMpEng.exe high CPU usage issue by scanning and removing malware out of my computer. If you want to diagnose your computer to find malware programs, it’s better to do so in Safe Mode.
How can I access Safe Mode in Windows 7, Windows 8, 8.1 or Windows 10?
To get started, follow these instructions:
If you are using Windows 7:
- Close all running programs and restart your computer.
- Keep pressing F8 until you see the “Advanced Boot Options” screen.
- Move your arrows keys and choose “Safe Mode with Networking” option.
- Press Enter.
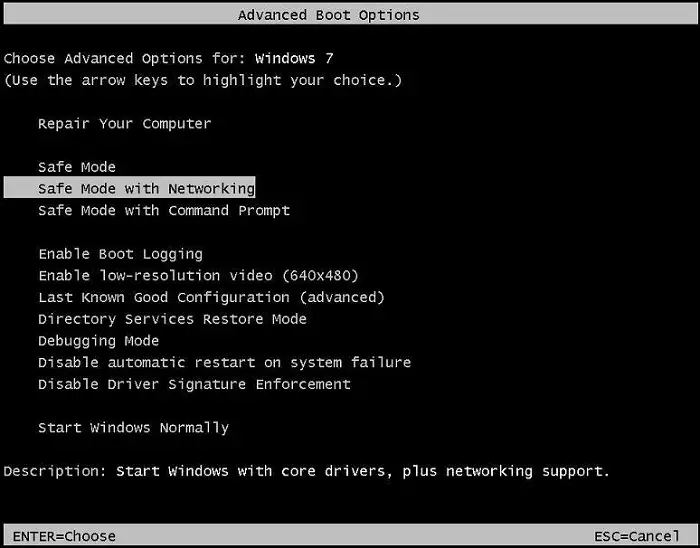
After pressing Enter, your computer will automatically access Safe Mode, with an Internet connection.
If you are using Windows 8, 8.1 or Windows 10:
- Press Windows + R to open the Run dialog box.
- Fill in msconfig in the box and press Enter.
- From System Configuration window, choose the Boot tab.
- Choose “Safe boot“, choose “Network” from Boot options, and then click the “OK” button.
- Reboot your Windows computer.
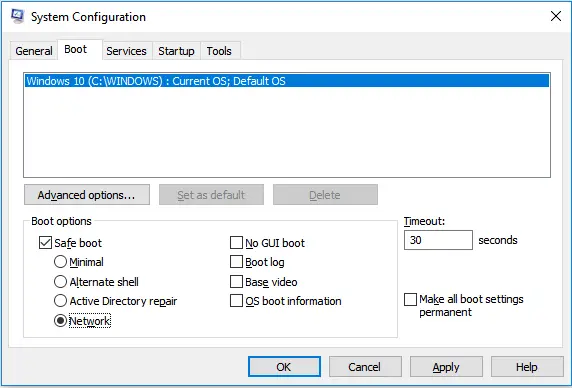
Your computer will automatically access Safe Mode after rebooting. In case you want to access your Windows PC in normal mode again, repeat steps #1 to #3 as listed above. Then uncheck the “Safe Boot” option, press “OK” button and restart your computer.
After accessing Safe Mode, open your browser and download RogueKiller or AdwCleaner. Then install it on your Windows PC to scan and remove all the unwanted malicious programs.
Also Read: Top 10 Best Free Adware Removal Tool For Windows.
If you are looking for a premium program that will keep you safe from malware and many other kinds of malicious programs, try Malwarebytes Anti-Malware Premium. Visit here to get the trial.
2. Reinstall Microsoft Security Essentials or Windows Defender
To uninstall and reinstall Microsoft Security Essentials or Windows Defender, navigate to Control Panel -> Programs and Features.
From the program list, search for “Microsoft Security Essentials“, or “Windows Defender” application and then remove / uninstall it.
After uninstalling it, reboot your computer.
Once your computer is booted up again, visit here to download Microsoft Security Essentials and install it on your Windows computer again.
3. Prevent MsMpEng.exe From Scanning
I’ve received many emails from users that tell me that after excluding MsMpEng.exe from scanning – the high CPU usage problem is gone. I’ve not encountered this situation before, but if the methods above can’t help you to fix this problem, try this method.
To get started, follow these instructions:
- Open Microsoft Security Essentials or Windows Defender.
- Choose the “Settings” tab.
- From the left pane, select “Excluded files and locations” option.
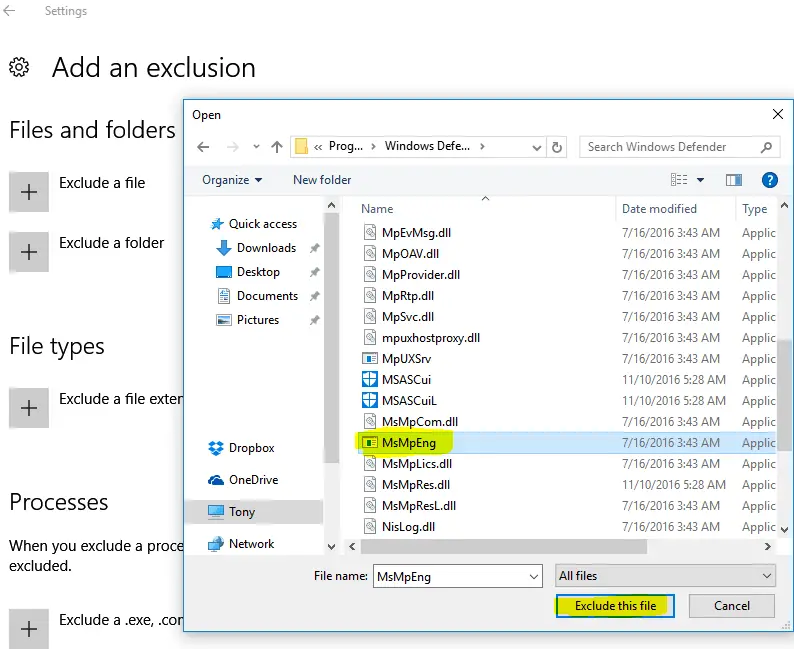
- Click on the “Browse” button.
- Choose the MsMpEng.exe file and click on the “OK” button.
- Click on the “Add” button to add it to the exclusion list.
- Click on the “Save changes” button and restart your computer.
The MsMpEng.exe file is located at:
C:\Program Files\Microsoft Security Client\MsMpEng.exe (Windows 7)
C:\Program Files\Windows Defender\MsMpEng.exe (Windows 8 and later)
Note: To add a file to the exclusion list of Windows Defender in Windows 10, you must go to Settings -> Update & security -> Windows Defender -> Exclusion.
4. Use Another Antivirus Program
After trying the methods above, if you are still having high CPU usage issues with Microsoft Security Essentials or Windows Defender, I would recommend you find another antivirus program to protect your Windows PC.
Here is the list of best free antivirus software for Windows. If you are looking for premium antivirus applications, you’ll find it from here. Before installing any new antivirus software, you must uninstall Microsoft Security Essentials or Windows Defender, or just turn it off.
5. Limit CPU Usage Of MsMpEng.exe Process
This method is a temporary solution. You can follow instructions below to prevent MsMpEng.exe from using your CPU resource.
In Windows 7:
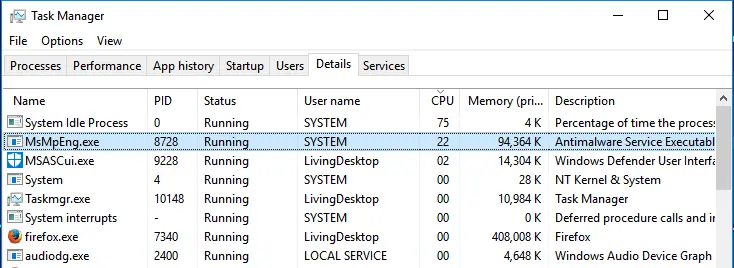
- Open Task Manager.
- Select MsMpEng.exe process and right-click on it.
- From the context menu, choose “Set affinity“.
- Select the CPU core that you allow the MsMpEng.exe process to use.
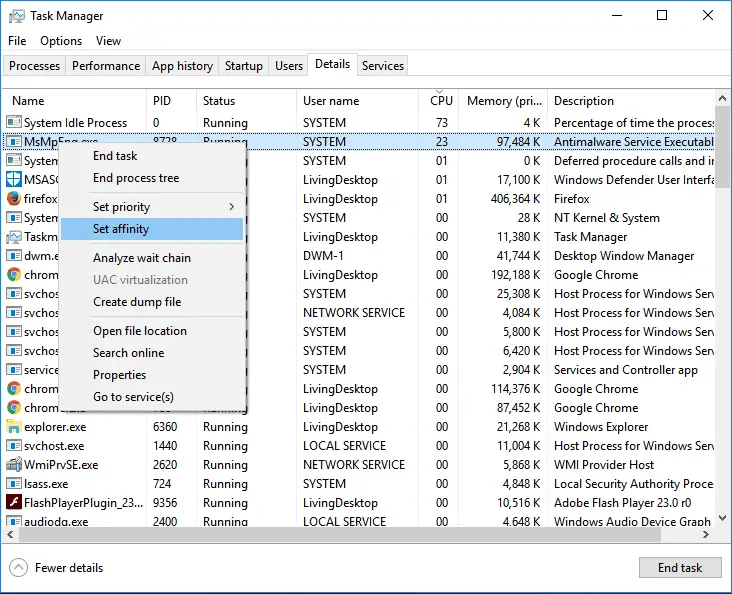
In Windows 10:
- Open Task Manager.
- Click on “More details” at the bottom.
- Choose “Details” tab.
- Right-click on MsMpEng.exe, choose “Set affinity” and then select the CPU core you want MsMpEng.exe to use.
Can Msmpeng.exe Be A Virus?
Of course, it’s possible!
As far as I was known, many malicious programs disguise themselves as system processes, including the Msmpeng.exe file.
Therefore, if you doubt that the Msmpeng.exe process running on your computer isn’t a valid file, or you still see it running even when Windows Defender doesn’t run. Then you have to verify the location where the Msmpeng.exe file is stored.
To determine the location of the Msmpeng.exe process, open Task Manager, choose it from the list and select “Open file location“.
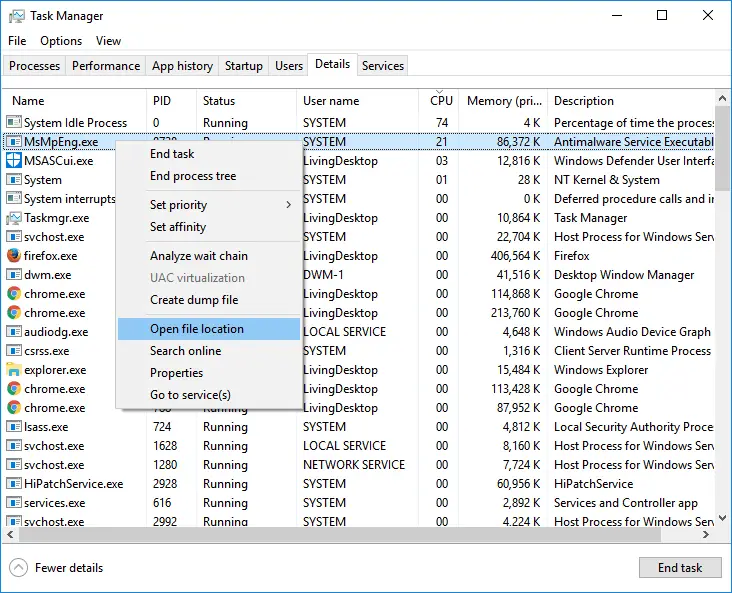
If it comes from another place instead of the location mentioned above, then maybe it’s a not a valid file, which may bring more harm than good to your PC. In this case, you can terminate it process from running on your computer and remove it as soon as possible.
So that’s it! The MsMpEng.exe should now no longer be messing up your Windows computer.
If you are still having problems with it or having any questions, post a comment below.