Disclaimer: This post may contain affiliate links, meaning we get a small commission if you make a purchase through our links, at no cost to you. For more information, please visit our Disclaimer Page.
Xbox controllers come in a few different styles that include both wired and wireless models. Unlike other manufacturers that still sell wired controllers, Microsoft only sells wireless controllers for its consoles and lets others sell wired models. Now is a good time to find out why your controllers break so easily and how to fix them.
Table of Contents
Why Do Xbox Controllers Break So Easily?
Whether you bought an Xbox One in 2013 when it hit the market or you picked up a Series S recently, you will find that the controller it came with depends on the model you bought.
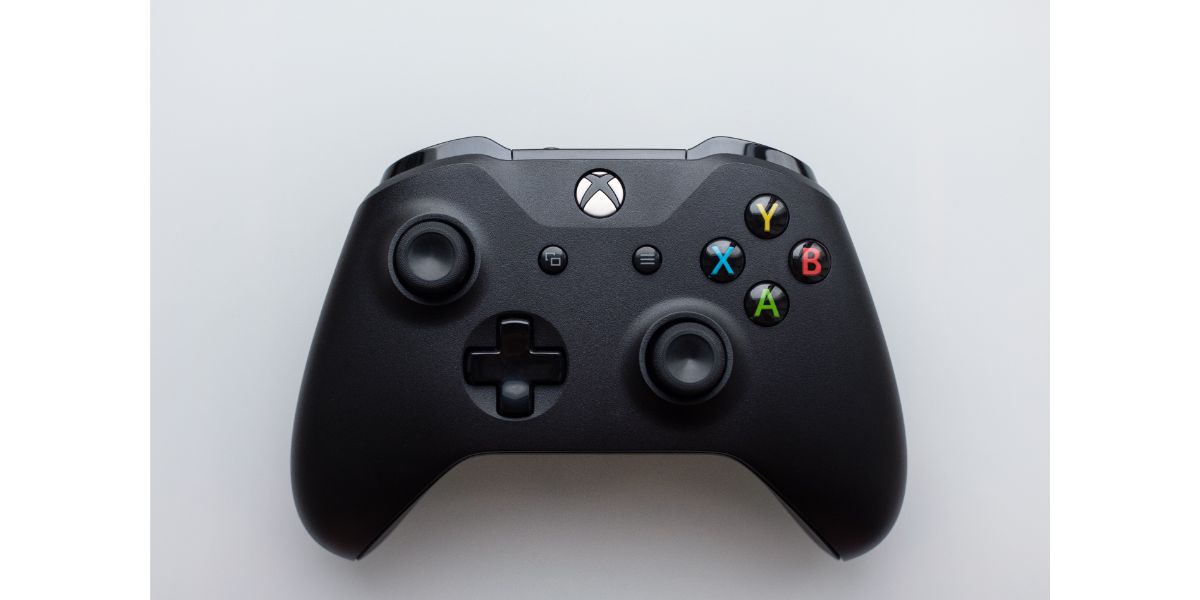
The first generation controller came in black and lacked a headphone jack, but Microsoft later released a white controller with a headphone jack. All of the controllers available today from Microsoft are wireless controllers that work with rechargeable batteries. Any wired controllers you find come from third parties.
If you played Xbox consoles in the past, you may notice that the new controllers aren’t as strong as the old ones. Even if you don’t have a habit of slamming the controller down on the couch/floor and you keep it clean, it can still break.
Gamers usually believe that these controllers break so easily because they use cheap parts. Xbox controllers can also break because you apply too much pressure when you use them or because you bought a cheaper model from a different company.
Why Do Xbox Controllers Get Stick Drift? (Solved)
A common complaint about Xbox controllers is that they develop a problem called stick drift. The controller has a series of buttons across the front along with two analog sticks. Often called joysticks, they allow you to move a character across the screen and check out your surroundings.
Stick drift affects the way one or both sticks work. It causes the stick to move without you touching them, which can cause many problems within your games. This can also make one or both sticks keep moving after you stop using them.
Causes of Stick Drift
Stick drift often occurs because the pad itself is worn out. You should see a plastic piece on the bottom of the stick’s shaft when you look under the stick. This piece sits right above the sensor that sends a signal to your console when you move the stick.
If the pad is worn out, it can cause the stick to keep moving after you release it. A bad stick unit can also cause this problem, but it often appears fairly quickly and while your controller is still under its original warranty.
You also want to keep an eye out for worn out springs. The Xbox controller has two springs that sit under the stick. If one of the springs wears out, the stick will usually drift to one side when you release it.
Once both springs wear out, the stick can move in different directions when you put the controller down. Even if your warranty expired, you can fix some of the problems that cause stick drift.
How to Fix Stick Drift
Cleaning your controller is one way to fix stick drift, especially if you have dirty or worn out pads. Dip a cotton swab in isopropyl alcohol (rubbing alcohol) and shake the swab to remove the excess liquid. Push the stick back with one hand as far as it will go or until it touches the controller case.
Move the swab along the bottom of the stick. Keep rotating the stick in a circle as you wipe it down with the alcohol. You will then want to let it dry for several hours before you use the controller.
As long as you have the right tools, you can fix an Xbox controller that suffers from stick drift. Not only do you need a T-9 or T-8 Torx tool, but you also need a small pry bar. Use the Torx tool to remove the hardware from the controller.
Insert the pry bar into the gap on the back and wiggle it until the case opens. Take off the stick pad if it feels loose or worn. Microsoft makes new pads that are easy to install, but you may find it helpful to use a small piece of paper below the original pad. This should fill in the gap that causes the stick to shift.
While you have the controller open, check for loose springs. The springs have green covers made from plastic that you need to remove. Use a pair of tweezers to pull the springs out.
You can then replace the springs and add the covers back onto the stick. While you can buy new springs online, you can also use springs from an old controller. After you make the change, use the Torx tool to put the case back on the controller.
How Long Should Xbox Controllers Last?
When you drop $400 or more on a new console, you don’t want to experience problems immediately. Unfortunately, many Xbox owners had problems with both the controllers that came with their consoles and those they bought later.
While some gamers claimed that they used their original controllers for years, others only got a few months out of them. It seems as though the average lifespan of an Xbox controller is around 8 to 18 months or longer, depending on how you take care of it.
Tips to Extend the Life of Your Controller
You don’t need to deal with an Xbox controller that keeps dying or has batteries that run out quickly. Taking care of your controller is a good way to extend its overall life.
Never throw or toss the controller, even if you think it will land on your couch or another soft surface. Avoid eating or drinking as you play because it’s easy to drop some food into the controller or spill liquid on it. Some other tips you can try include:
- Regulate the temperature in the room to keep your controller cool.
- Avoid playing or using the controller near heat sources such as vents and windows.
- Always use durable batteries that last longer than cheaper batteries do.
- Stick to official controllers from Xbox rather than the third-party controllers on the market.
- Turn the controller offer when you aren’t using it.
- Keep an eye on your controller to make sure you do not sit or step on it.
- Register the controller on the Xbox website to make filing a warranty claim easier.
- Consider spending extra for an extended warranty plan from Microsoft or the store that sold it.
Do Xbox Controllers Have a Warranty?
Xbox controllers come with a warranty that lasts between 90 days and one year. The warranty length depends on where you bought the controller and the type you have.
It covers any defects caused during the manufacturing process but does not cover damage caused by human error. In other words, don’t expect Microsoft to replace a controller that you broke when you threw it across the room or dropped a glass of soda on one.
Filing a Warranty Claim
To file a warranty claim, you need to flip the controller over and find the 14-digit code on the back, which is its serial number. You will usually find this number inside the battery compartment. Visit the Xbox website and log in to your account with your gamer tag and password from Xbox Live.
You then need to enter the serial number in the box, which allows the site to check your coverage and let you know if your warranty is valid. You can file a claim if you still have time on your warranty.
Extended Coverage
When you buy an Xbox controller from a store, you have the choice of paying extra for extended coverage. This takes the warranty you usually get and adds another year or more. Unlike the warranty from Microsoft, the extended coverage comes from the store itself.
If you have a problem at any point after buying and using the controller, you can take it back to the store and get a refund or have the shop send it to a repair center.
Microsoft offers a type of extended coverage as well that covers accidental damage. Once you buy the controller, visit the Xbox website and log into your account.
You will then use the serial number and add the controller to your account, bringing up a prompt that allows you to invest in an extended warranty plan.
Conclusion
Xbox controllers are not as durable today as they once were, which causes some gamers to invest in models that break easily. Learning how to extend the life of yours is a good way to get more out of it. Don’t forget to check your warranty details and sign up for extended coverage whenever possible.


